Shed to Workshop Conversion
Four videos turn a leaning barn-style shed in Joshua Tree, California, into an insulated woodworking shop: new slab, structural fixes, daylight panels, a metal roof and a sprayed finish. It is a long, mostly DIY-friendly build, and the builder is open about what he would do differently.
What happened
-
Watch the video
Part 1
New slab, structural fixes, daylight panels, insulation and plywood walls
Rebar on concrete riser blocks (dobies) and perimeter expansion foam, then a three-yard concrete delivery, screeded with a straight 2×6 and finished with a rented bull float. A self-leveling underlayment skim corrects the rough front of the slab. The leaning wall and door are clamped and screwed back into place, non-structural rafters come out, 2 ft x 4 ft polycarbonate panels go into the top of the wall, and the shell is insulated with R13 batts and lined with plywood.
-
Watch the video
Part 2
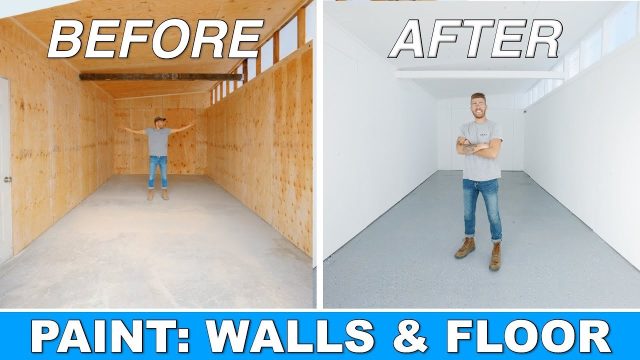
Prime and paint the interior, epoxy-coat the floor
An airless sprayer applies primer and two coats of flat white to walls and ceiling. The floor is protected during painting, then etched, rinsed and coated with a two-part garage epoxy kit with decorative chips.
-
Watch the video
Part 3
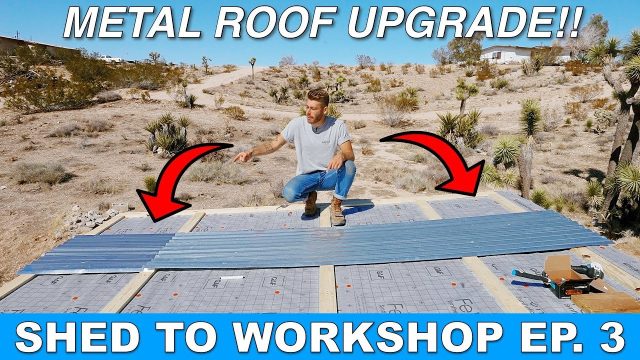
Replace the asphalt roll roof with corrugated metal
The old roll roofing and drip edge come off, a membrane goes over the decking, 1×4 purlins tied into the rafters give solid fastening rows, and 29 gauge corrugated galvanized steel panels go on with foam closure strips and rubber-washer screws set on the ridges.
-
Watch the video
Part 4
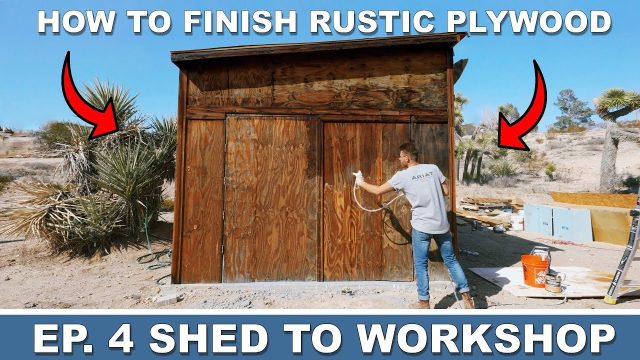
Spray a tinted finish on the exterior, finish windows, trim and gravel
Two coats of a tinted semi-transparent wood finish go over the old plywood with the same airless sprayer. The last polycarbonate panel, silicone at the wood joints, trim, a yard of crushed gravel and a CNC-cut sign finish the job.

Key facts
| Cost range | About $300-$350 for concrete delivery |
|---|---|
| Materials | Half-inch rebar, concrete (3 yards), expansion joint foam, self-leveling underlayment, 2×4 and 2×6 lumber, construction adhesive, polycarbonate panels (2 ft x 4 ft), roofing screws with soft washers, waterproof seam tape, spray foam insulation, R13 batt insulation, 1/2 in. plywood, 3/8 in. plywood, 1×2 and 1×4 trim |
| Safety warning | Wear a respirator rated for spraying paint. |
| Call a pro? | DIY is fine |
| Project | Shed to Workshop Conversion |
| Series channel | Modern Builds |
| Part | 1 |
More coverage
The order is the lesson. The slab and structural fixes come before insulation and plywood walls, the walls get painted and the floor coated before the roof is replaced, and the exterior is finished last. If you are planning a shed conversion of your own, the sequence below is worth copying even if your shed looks nothing like this one.
Tools and materials
Tools the videos use: circular saw (a 60-tooth blade for the polycarbonate), angle grinder with a cutting disc for the metal roof panels, airless paint sprayer, drill and driver, sledgehammer, rented bull float, straight 2×6 for screeding, caulk gun, scaffolding or a step stool for the ceiling, and a paint roller with a three-quarter inch nap for the epoxy.
Materials listed across the series: half-inch rebar, concrete (three yards), expansion joint foam, self-leveling underlayment, 2×4 and 2×6 lumber, construction adhesive, polycarbonate panels (2 ft x 4 ft), roofing and self-tapping screws with rubber or soft washers, waterproof seam tape, spray foam, R13 batt insulation, half-inch and 3/8 in. plywood, 1×2, 1×4 trim, Kilz 3 primer, flat white paint, latex caulk, a garage-floor epoxy kit with chips and concrete etch, an underlayment membrane, 1×4 purlins, foam closure strips, 29 gauge corrugated galvanized panels, tinted semi-transparent wood finish, silicone sealant and 3/4 in. crushed gravel.
Time, cost and skill level
Time: the videos do not give total hours or days, so plan around your own shed's condition. The concrete pour is a one-day job that needs helpers.
Cost: the only prices the builder states are about $300-$350 (USD) for the three-yard concrete delivery and about $20 for a yard of 3/4 in. crushed gravel. He does not give a total, so price the lumber, insulation, roofing and finish at your own supplier before you commit.
Skill level: handy to advanced overall. Painting, trim and the epoxy floor suit a careful beginner. Concrete, structural repair and roofing are a step up.
Safety notes
- Structure first. The builder removed the loft rafters only after finding they were held in with drywall screws and were not structural. Never cut out a rafter, beam or wall until you know what it carries. If you can't tell, have a contractor or engineer look.
- Roofing is fall work. Use fall protection and wear gloves around cut metal panel edges. Cutting metal with an angle grinder throws sparks and noise, so wear eye and hearing protection.
- Respirator. The builder says plainly that he should have worn a respirator rated for spraying paint and finish, even outdoors. Do wear one.
- Concrete and etch. Wet concrete irritates skin, so wear gloves and eye protection. Follow the label on the concrete etch and epoxy kit, and ventilate.
- Permits. A slab, a roof replacement and any new electrical for a shop may need a permit where you live. Ask your local building department; our guide “Do you need a permit?” shows what to ask. The videos run no wiring, and shop wiring is a job for a licensed electrician.
Mistakes and lessons from the builder
- The slab front dried before it was screeded toward the door, so the surface came out rough. A self-leveling skim fixed it, but it is not as strong as concrete.
- Striping appeared on the exterior because the sprayer pressure was too low. Check the pressure before the first coat.
- Next time he would install the ten-foot and three-foot roof panels together and work down the roof, because the short end pieces were harder to fit under panels already in place.
- Screws on corrugated panels go on the ridges, not in the valleys, and snug only enough to squeeze the rubber washer.
Related projects and jobs
This build follows the same order as Build a shed, with the shop finish work in Paint a room. The same channel built the DIY lean-to shed against a shed workshop. See also the Workshop and Exterior and yard pages, and the circular saw page for the main saw in the series.
Questions and answers
Do you need to insulate a shed workshop?
The builder insulates the walls and ceiling with R13 batts after sealing seams with spray foam, then covers them with plywood so he can screw organizers anywhere. What you need depends on your climate and how you use the shop; check your local energy code before you decide.
Why did he screw purlins over the roof deck?
The 1×4 purlins tie into the rafters under the decking. They add some rigidity, and their main job is to make rows of solid wood so every pre-drilled panel hole hits a purlin.
Where do the screws go on corrugated metal roofing?
On the ridges, not in the valleys. Water sheds through the valleys, so a failed rubber washer there would be a leak point.
Sources: The facts and written text on this page come from the 4 videos on this page, by Modern Builds.