DIY Lean-To Shed
What happened
-
Watch this moment · 0:59
Frame the walls, ledger, rafters and doors
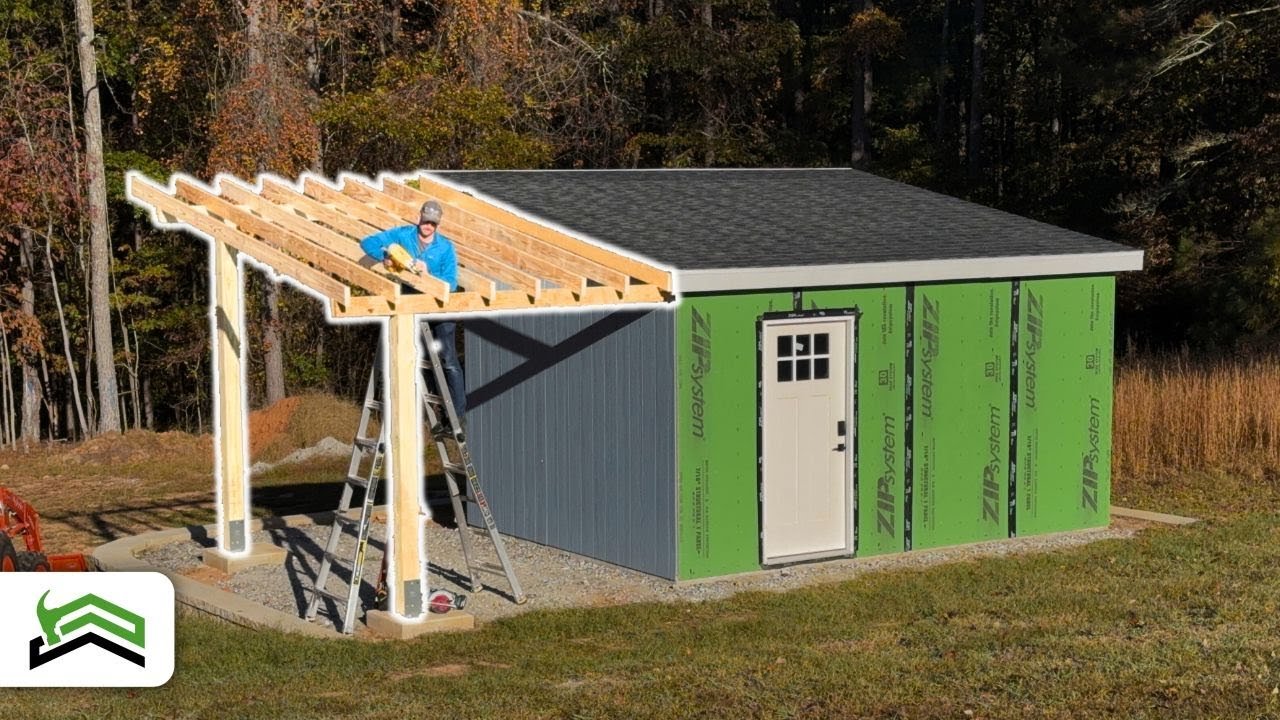
The back wall is sheathed on the ground, then lifted into place, plumbed and fastened to the existing shed's 2×4 framing with lag screws. The front wall has a centered door opening and a header reinforced with scrap 2×4 pieces. Side walls attach with butt joints. A ledger board and seven rafters cut at 8 degrees carry the roof, with a sub fascia board to match the existing shed. Two doors, each about 32 3/8 in. wide, hang on three hinges apiece.
-
Watch this moment · 8:36
Sheathe the walls, deck and cover the roof, add trim
The walls get 3/8 in. plywood to match the workshop, fastened with 1.5 in. outdoor-rated coated screws. The roof gets a cap rafter, blocking, 3/4 in. plywood decking and corrugated sheet metal screwed on the ridges with rubber-washer roofing screws, then drip edge and 1×4 trim that matches the workshop.

Key facts
| Materials | 2×4 lumber, 3/8 in plywood sheathing, 3 in nails or construction screws, lag screws, scrap 2×4 blocking, ledger board, sub fascia board, hinges |
|---|---|
| Call a pro? | DIY is fine |
| Project | DIY Lean-To Shed |
| Series channel | Modern Builds |
| Part | 1 |
More coverage
-
Modern Builds
Lean-To Shed: Plywood Walls, Metal Roof and Trim Finish
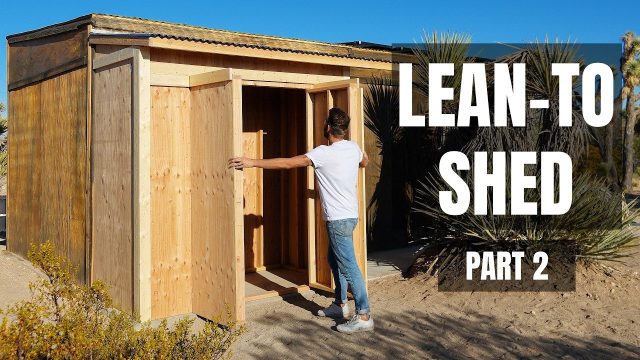
The builder frames everything first and sheathes it later, which gives you a chance to square the frame before the walls are closed up. Part two covers the finish, and it ends with what he would change.
Tools and materials
Tools the videos use: circular saw, jigsaw, framing nailer (3 in. construction screws also work), speed square, level, 48 in. drywall square, Forstner bit for recessing lag screws, power plane, angle grinder with a metal abrasive cutting disc, drill and driver.
Materials listed: 2×4 lumber, 3/8 in. plywood sheathing, 3/4 in. plywood roof decking, 3 in. nails or construction screws, lag screws, scrap 2×4 blocking, a ledger board, a sub fascia board, hinges (three per door), 1.5 in. outdoor-rated coated screws, corrugated sheet metal (6 ft x 24 in. panels), 1.5 in. roofing screws with rubber washers, sealant, drip edge and 1×4 trim. Optional: Simpson Strong-Tie brackets for the rafters.
Time, cost and skill level
Time: the videos do not state hours. Part one is framing and part two is finishing, so plan on two stages.
Cost: the builder does not state prices for this build. Add up your own lumber, plywood and metal roofing list at a local supplier.
Skill level: handy. You need to measure, cut and square framing accurately, and to work safely on a small roof.
Safety notes
- Attach to a sound structure. The lean-to is fastened to the existing shed's framing, so check that framing is solid before you hang a roof off it.
- Cutting metal. Wear eye and hearing protection and gloves; cut edges are sharp.
- Roof work. Even a low shed roof needs safe footing.
- Permits and setbacks. Many places set a size limit for sheds without a permit and a minimum distance to the property line. Ask your local building department before you start, and see our guide “Do you need a permit?”.
Mistakes and lessons from the builder
- The lumber was wet and warped as it dried, so center hinges on the doors help keep them aligned.
- The first rafter was cut about an eighth of an inch too far on one side, so he adjusted the template before cutting the rest.
- In hindsight the 24 in. roof blocking could have waited until after the sheathing.
- Round vents did not fit above the trim, so vents and shelves are left for later. Little insulation was added.
Related projects and jobs
The same channel's Shed to Workshop Conversion covers a workshop build. See Build a shed, the circular saw and Exterior and yard.
Questions and answers
How big is the lean-to?
It is 4 ft x 8 ft, with a 99 in. back wall against the existing shed and an 8 ft front wall with a centered door opening.
What roof pitch does it use?
The existing roof pitch is about 7 degrees, but the gap suggested a steeper slope, so the rafter ends are cut at 8 degrees using a speed square.
Sources: The facts and written text on this page come from the 2 videos on this page, by Modern Builds.