Spraying a Tinted Finish on a Rustic Plywood Shed Exterior
The short version
Episode 4 of a shed-to-workshop conversion covers the exterior finishing. The builder sprays two coats of tinted wood finish on rustic plywood, adds the last polycarbonate window panels and trim, spreads a yard of gravel, and mounts a CNC-cut sign.
Full written account
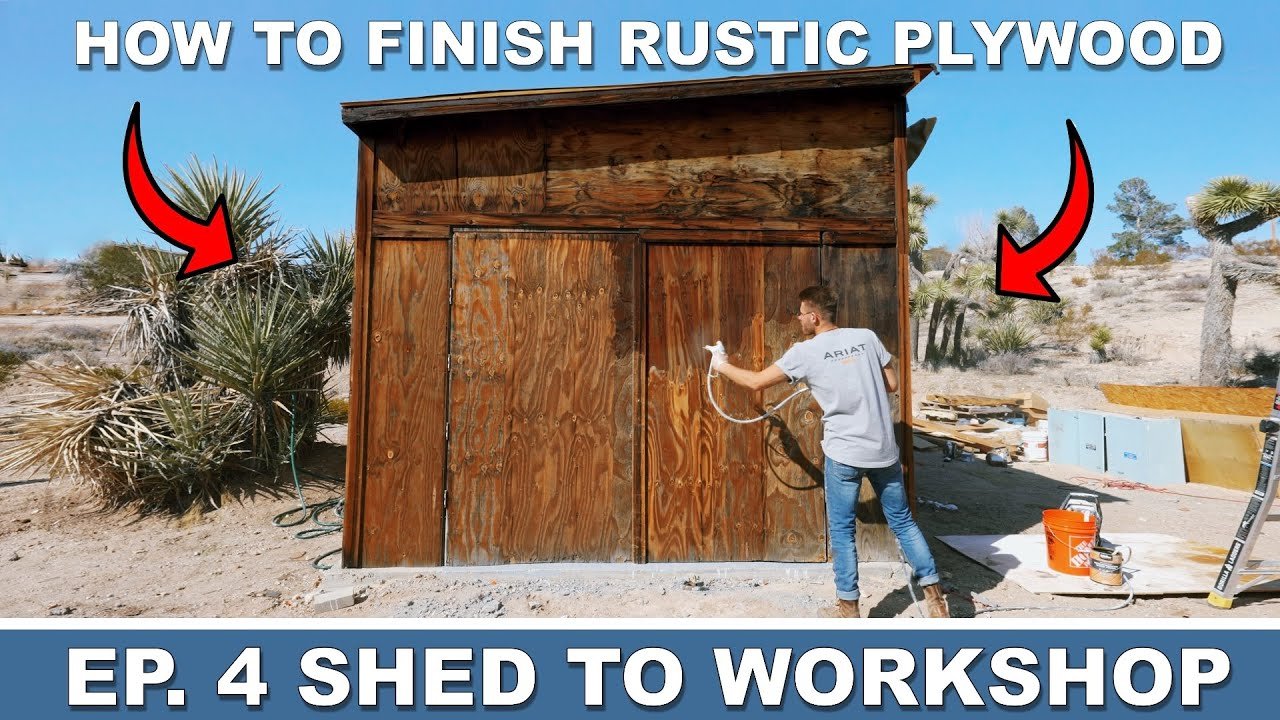
Spraying a tinted, semi-transparent finish over old plywood saved the exterior of a desert shed that the builder feared would need replacing after five or ten more years of sun and UV damage. In this fourth episode of the shed-to-workshop conversion, he finishes the outside.
Why keep the plywood
The builder likes the rustic desert look of the plywood and wanted to stop it getting worse. Before finishing, he cleaned off old roof shingles and broke up concrete overspill left from pouring the pad in episode one. He covered the polycarbonate windows with masking.
Spraying the finish
He used a Wagner Control Pro 150 airless sprayer, the same one used to prime and paint the shed interior white. It pulls from a one or five gallon bucket, so he combined several cans into one bucket to keep the color consistent. The first four gallons covered three walls; four more gallons finished the last wall and the whole second coat.
His beginner tips: keep the sprayer square to the surface, spray from 8 to 12 inches away, overlap passes by about half, and stop the sprayer before starting the next pass. A fifth rule: double check sprayer pressure. Horizontal lines, called striping or tailing, appeared because the pressure was too low; he says he should have turned the pump up. They blended out as the second coat cured.
He says he should wear a respirator when spraying, even outside.
Results
He credits the finish with great coverage over two coats, strong color and depth in wood he thought had faded to gray, and a surface that no longer feels splintery.
Gravel, windows and trim
One yard of 3/4 inch crushed gravel, which cost 20 bucks, was raked out along the driveway curve. He then installed the last polycarbonate panel on the east wall, cut with a circular saw and a high tooth count blade without masking tape. He ran silicone sealant where polycarbonate meets wood and used self-tapping screws with rubber washers. Extra trim boards covered exposed seams, mostly reusing the original boards.
The sign
He glued up scrap 1/4 or 1/2 inch rustic plywood with spring clamps and a lot of glue, then cut a sign on a borrowed Inventables X-Carve Pro CNC. A few letter centers popped out and were reattached with Loctite Power Grab. The finish went on too thick, so he dry brushed it out. After centering the sign, he set one screw and checked it with a level.
The builder also says he plans to paint the door an earth tone.
Questions this video answers
What was sprayed on the shed exterior?
A tinted, semi-transparent waterproof wood finish, applied with a Wagner Control Pro 150 airless sprayer in two coats.
Why did the finish show horizontal lines?
Striping or tailing came from spraying at too low a pressure. He says he should have turned the pump up, and the lines blended out as the second coat cured.
What sprayer tips does he give?
Keep the sprayer square to the surface, spray from 8 to 12 inches away, overlap passes by about half, stop the sprayer before starting the next pass, and double check sprayer pressure.
What safety point is mentioned?
He says he should wear a respirator whenever spraying paint or finish, even outdoors, and he wears hearing protection.
How were the polycarbonate window panels installed?
He cut it with a circular saw and a high tooth count blade without masking tape, sealed edges with silicone sealant, and used self-tapping screws with rubber washers.
Explore related projects
Connected by the topic: Build a shed