Kitchen Subway Tile Backsplash: Demo, Green Board Patch, Grout
The short version
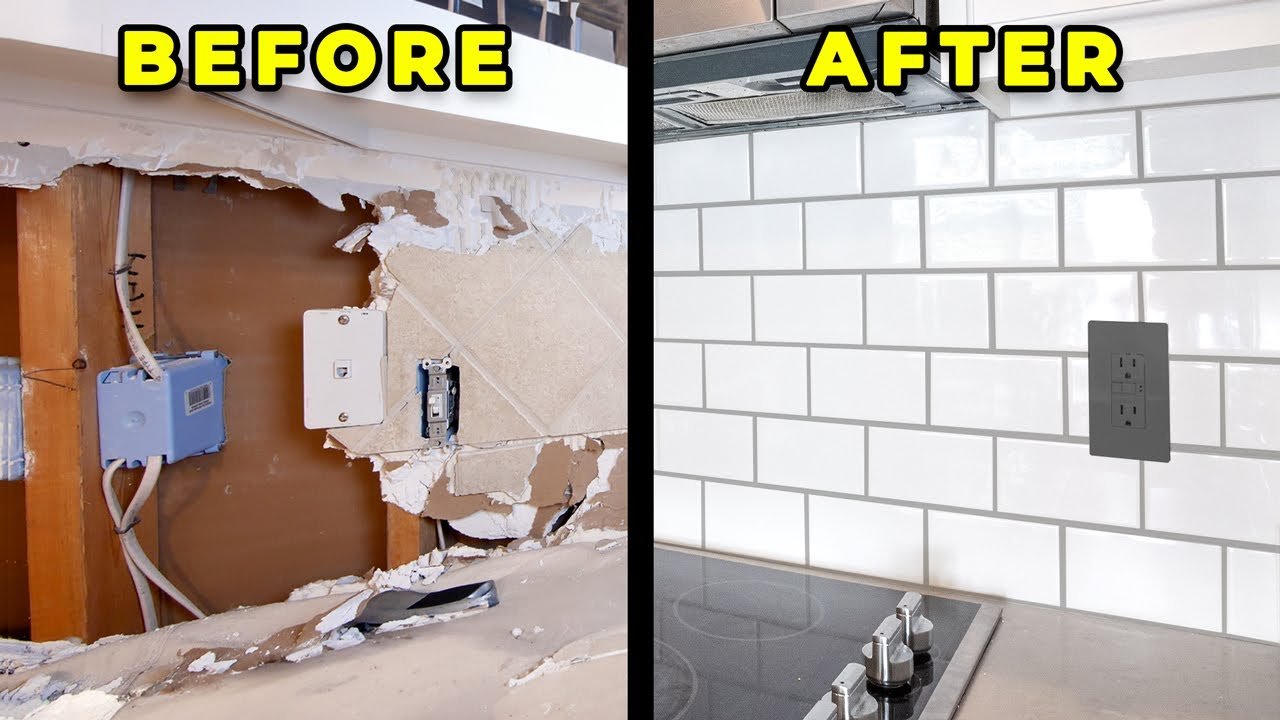
A kitchen backsplash is replaced with white subway tile in a brick pattern. The work covers removing the old backsplash with the power off, patching the wall with green board, mudding the seams, setting the tile with Mapei Type 1 adhesive, cutting with a snap cutter and tile saw, grouting with a premixed grout, and caulking. The host says the adhesive made the tiling a struggle.
Full written account
A kitchen with new counters and freshly painted cabinets got a white subway tile backsplash in a brick pattern, set against gray counters. Before any tile went up, the old backsplash had to come off, and the first instruction was to remove the outlet plates and kill the power to that wall.
Demolition around hidden hazards
The old drywall can be smashed out, but the outer edges should be scored first, because ripping off big chunks can pull away wall that was meant to stay. A line about an inch below the cabinets protects them and leaves room to smooth the seam later.
On one side, the main breaker box sits on the other side of the wall, at the stairwell of the shop, so power tools were out and the work was done by hand. On the other side, a 220 volt electrical line for the range and a couple of CPVC water lines ran right behind the backsplash. The host was glad he had not used a saw there, and says that damaging either would have meant a very bad day.
Where the patch ended, he avoided running into the door jamb, which would be hard to fade in. He ended it elsewhere and used a piece of wood centered on a 2×4 so that both the new and existing drywall had full support. Leaving a little drywall at the bottom makes it easier to fill with joint compound.
Patching with green board
The opening was measured with outlet locations marked so notches could be cut. Because tile will cover the drywall, the outlet notches got a quarter inch more buffer than normal. The patch is green board, a mold-resistant drywall left over from a bathroom remodel. A straight edge and utility knife cut the sheets, and a jab saw made the notches and holes. With only leftover drywall, fitting it on the studs was like a jigsaw puzzle, and he chose not to spend an extra 10 dollars on another sheet.
Seams were scraped and sanded smooth. Seams that will be covered by mastic and tile were not taped, but the side seams were, since the tile edge was not yet decided and tape strengthens the joint against future cracking. A heavy first coat filled gaps, followed by sanding and a second coat that blended the edges.
Layout and cutting
The counters had just been leveled by the installers, but he checked them anyway and advises not to assume. He started at the most visible spot, which in a brick pattern meant starting with three half tiles. Marks at 3 inches on the tiles gave edge pieces, cutting to the side of the line so the piece is a true 3 inches.
The abrasive wheel on the tile cutter chipped the edge, so he used a snap cutter, which he says costs about 25 dollars and gives a crisp score-line cut. The tile saw was kept for notching around outlets, where a diamond blade is needed. A 4-inch grinder blade also works. To get a flat edge at the bottom of a notch, the tile is tilted up into the blade.
Setting the tile
The counters were covered with protective floor covering. He used a Mapei Type 1 adhesive, whose container states the trowel type and size for the tile. He spread it with a smaller drywall knife, then raked it with the trowel at a steep angle. Spacers under the first row lifted it off the counter. A dip at the old and new drywall transition was fixed by pulling a full tile and adding adhesive to its back.
To line up tile beside a switch with no neighbor to reference, he marked the center of a tile and lined it up with the joint below. He worked in a diagonal, stair-step line from bottom to top. The thin adhesive made the job a struggle, and when he put in too many tiles they were hard to adjust, so he worked in smaller sections and set spacers promptly. Sighting down the wall from the side helps keep lines straight, since a level does not sit well over the spacers. The top row was cut down and the tiles back buttered. The tile sat overnight.
Grout, paint and caulk
Spacers and leftover adhesive came off with a white Scotch-Brite pad, a fingernail or a razor blade. The counters were protected and tape was placed on the wall edges. The tiles were wet down, and he used a premixed grout with additives so it does not need sealing later. It dries fast, so the first cleaning began after 5 or 10 minutes, with a damp sponge in circular motions and then a clean sponge dragged across with slight pressure, one pass per edge. Grout was pushed up the wall rather than down. The whole area took about 15 or 20 minutes including the initial cleaning.
Questions this video answers
Should the power be off when removing a backsplash?
Yes. The video says to remove the plates and turn off the power to the wall, because you never know what is behind it.
Why not cut the drywall with a saw or multi-tool?
The host had a breaker box on the other side of the wall, a 220 volt range line and CPVC water lines behind the backsplash, so he cut and removed the drywall by hand.
What drywall was used for the patch?
Green board, a mold-resistant drywall left over from a bathroom remodel.
Did the seams need tape?
Seams that will be covered by the tile were not taped. The side seams were taped because the tile edge location was not yet decided and the tape strengthens the joint.
Why use a snap cutter?
It leaves a crisper edge than the abrasive tile saw wheel, which chips. The tile saw was used for notching around outlets.
How long did grouting take?
The host says the whole area took about 15 or 20 minutes, including the initial cleaning.
Explore related projects
Connected by the topic: Cabinets and countertops