Hexagon Mosaic Backsplash: Prep, Tile, Grout and Seal Steps
The short version
A kitchen backsplash installation using sheets of hexagon mosaic tile, covering drywall prep, layout, cutting around outlets and edges, setting tile in white thinset, trim, grouting, haze removal, sealing and caulking. The creator reports spending about $300 on tile and about $100 on other materials, not counting the tile saw. The work is spread across several days with curing time between steps.
Full written account
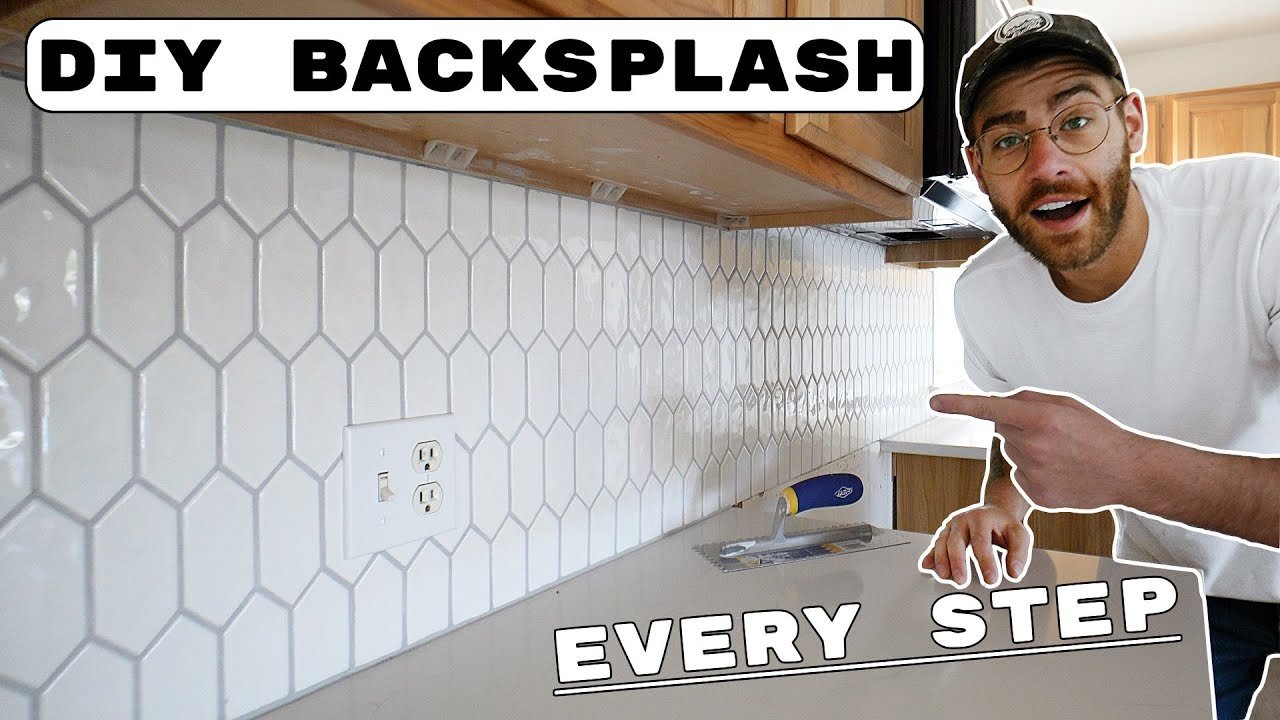
A kitchen backsplash of alum-gated hexagon mosaic tile with a handmade look, costing about $65 a square foot, is installed start to finish over several days in an Oklahoma City kitchen renovation. The tile sheets are held together by tabs of adhesive rather than a mesh. The area to cover is 17 and 3/4 inches tall, so it takes two sheets of tile in height.
How does the prep set up a clean install?
The old drywall was too damaged to reuse, so it was replaced with new 1/2 in. drywall cut with a sharp utility knife. The creator says the task took only an hour or two and gives a good surface to tile on. An MDF ledger board, checked to be level, was installed in the gap where the oven will go. Masking paper and tape protect the new quartz countertops, and the drywall seams get tape and a coat of mud to help prevent future shifting or cracking in the tile. High points were sanded with 120 grit sandpaper.
How is the layout planned?
The first idea was to put the seam at the center of the wall, but centering on the microwave and stove looked better. A level marked vertical and horizontal reference lines. The creator planned a straight cut at the bottom of the sheet so that it lands about centered with the top of the tiles, which gives the least waste. After a test fit the tiles sat a little above the first line, so a new line was drawn about a quarter inch higher, and 15 sheets were batch cut for the bottom row.
Painters tape goes on where the cut will be to reduce chipping and keep tiles from shifting. The saw is a basic 7 in. wet saw costing about $300. The creator recommends renting or buying a saw with a sliding table for mosaics, since tiles can bunch up on a fixed table.
Setting the tile
White thinset is used because the grout is very light gray. The mix is left to sit 5 to 10 minutes and then re-incorporated. A 1/4 in. square notch trowel suits this tile; smaller tile would call for a smaller notch. Wedge spacers hold the first sheets to the line, and traditional 1/8 in. spacers go between sheets. The first sheets were set one at a time, with the creator noting the mortar was slightly too thin and drooped.
For outlets, measure from a good reference point and include the 1/8 in. gap, then cut with an angle grinder and diamond blade, with painters tape on the cut. Margins should be tight to the electrical box without covering the screw holes. The creator would put tape on the back of a thin tile too after one broke. Complex cuts were easier on individual pieces than on full sheets.
Trim and its hazard
Trim can be cut on a wet saw, but the sliding table pulls the material into the blade. The creator does not recommend it; an angle grinder with a diamond blade or a metal cutting disc works, followed by a sanding block. Trim can be set in thinset before the tile or right before it, and setting it first stops it moving when tile pushes against it.
Grout, haze, seal
The tile was cleaned of thinset with a wet rag and a grout-removing multi-tool attachment. Sanded grout in Platinum, a light gray, was used for 1/8 in. to 1/2 in. joints. It is mixed stiff, pressed in from several directions, floated from bottom to top and then in an X pattern across diagonal joints. After 5 to 10 minutes the face is wiped with a wet but not dripping sponge using zero pressure, with separate clean and dirty buckets. A microfiber rag or cheesecloth took off about 90% of the haze, and haze remover handled the rest.
The sealer sits about 5 minutes before excess is wiped off, and a foam roller worked well to apply it. Siliconized grout caulk was used between countertop and backsplash. Outlet spacers bring outlets flush with the tile face.
Cost
The creator spent about $300 on tile and about $100 on thinset, grout, spacers and other items, excluding a tile saw of about 350 with the stand. In Oklahoma City, he expects a quote of roughly $1,000 to $1,200 plus materials for installation.
Questions this video answers
What trowel size does the video use for the hexagon mosaic tile?
A 1/4 in. square notch trowel; for smaller tile it says to use a smaller notch trowel.
Why use white thinset?
Because the grout is a very light gray, and a darker gray mortar could bleed into the grout color.
When is sanded grout used?
Sanded grout is used for grout lines of 1/8 in. to 1/2 in.; anything smaller or larger takes non-sanded grout.
How long does the grout sit before sponging?
About 5 to 10 minutes, then wipe with a damp, not dripping, sponge using very light pressure.
How much did the project cost?
About $300 on tile and about $100 on other items, not including the roughly $350 tile saw with stand.
How do you keep outlets flush with the tile?
Use outlet spacers to offset the outlets so they sit flush with the tile face instead of the electrical box.
Explore related projects
Connected by the topic: Drywall