Kitchen Tile Backsplash: Pre-Cut Method, Cost and Six-Day Timeline
The short version
A step-by-step kitchen tile backsplash install covering wall prep, tile choice, layout planning, pre-cutting tiles, setting with thinset or mastic, grouting and caulking. The creator says the 30 ft² job cost $353 and that most DIYers should plan about six full days from demo to grouting.
Full written account
A kitchen backsplash of just under 30 square feet cost $353 in total, including drywall, a new outlet, tile and grout, according to the creator behind this install. Hiring a contractor for the same job, he says, would run about $3,000. Most DIYers, he adds, should plan for about six full days from demo to grouting, while pros can finish in less than half that time.
Start with flat, solid drywall
The wall needs to be flat, solid drywall, and countertops should go in before the backsplash. On this job the old tile and countertops had to come out. Rather than chip tile off the drywall, which he calls pretty much impossible to do without damage, he cut along the bottom grout joint and the cabinets and pulled the drywall out in large chunks. At the edges he carefully removed tile until he reached a stud, then cut down the center of the stud so new drywall had support, avoiding texturing, painting or drywall repairs. The seams are taped so the sheets do not shift and crack the tile later.
Choosing tile and planning the layout
The simplest option is a small-format ceramic tile such as subway tile: it is easy to cut and does not need leveling clips or back buttering. Buy an extra 10 to 15% for cuts and mistakes. Layout is described as one of the most challenging and important steps. Lay out several tiles with spacers, measure the total width and divide by the number of tiles to include grout thickness. Start at the most visible end, check for slivers beside cabinet edges, windows or corners, and consider cutting the first tiles to shift everything over. The bottom row often needs a partial tile, especially if the countertops are not level. His mosaic picket tile made a few slivers unavoidable, so he prioritized the most visible areas.
Edging and pre-cutting
For open wall ends he uses Schluter edging, chosen to be just barely thicker than the tile. A miter saw with a metal-cutting blade cuts it best; plastic edging is an alternative. A normal wood blade can work but is dangerous, and he says to use it at your own risk.
His central advice is to cut as many tiles as possible before gluing. Working a section of 3 to 5 feet or less, he marks outlet locations and measurements on a wall diagram, lays the tiles flat with spacers, and marks cuts with a wax pencil, which a magic eraser removes. He leaves a 1/16 inch gap around countertops, cabinets and inside corners. A wet saw gives the cleanest cuts and is essential for small slivers; a manual cutter under $50 is another option, and an angle grinder with a diamond blade suits outlet cuts but is dusty and jagged.
Setting the tile
Before gluing, he installs a ledger board behind the stove gap, covers the countertops with paper, shuts off the breaker and removes the outlets. Thinset takes about 20 minutes to mix, needs no primer and does not break down when wet. Mastic suits a kitchen since the walls rarely get wet, but the walls must be primed first. He spreads it with the flat side of a trowel or a putty knife, then combs it with a 3/16 inch V-notched trowel at 45 degrees. A spacer or wedge goes under the bottom tile to keep an expansion gap at the countertop, and spacers come out after about 30 minutes.
Grout and caulk
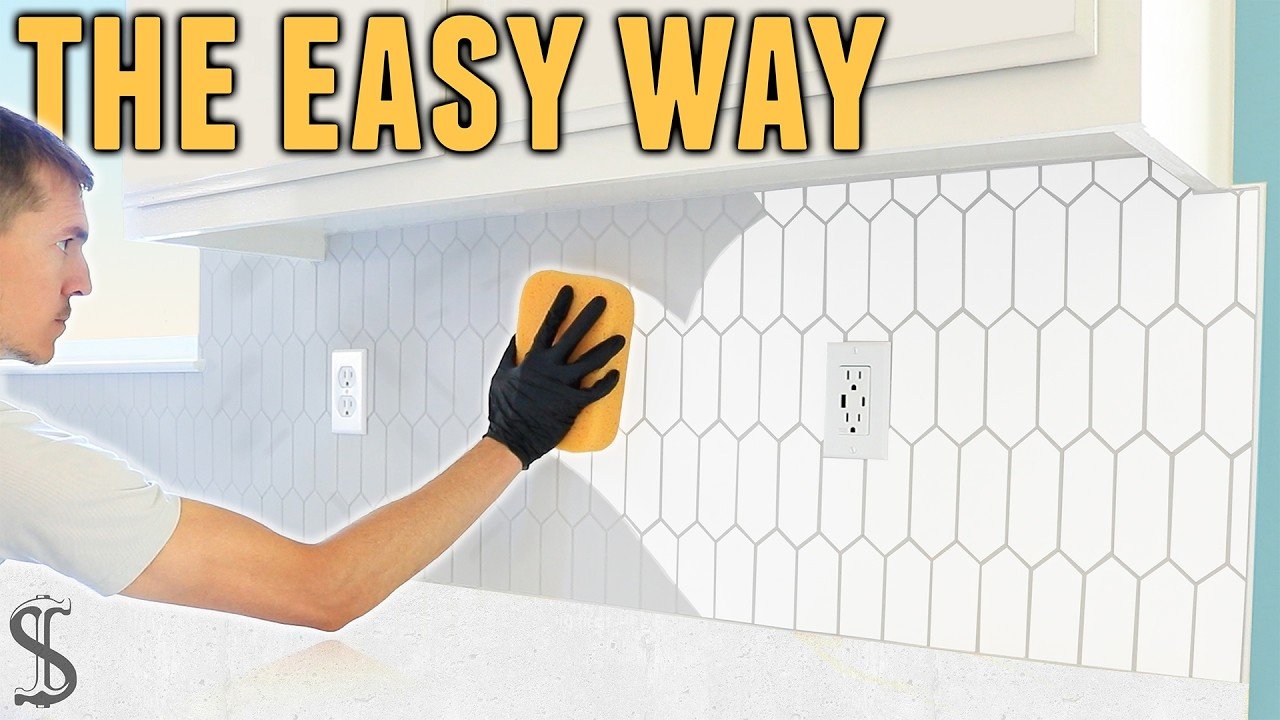
After the thinset sets, usually overnight, he mixes only about a quarter of a bag of grout, to the consistency of creamy peanut butter. He sets a timer for 25 minutes from the start of grouting, then cleans with a wrung-out sponge. Grout is removed from the countertop and corner joints, which are caulked later with silicone matching the grout, using blue tape and a popsicle stick to shape the line.
Questions this video answers
What is the easiest tile to install for a backsplash?
A small-format ceramic tile like subway tile. It is easy to cut and does not need leveling clips or back buttering.
How much extra tile should I buy?
Buy an extra 10 to 15% for cuts and mistakes.
Should I use thinset or mastic?
Either works. Thinset is stronger, needs no primer and is water-resistant, but takes about 20 minutes to mix. Mastic needs primed walls but needs no mixing.
How long should grout be applied before cleanup?
Set a timer for 25 minutes once grouting starts, then stop applying and clean up with a wrung-out sponge.
How much does it cost?
The creator's 30 ft² job cost $353; most people using mid-grade ceramic tile should expect $400 to $600.
How long does it take?
Most DIYers should plan about six full days from demo to grouting.
Explore related projects
Connected by the topic: Tile