Filling Big Gaps with Backer Rod and Paintable Latex Caulk
The short version
Vancouver Carpenter shows how to fill large gaps with latex caulking by first installing foam backer rod set about 1/8 under the surface. He tapes off the surfaces, wipes the caulk with a 2 inch knife, and checks the shrinkage four or five days later. The gaps are around a kitchen sink area.
Full written account
Big gaps can be caulked cleanly if something fills the depth first. Vancouver Carpenter fills wide gaps around a kitchen sink area using foam backer rod, paintable latex caulking and a 2 inch knife, then returns four or five days later to check how much the caulk shrank.
Backer rod first
Backer rod is a foam material that goes into the gap to stop the caulking from shrinking so much. It comes in several sizes, and it should fit fairly snug; if it isn't snug, it is too narrow. It is cut to length and set about 1/8 under the surface. The depth needs to be pretty uniform, otherwise the caulking shrinks at different rates and won't be flat.
Latex, not silicone
The gap runs up against a wall that needs to stay paintable, so latex caulking is used instead of silicone. The product shown is Dynaflex 230 in white. The tools are backer rod, a putty knife and a caulking gun.
Taping and filling
Tape goes almost right on the edge of the surfaces to protect, leaving just a sliver of the marble material showing, and the edge is pressed down to seal it. If both surfaces needed protecting, both would be taped; here the other side is a painted surface. The gap is filled so it is a little over full, with the nozzle tip cut a bit bigger than usual.
Wiping with the knife
A pad holds the caulking wiped off the knife, and a cloth keeps the knife clean. The square edge of the knife stays against the ceiling, which leaves a clean edge on the wall; if a built-up edge appears, the knife angle needs to change. There should be only a thin white film on the tape. Angling the knife into the corner pulled material out, so he restarted that stretch with a steady angle against the wall. Sometimes a second pass is needed to get the stuff off the wall.
Shrinkage after four or five days
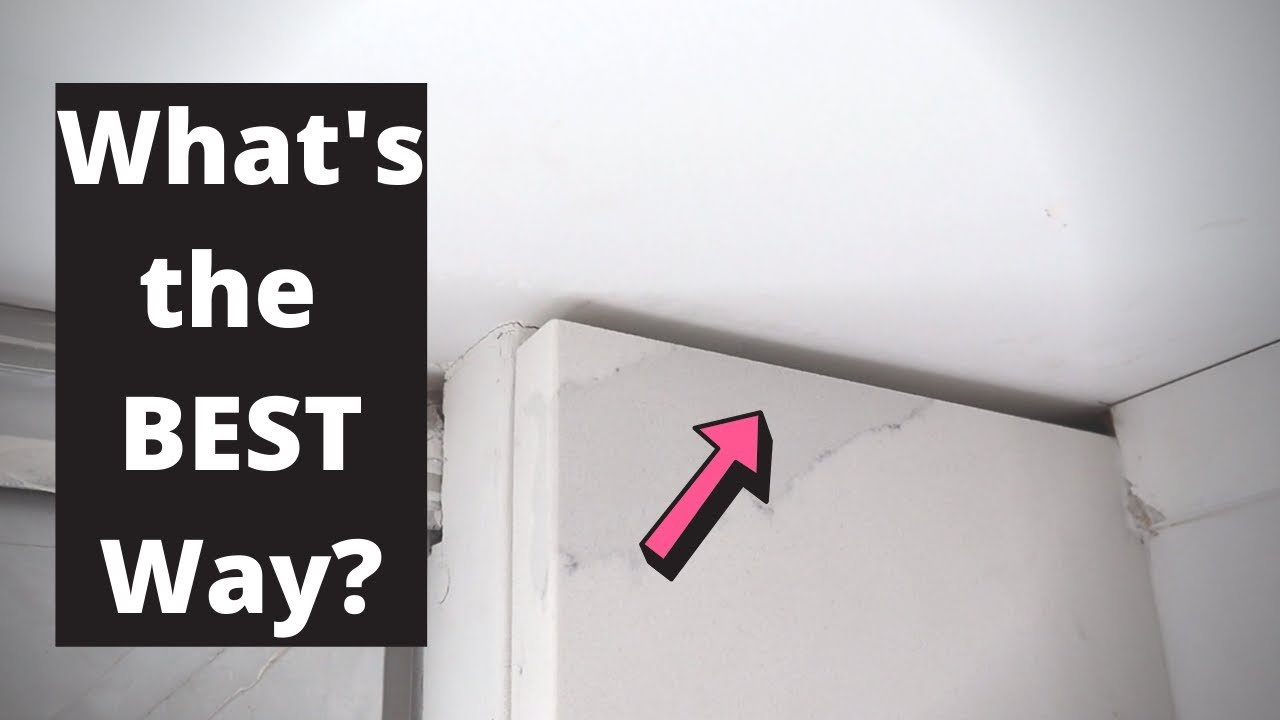
The largest gap, shown in the thumbnail, coved out only slightly and looked flat from the floor. The first gaps shrank about two millimeters from flush. For a truly flush result, leaving the tape on and applying one more coat would leave maybe half a millimeter of shrinkage. One transition with a gap of about 3/8 coved a little, though painting should help it blend.
The backer rod is described as crucial: without it the caulking would have shrunk much more and looked wobbly, because uneven depth behind a smooth line shows when it shrinks.
Questions this video answers
What is backer rod for?
Backer rod is a foam material pushed into the gap to stop the caulking from shrinking so much. It also keeps the depth behind the caulk even, so the finished line doesn't look squiggly.
What type of caulking is used for big gaps?
Latex caulking, because it goes up against a wall and needs to stay paintable. Silicone was not used.
How tight should backer rod fit?
It should fit fairly snug; if it isn't snug, it is too narrow. It is set to about 1/8 under the surface and kept uniform so the caulking shrinks at the same rate.
How much does the caulking shrink?
The caulking shrank about two millimeters from flush after four or five days. For a flush finish, the video recommends leaving the tape on and doing one more coat, leaving maybe half a millimeter of shrinkage.
How do you avoid a built-up edge when wiping?
Keep the square edge of the knife against the ceiling and hold a steady angle against the wall. Don't angle the knife into the corner, because that pulls material out.
Explore related projects
Connected by the topic: Carpentry

