How to Finish a Basement
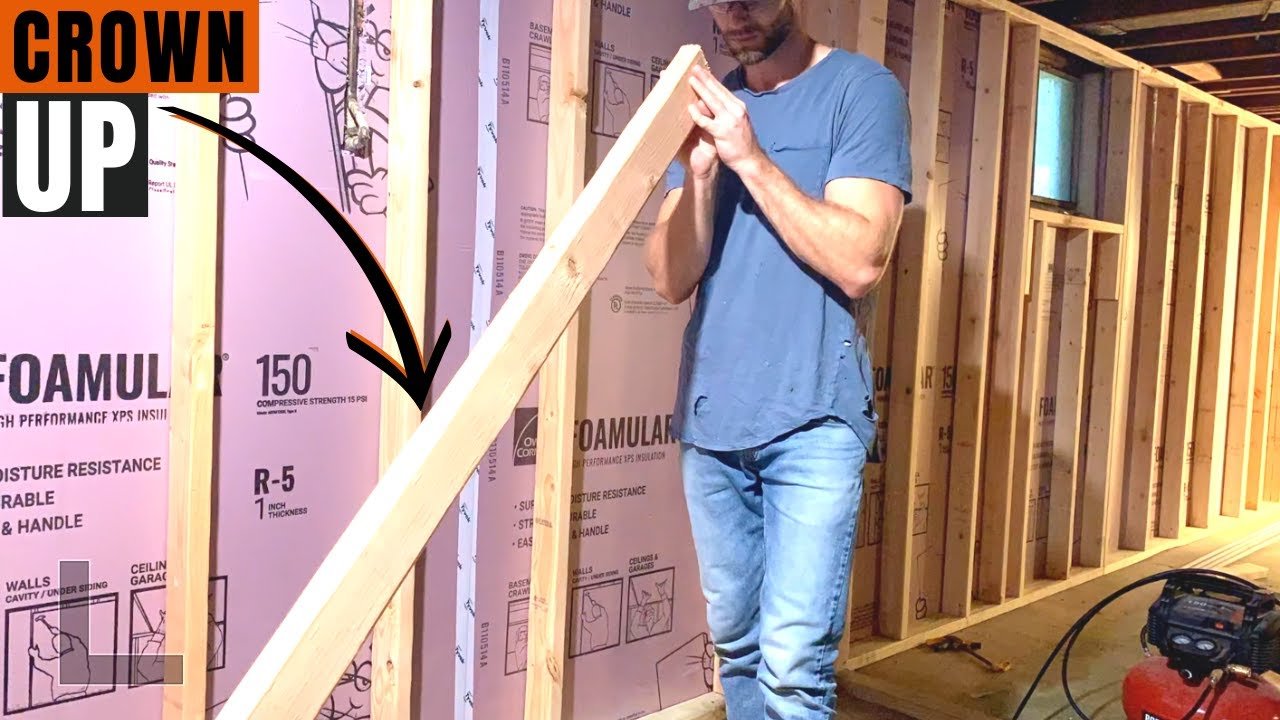
Part 2 of a basement finishing series shows how the creator framed his basement walls with a pressure-treated bottom plate, a top plate and studs 16 in. on center.
Key moments
-
Watch this moment · 0:26
Wall parts and stud spacing: plates and 16 in. on center
-
Watch this moment · 0:43
Measuring wall height and calculating stud length
-
Watch this moment · 1:50
Nailing plates, lifting the wall, anchoring with Tapcon screws
-
Watch this moment · 3:14
Powder-actuated tool as a faster option
-
Watch this moment · 3:53
Sump closet and stick framing
-
Watch this moment · 5:14
What he would do differently: frame on the ground
-
Watch this moment · 6:00
California corners
Key facts
| Materials | 2×4 lumber (pressure-treated bottom plate, kiln-dried top plate), 3 1/2 in. nails, Tapcon screws, furring strip |
|---|---|
| Project | How to Finish a Basement |
| Series channel | Andrew Thron Improvements |
| Part | 2 |
Sources: The facts and written text on this page come from the 1 video on this page, by Andrew Thron Improvements.