Shed Interior Walls With OSB: Cutting Around Boxes and Doors
The short version
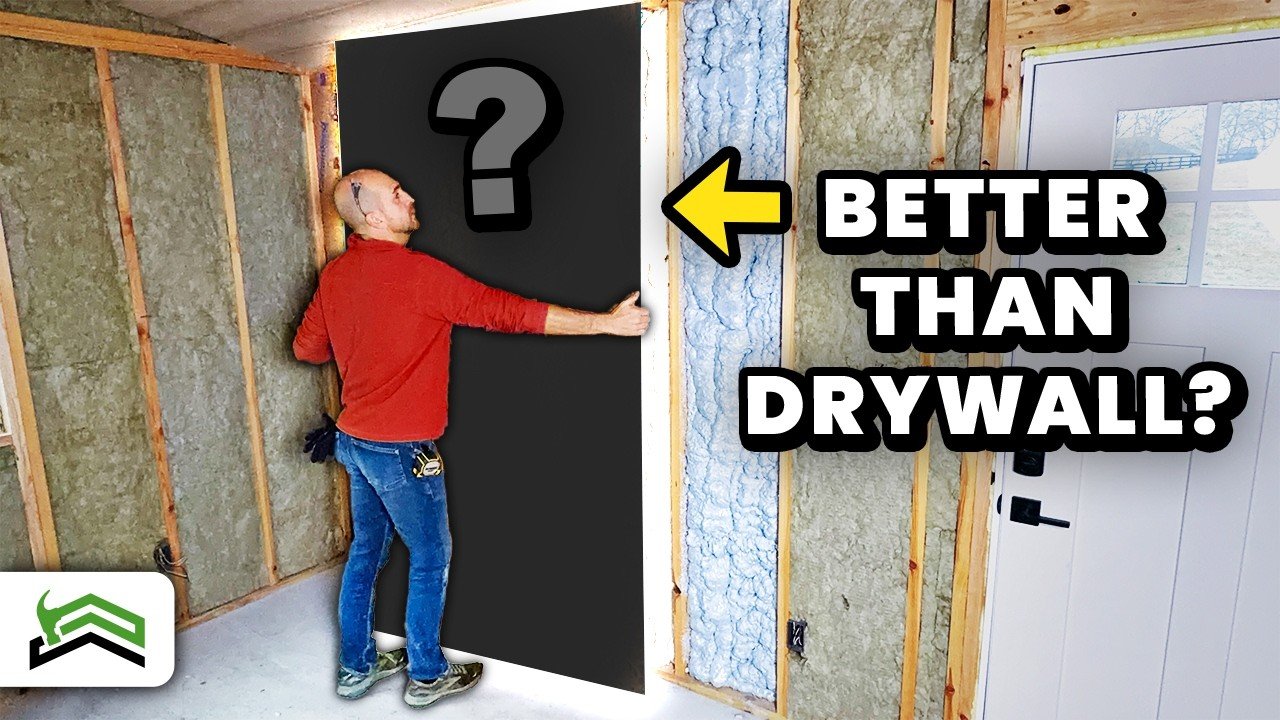
Scott of Everyday Home Repairs shows how to cover insulated shed walls with 5/8 in. OSB instead of drywall. He covers cutting the first sheet, countersinking screws, cutting around electrical boxes and a 36 in. door opening, and an optional 1/4 in. sanded plywood layer.
Full written account
Drywall was ruled out for the interior walls of a 12×16 modern shed, where the insulation was already done. The reasons given: taping, mudding and sanding are messy, and results are hard to get right without experience. The alternative is 5/8 in. OSB at about $21.50 for a 4×8 sheet, which the video puts well under a dollar per square foot. Truss core, by comparison, can run between $4 and $6 per square foot depending on the type.
Choosing the material
A channel poll asked whether people prefer drywall, plywood, truss core or other for a shed or detached garage. The vast majority chose plywood, and many of those picking other named OSB. Either OSB or plywood comes down to look and cost.
The first sheet
The first full sheet has no electrical box. The wall measured 93 in., and the sheet is cut to 92 3/4 in. to leave a quarter inch of gap above the concrete so moisture can dry out. With no track saw, a piece of LP trim board serves as a straight edge for the circular saw guard, offset an inch and a quarter. A story stick marks the screw locations, which matters most if the wall will not be painted, so the screw lines stay straight.
Countersinking and fastening
A small countersink bit mounted on an impact driver is used on every hole, especially at the edges, to avoid blowing them out. The sheet is shimmed at the bottom, factory edge matched to factory edge where possible for a consistent gap, and centered on the studs.
Cutting around electrical boxes
For the next panel, a laser line level transfers the box corner location from the installed OSB. The sheet is secured, then a one-gang box is marked at 2 1/2 in. wide and 4 in. deep. A new wood blade on an oscillating tool cuts the outline, then the depth through the 5/8 in. OSB, and the result lines up with the box.
The door sheet
The most complex sheet has a single-gang outlet box, a dual-gang light switch box and half of a 36 in. door opening. Small screws in the door frame hold the sheet off the door and wall, and screws beside the factory edge close the gap between sheets before any cutting. The door cutout is offset about 1 in. inward from the frame for the reveal. The circular saw is set to 3/4 in. to barely pass through the 5/8 in. sheet, then the oscillating tool finishes the corners. The final sheet needs only the door cutout.
Painting or plywood
The OSB can be painted. Alternatively, 1/4 in. sanded plywood can go over the 5/8 in. layer, which lets you hang items without finding a stud and can be stained. It cannot be installed alone and is less forgiving than OSB, which hides imperfect lines.
Questions this video answers
What does the video use instead of drywall for shed walls?
5/8 in. OSB, about $21.50 per 4×8 sheet in the video, with 1/4 in. sanded plywood as an optional finish layer over it.
How much gap is left at the bottom of the OSB?
A quarter inch, so moisture that gets under the sheet can dry out. The bottom is shimmed to keep the OSB off the concrete.
How are cutouts for electrical boxes made?
Mark the box (2 1/2 in. wide by 4 in. deep for a standard one-gang box), outline it with an oscillating tool and a new wood blade, then work the depth through the 5/8 in. OSB.
Why countersink the screw holes?
A small countersink bit on an impact driver lets the screws set securely without blowing out the edges of the panel.
Can the sanded plywood be used alone?
No. The 1/4 in. sanded plywood cannot be installed by itself; it goes over the 5/8 in. OSB, and it is stainable but less forgiving to install.
Explore related projects
Connected by the topic: Build a shed

