Pocket Door Install: Reframing the Opening and Hanging a 32-in. Door
The short version
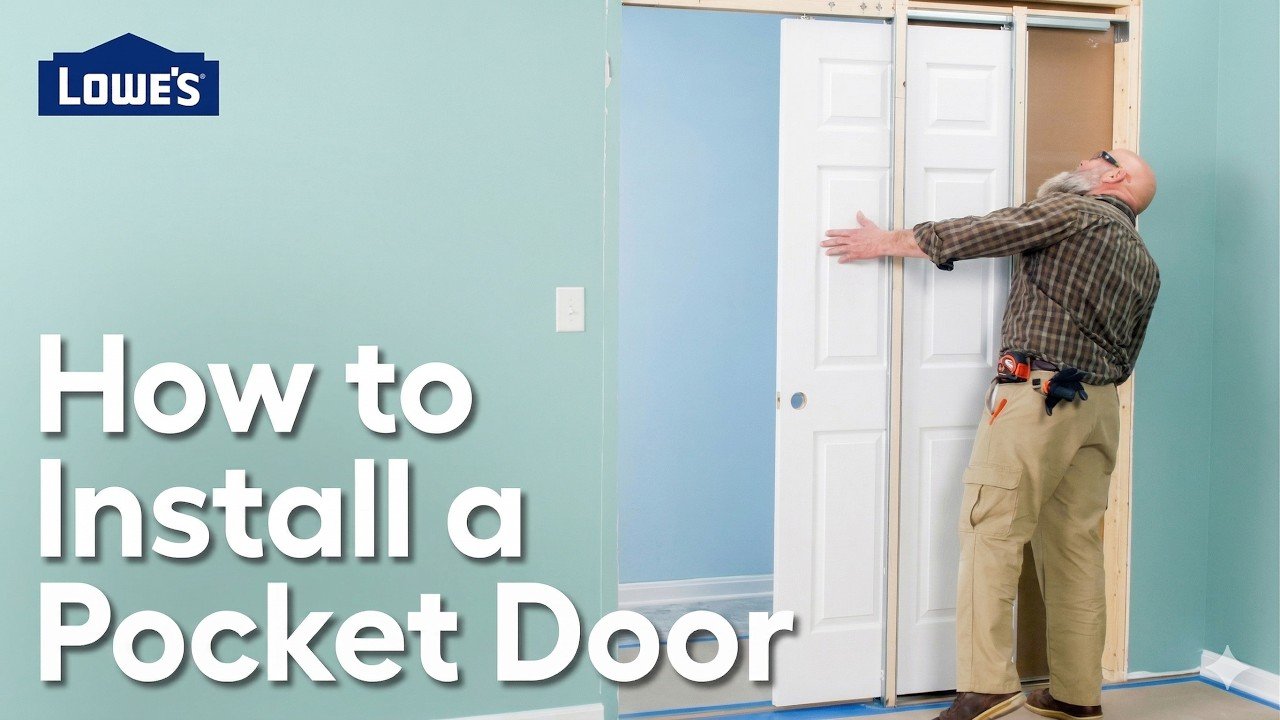
A Lowe's how-to shows replacing a standard door with a custom pocket door kit. It covers removing the old door, jambs and framing, building a new 65 1/4 in. by 84 1/2 in. opening with a double 2×4 header for a non-load-bearing wall, installing the kit's track and split jambs, hanging the door, and finishing with jambs, hardware, trim and paint.
Full written account
Installing a pocket door kit means reframing the opening, and the demonstration in this Lowe's walkthrough ends with a framed opening 65 1/4 in. wide by 84 1/2 in. tall for a 32-in. door. Before any cutting, the presenter, Matt, says to check local codes and to contact a professional for any electrical work and to determine whether the wall is load-bearing.
Checking the wall first
The video says a wall is most likely load-bearing if it runs perpendicular to the floor or ceiling joists or has a beam or foundation post underneath. It also advises checking that finished jamb stock will cover the flooring expansion gaps, either by using the same type or thicker jamb or by making the doorway smaller.
Demolition
The old door comes off first, then the hinges and strike plate. The caulk along the casing is scored and the casing pried off. An oscillating tool cuts through the fasteners in the jambs, and the baseboards are removed from the work area. The existing slab is reused for the pocket door because its mortise will be hidden inside the pocket.
A stud finder locates the studs, and the pocket door outline is marked following the manufacturer's directions. The video warns against placing a drywall seam over the corner of the door, since it is more likely to crack. Only one side of the drywall needs to be removed, though removing both makes the work easier. Studs and the existing header are then taken out by cutting the nails, and the 2×4 bottom plate is cut away only where the new framing goes.
Framing
A new king stud goes on the pocket side, with new jack studs supporting the new header. Contractors will usually use at least a double 2×6 header with spacers, but for a non-load-bearing wall a double 2×4 can be used. The jack height is measured at 84 1/2 in. from the finished floor, with the header top marked 3 in. higher. The studs above are spaced at the standard 16 in. on center.
The kit
The kit header has pre-marked cut lines for standard door sizes, and the nailing strip and header strike assembly are cut at the 32-in. marks. The aluminum track is cut 2 in. shorter with a hacksaw so the trolley can be inserted later. A screw in the slotted hole lets the header be adjusted, and the track must be level. Split jambs go near the opening against the track header, with a second set centered between the opening and the wall stud, and are attached with the included 2-in. nails.
Hanging and adjusting
Hanger plates are set back 7/8 in. from each end. The door clicks onto the trolleys, the lock tabs are closed, and the included wrench adjusts the hangers for level and floor clearance. Guides go about 4 in. off the floor. A bumper is installed 40 in. off the finished floor, with a wood shim behind it because the gap measured just under an inch and the bumper about 5/16 in.
Finishing
After testing the door, drywall is replaced, with screw length chosen so it won't interfere with the door, and the walls are painted. Finished jambs of 3/4 stock go around the opening; the top jambs get only a couple of nails so they can be removed if the door needs adjusting. The pull, latch bolt and strike plate are installed, followed by casings, baseboards, filler and paint. The threshold may need cutting down to fit.
Questions this video answers
How do I know if the wall is load-bearing?
The video says a wall running perpendicular to the floor or ceiling joists, or with a beam or foundation post underneath, is most likely load-bearing, and to contact a professional to determine it.
What size is the framed opening?
The new frame opening is 65 1/4 in. wide by 84 1/2 in. tall, for a 32 in. door.
What header can be used on a non-load-bearing wall?
A double 2×4 header. For most installations contractors use at least a double 2×6 header with spacers.
Can the old door be reused?
Yes, the slab is reused; the mortise is hidden inside the pocket. A new slab can be used to change the style or hardware.
Who should do electrical work?
The video says to always contact a professional for any electrical work.
Explore related projects
Connected by the topic: Carpentry

