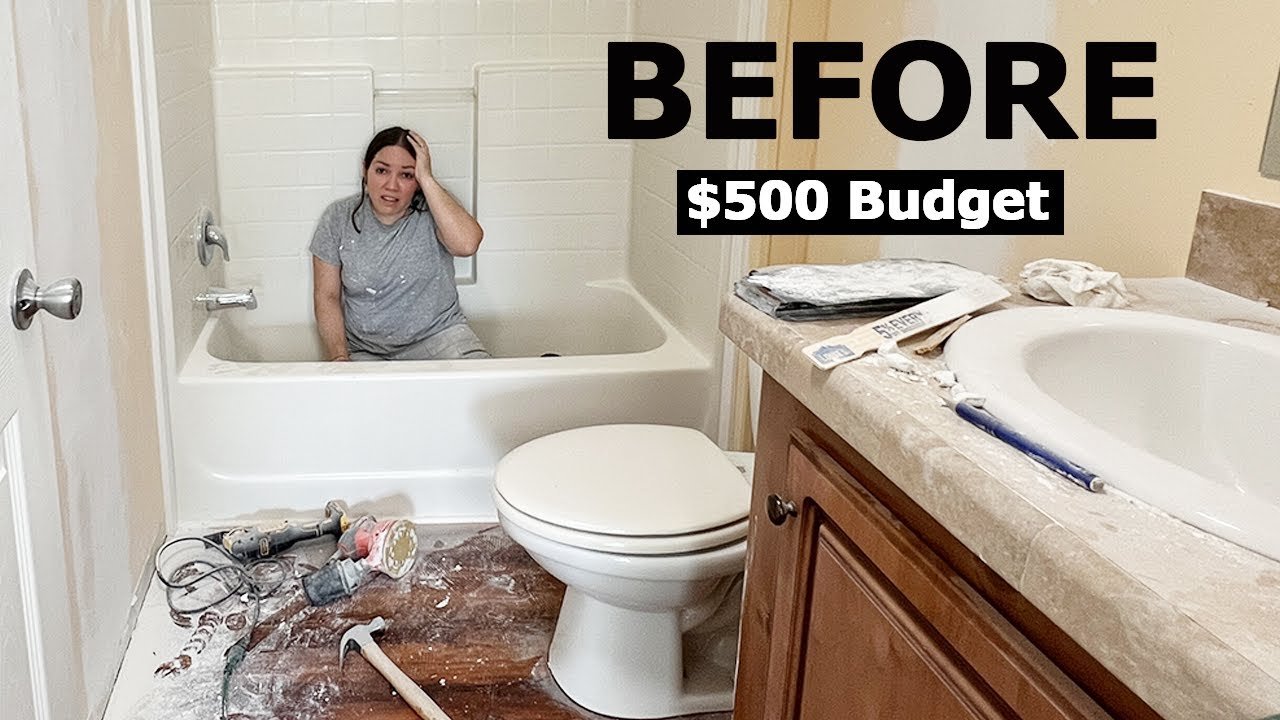
How To Drywall Bathtub & Shower Walls with No Specialty Tools or Supplies.
The short version
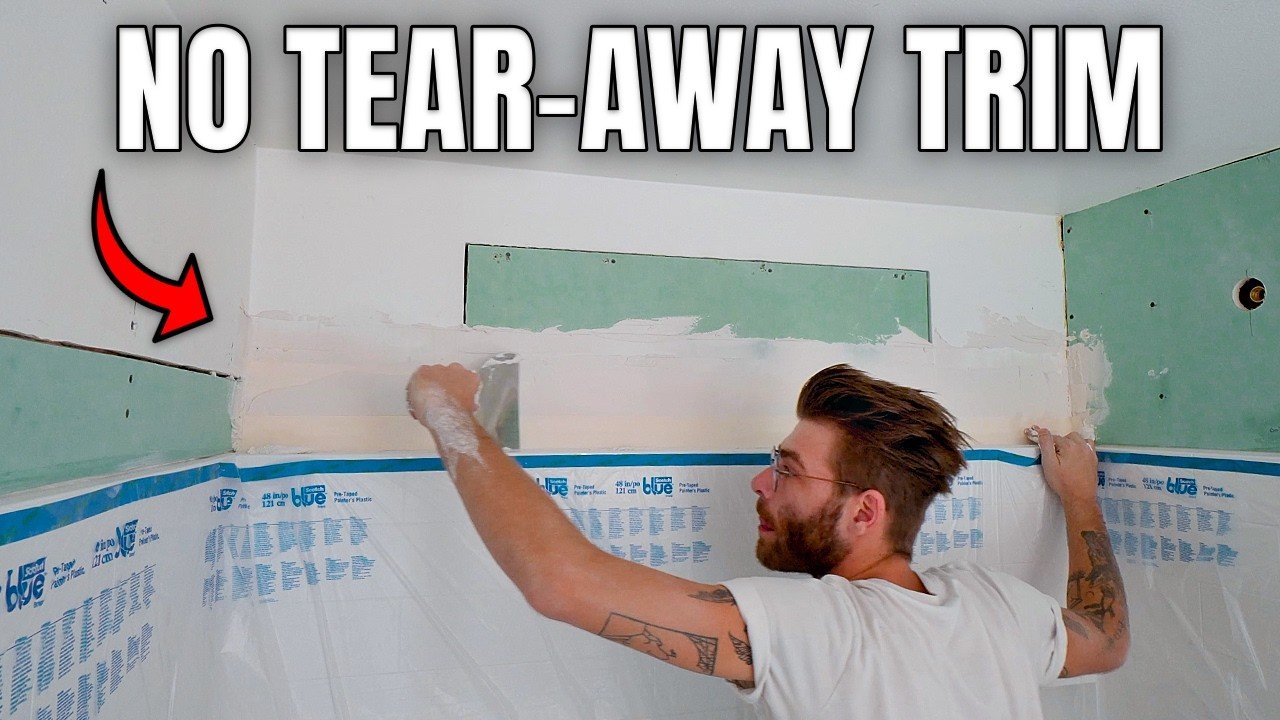
Shows how to drywall around a tub and shower insert using only standard drywall supplies: mold resistant board, paper tape and joint compound, with no tear-away trim. The presenter shims the walls plumb, seals the flange with silicone, screws up the board, then applies three coats, starting with 40-minute hot mud, and finishes with a level 5 skim coat.
Full written account
Finishing drywall around a tub or shower insert is usually associated with Trim-Tex tear-away trim, which the presenter found hard to get and expensive. The alternative shown here uses only paper drywall tape, joint compound and a drywall knife, the "classic" method, and ends in a level 5 skim coat finish.
Preparing the walls
The stall is masked first with pre-taped masking plastic. Because sliding shower doors are going in, the wall has to be plumb. One side needed to kick out at the top by almost an eighth of an inch, so a three-layer tapered drywall shim went behind the wall, thinner at the bottom, and a level confirmed the result.
An oscillating multi-tool with wood and metal blade cut away old drywall and metal trim along the top to leave a consistent 4 in. reveal. On the vertical edges the cut was taken a little further in the middle of the joining 2×4 so the new piece is wide enough not to be brittle and break during installation. Extra screws locked the old drywall in.
The original strips above the flange were left in place. On the other two walls, plywood about an eighth of an inch thick, cut roughly 3 in. wide with a circular saw, was nailed to the 2×4 studs with a brad nailer as blocking just above the flange.
Hanging mold resistant board
Green mold resistant drywall is the choice for a bathroom, and a sharp utility knife cuts it with far less dust than power tools. A multi-tool or jigsaw handles non-straight cuts. The side pieces were 3 in. wide and the piece above the shower wall closer to 4 1/4 in.; tight margins are unnecessary because joint compound fills the gaps.
Before screwing, a bead of silicone caulk, not latex, goes at the base of the flange so water cannot creep behind the drywall to reach the screws, with a dollop on each screw. The screws are 1 5/8 in., where 1 1/4 in. is standard for walls, spaced about 12 in. apart. They should not sit proud of the paper, nor be recessed enough to break the paper face.
A scrap held against the shower drop ear showed about a 1/4 in. gap, so one 2×4 block was swapped for a 3/4 in. radiator pine board. The shower arm opening was cut with a hole saw in a drill.
Three coats
The first coat is fast-set 40 joint compound, which sets in 40 minutes so a second coat can follow quickly. Compound is flooded on, pre-cut paper tape is centered over the seam and bedded with medium pressure, and corner tape is bent along its center seam. Bubbles in the tape mean too much compound behind it or too little. Mixing more than about a quarter of the bag at once is not advised unless you are a pro. A wet sponge cleans up, and the first coat was sanded with 120 grit.
The second coat is lightweight all-purpose compound applied with a 10 in. knife, built up slightly heavy and then feathered out in one continuous swipe. A fan combined with dry desert air dried it too fast and it cracked, so the cracks were backfilled.
Sanding the third pass used 220 grit sanding net trimmed flush so it would not scratch the tub, and a sanding sponge near the shower walls. The presenter says most tutorials stop at two coats but suggests beginners plan for a third. A level 5 finish is described as dead smooth with no texture; someone spraying texture can stop one coat sooner.
Questions this video answers
Do you need Trim-Tex tear-away trim for a tub surround?
No. The video uses paper drywall tape and joint compound, and says people have made showers this way for decades.
What drywall should be used in a bathroom?
Green mold resistant drywall, which the video recommends for pretty much anywhere in a bathroom.
What caulk goes at the tub flange?
Silicone caulk, not latex, applied as a bead at the base of the flange before the drywall goes up.
How many coats of joint compound are needed?
The presenter says most tutorials stop at two coats but suggests planning for a third for beginners.
Why did the joint compound crack?
The presenter says the dry desert air and a fan made the second coat dry too quickly and crack.
Explore related projects
Connected by the topic: Drywall