DIY Kitchen Remodel: Heated Tile Floor, Cabinets and Counters
The short version
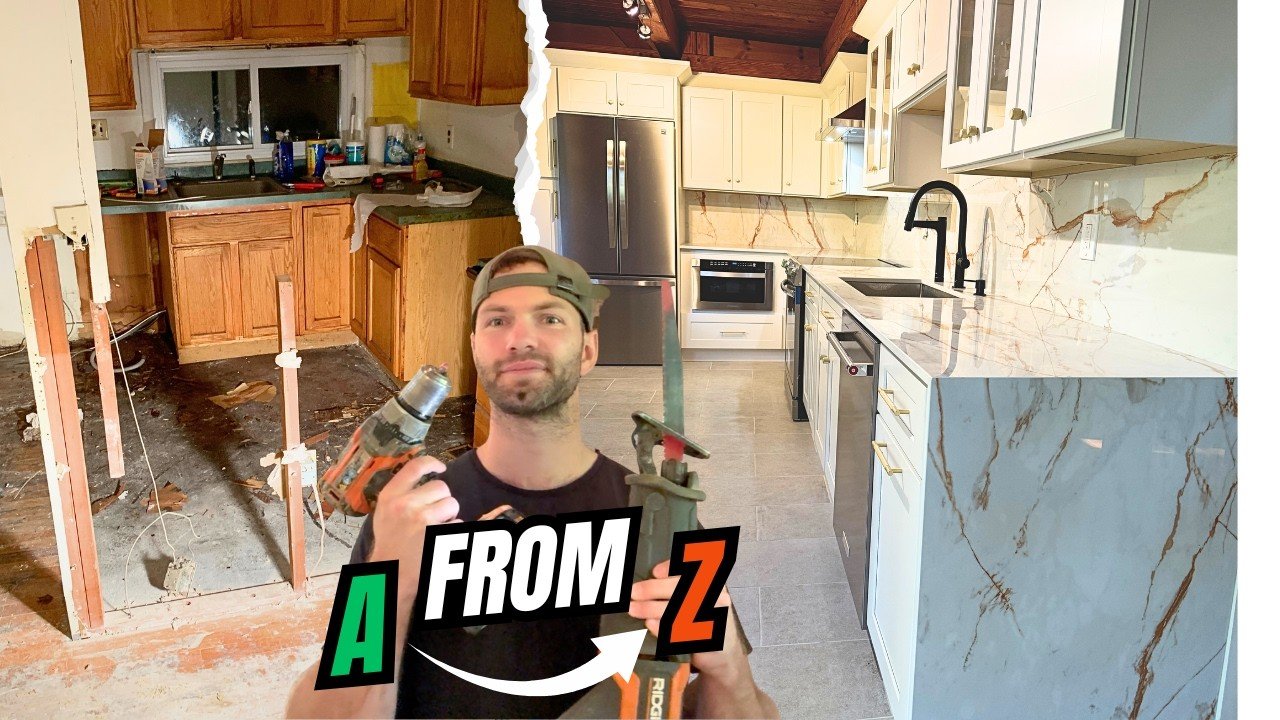
Andrew Thron walks through a full DIY kitchen remodel in six stages: planning, demolition and rough-in, a heated tile floor, cabinet installation, countertops, and final touches. He installs a Schluter DITRA-HEAT floor, ProCraft cabinets, Decton Awake countertops, a reverse osmosis filter, a garbage disposal and crown molding. He estimates materials at $15,000 to $17,000 and a contractor price of $35,000 to $40,000, as his own guess.
Full written account
Andrew Thron remodeled his own kitchen in a 53-minute, start-to-finish walkthrough published in August 2025, and put the materials bill at roughly $15,000 to $17,000 with no labor included. His guess is that a contractor would have charged around $35,000 to $40,000 for the same job. The remodel runs through six stages: planning, demolition and rough-in, tile flooring with a heated floor, cabinets, countertops, and a final punch list.
Planning the layout and the budget
Thron sorts planning into three buckets: the look, the layout and function, and the balance between must-haves and budget. He draws the room to scale, using the free version of SketchUp for a 3D model, and picks appliances or at least their sizes early so the cabinet gaps can be planned around them.
He hired an interior designer to sketch layouts. One moved the sink to the opposite wall because of the large bay window, but it would have cut the wall cabinets and meant relocating all the plumbing. He kept the existing layout with tweaks, including a built-in fridge with a pantry panel and a coffee bar on the opposite wall. Budget and ease of installation drove that choice. A drawer microwave and a range hood required a few changes to electrical receptacles. A pot filler above the stove was dropped because of the plumbing it would need.
Demolition and rough-in
Before demo he flipped every breaker feeding the kitchen and shut off the supply lines or the main line, so as not to hit a live wire or a pipe. Appliances were unplugged and hauled out, and the cabinets, held by a few screws into studs, were listed on Facebook Marketplace rather than dumped. The over-the-range microwave comes off by unscrewing bolts that come up into the cabinet and tipping it forward off its bracket. The sink supply stubs were cut back, cleaned with emery cloth and given temporary SharkBite caps so the new sink cabinet could sit against the wall. Powering the appliances, he says, should be done by a licensed electrician.
Heated tile floor
Old mortar on the plywood subfloor was ground off with an angle-grinder attachment that he says saved about 3 hours. He used the Schluter DITRA-HEAT system: peel-and-stick sheet membrane with sound control and thermal break, applied over a rolled-on primer for plywood. Sheets were dry-fitted, numbered with painter's tape, and staggered so there is no single long joint.
Before installing the cable he ran two tests. The factory resistance was 12.41 ohms and his multimeter read about 12.6, within the 10% allowed. A continuity check between the heating cable and grounding braid should read overload or infinity. Both tests were rerun after installation, and a test log is filled out for warranty purposes.
A licensed electrician ran a dedicated 120 V, 20 A circuit to the thermostat box, with a Smurf tube down to the floor for the cables. Layout rules he gives:
- Keep cable 2 in. from cabinets, partitions and walls, and 4 in. from forced-air vents.
- Alternating three-stud and two-stud spacing is allowed; alternating two-stud spacing is not, because it causes overheating.
- The cable cannot be cut, so the spool length must match the room.
- Put the temperature sensor mid-grid, at least 12 in. from the wall (he used about 24 in.), with a backup sensor coiled in the box.
His first three-stud layout had to be torn out and redone, and he ended up short and returned to three-stud spacing near the end.
He tiled 12 in. x 24 in. porcelain in a half-offset brick pattern with a 1/2 in. square-notch trowel, back-buttering each tile and using leveling spacers. Because cabinets would hide the back of the room, he started tiling at the front so the visible area would be perfect, then finished the back 24 hours later. Spacers are knocked out with a boot or rubber mallet, never a regular hammer. Grout went on at 45 degrees, was scraped off with the float at 90 degrees, and the haze was wiped with a wet sponge. He sealed the grout lines, then wired the DITRA-HEAT thermostat.
Cabinets
The ProCraft cabinets, in the color oatmeal, came to just over $4,000 including assembly and delivery. Upper cabinets went in first, hung from a 2×4 ledger board with the tops at 84 in. (54 in. to the bottom, 30 in. tall cabinets). Using a laser level projected into the cabinet, he lined screws up with marked studs, using at least four screws. Face frames were clamped, pre-drilled and joined with white-headed GRK screws.
For the range, he spaced the cabinets 30 and 5/8 in. apart to allow for the face frames. For base cabinets, he found the room's high point by measuring from the floor to a laser line; the smallest number is the high point. He measured up 34 1/2 in. from there. Shims, sometimes taped in place, raised the cabinets to that line. The dishwasher gap was 24 in. The sink cabinet holes were located by measuring to the pipe centers and drilled halfway from each side to limit tear-out. A cabinet jig, about $10, marked hardware holes.
Countertops
He rated marble, granite, quartz and solid surface. Marble was expensive and high-maintenance. Quartz, 90 to 95% quartz stone with pigments and resins, was his go-to, though it can scorch from hot pots. He chose Dekton Aeon slabs, which the company offered to supply if he paid for fabrication. A fabricator measured with a laser after the cabinets were in, and the crew joined seams with epoxy resin and a hydraulic tool, and added a mitered waterfall edge. Butcher block, concrete and laminate, he says, do the least for resale.
Final touches
A ProPress tool let him rough in valves and piping in about 5 minutes. He installed a garbage disposal with plumber's putty and a Water Drop X12 reverse osmosis filter, drilling a 1 in. hole for its faucet, and chipped the counter there; the faucet covers it. Window trim and crown molding were cut on a miter saw, with crown molding stops so he could cut upright at 45 degrees, and nailed with brad nailers.
Questions this video answers
Why did the creator test the heating cable?
A conductor resistance test checks the cable was not damaged in shipping. The reading of about 12.6 ohms was within 10% of the 12.41 ohm factory value. A continuity test between the cable and grounding braid should show an overload.
What heating cable spacing is not allowed?
Alternating two-stud spacing is not allowed because the cables can overheat. The cables also cannot be cut.
How high are the wall cabinets hung?
The standard mounting height is 54 in. from the floor, so the 30 in. tall cabinets top out at around 84 in.
How does he find the high point for base cabinets?
He sets a laser level, measures from the floor to the line around the room, and the smallest number is the high point. He then measures up 34 1/2 in. from it.
How much did the cabinets cost?
Just over $4,000 for the ProCraft cabinets, including assembly and delivery.
What does he estimate the whole remodel costs?
Materials about $15,000 to $17,000 with no labor; a contractor might charge $35,000 to $40,000, which he says is a guess.
Explore related projects
Connected by the topic: Cabinets and countertops