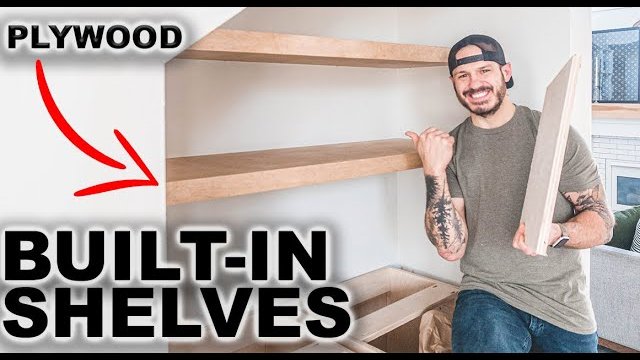
Building Plywood Built-In Shelves Under a Staircase
The short version
Mr. Build It builds plywood built-in shelves for the area under a staircase, using 3/4 inch maple plywood, mitered face frames and wood glue. He closes seams, fills nail holes, stains with a foam brush and finishes with wipe-on polyurethane. He finishes by caulking gaps against the drywall and painting over them.
Full written account
Mr. Build It builds built-in shelves from 3/4 inch maple plywood for the area under a staircase, as part of a larger under-the-staircase makeover. The shelves were requested by his wife, an interior designer who likes shelves.
Why maple plywood
He picks maple because maple and birch are among the most accessible plywoods at a hardware store, and they have the least amount of intersections when painted or stained. He says the result looks more flawless than other plywood found there.
Cutting and assembly
He shows a trick for finding 45 degrees without a digital miter gauge. He warns that cutting a narrow 2 1/2 inch piece on a small contractor table saw is sketchy and advises going thicker, such as 4 inches, and using jigs. Some parts were too wide for the space, so he went to a 1 inch or 3/4 thick piece. He pre-drills holes so the wood does not snap, and uses a laser level to mark the steps.
A reinforcing piece goes down the middle of the longer floating shelves so they do not sag. The face frame pieces are mitered at 45 degrees and fit a 3/4 inch space, with wood glue added.
Hiding seams
Where corners were not tight, he rubs a round-shafted screwdriver lightly to blend the seams, taking care not to break the plywood. He then sands lightly and dabs wood filler over brad nail holes. For hard corners he rubs filler in with a finger, then sands with 220 grit, or 120 grit if more removal is needed.
Stain and clear coat
He tests stains on a maple sample labeled with each name, including walnut, pickled, weathered oak and fruitwood; his wife chose fruitwood. Pre-stain is used to keep blotching down on woods such as pine. He once applied stain with a rag, which gave inconsistent results, so he now uses a foam brush, brushing with the grain, letting it soak about two minutes per typical directions and wiping off the excess.
Because the shelves are built in, he avoids spraying clear coat to keep it off the walls. He uses a wipe-on polyurethane with a rag, leaving a wet residue like wax on a car, for three to four coats.
Gaps at the wall
The distance from one point to a corner measured 54 1/2 inches, while a spot 16 inches deeper measured about 55 inches. He cut the difference ahead of time, but small gaps remained. He pushes a bead of paintable caulk deep into them, lets it dry and paints over it.
Questions this video answers
What plywood is used for the built-in shelves?
3/4 inch maple plywood. He chose maple because maple and birch are easy to find at a hardware store and have the least amount of intersections when painted or stained.
How does he close gaps in the plywood seams?
He lightly rubs a round-shafted screwdriver over rough corners to close gaps, then sands lightly and dabs on wood filler for small gaps.
How is the stain applied?
He brushes the stain on with the grain using a foam brush, lets it soak about two minutes per typical directions, then wipes off the excess.
What clear coat is used?
A wipe-on polyurethane, applied with a rag, at three to four coats. He chose it over spraying so clear coat does not land on the walls.
How does he hide gaps against the drywall?
He pushes a bead of paintable caulk deep into the gaps, lets it dry, then paints over it.
Explore related projects
Connected by the topic: Build built-in bookshelves