How to Tighten Door Casing Miters: Cutting, Nailing and Tweaking
The short version
A finish carpenter shows how to get tight 45-degree miters when installing paint-grade door casing. He marks reveal lines on the jamb, cuts and tweaks miters on a sliding saw, glues and nails the joints, and uses a glazier's bar, nail punch and shims to flush and close them. He notes this quick method is for paint grade, not stain grade.
Full written account
Cutting a miter exactly on the pencil line is often a hair too long, so the carpenter in this clinic cuts just shy of the line when marking head casing. That is one of several small habits he uses to get tight 45-degree miters on paint-grade door casing.
Preparation
The door he works on is true and plumb, with a level top and very plumb sides, so every miter is a plain 45 and no odd angles are needed. The casings are precut to seven feet. With a combination square he marks reveal lines on the jamb, at the top, one spot partway down and the bottom, and eyeballs the rest; he says marking the full length is fine if your eye is not good. He uses a sharp pencil and stands on a bench to mark at eye level. He avoids running a tape measure, since less measuring and fewer remembered numbers mean fewer errors.
Cutting
On the sliding saw he starts and completes each cut rather than pushing down mid-way and pulling back, because blade deflection can make the cut wander. He cuts the bottoms first. If the floor is not flat, he says to scribe the bottom for a slight angle so it sits flat. For the head casing, the most accurate way to mark length is to hold a precut piece in place and score a line with a knife. Measuring from the inside is hard because there is nothing to hook onto.
Nailing and tweaking
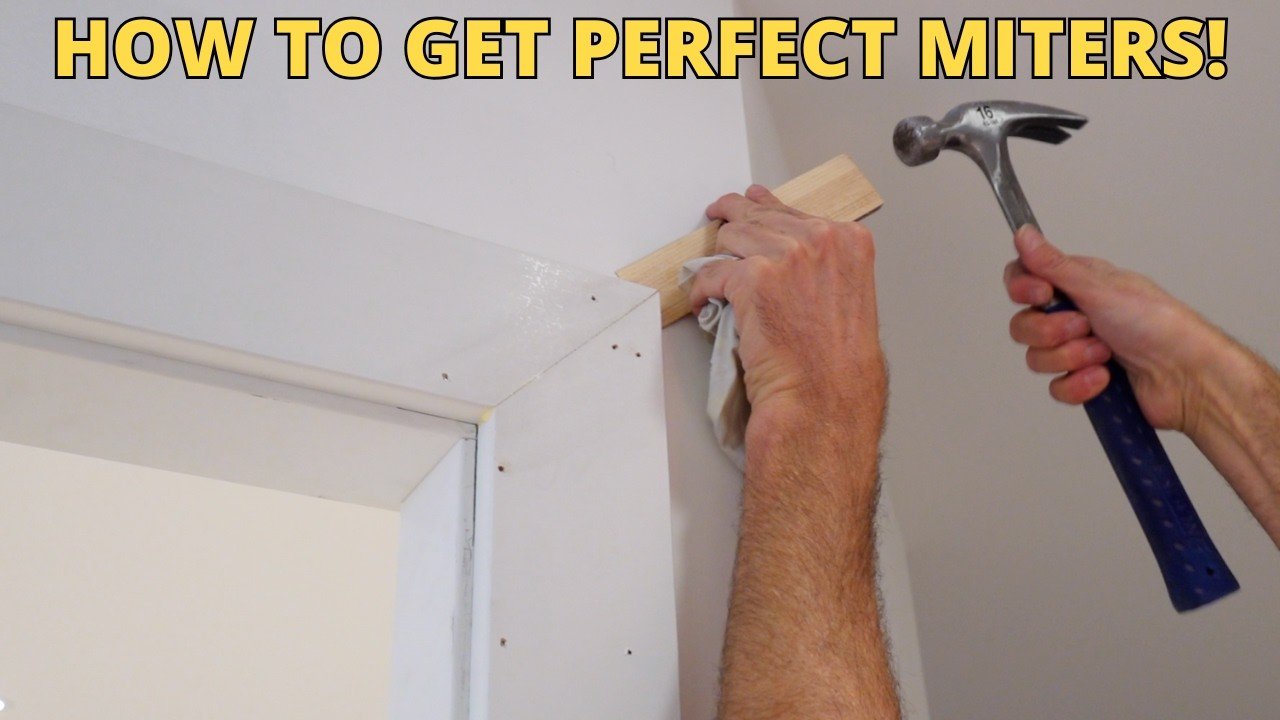
He checks how each piece wants to sit and nails the jamb side first, rather than forcing the casing tight to both jamb and wall. A glazier's bar behind the casing holds it out slightly to keep it square, and a flat-faced hammer can snug it. A nail punch handles any nail that did not set, and he says not to leave those for the painter.
If a miter is slightly long, he adjusts the saw a few taps past 45, tightens it and recuts, then sets the saw back to 45. Saws differ in how this works.
Glue and flush
He puts on plenty of glue and lets it soak in, which reduces the chance of a starved joint. A wet rag wipes squeeze-out. Nailing without the bar behind the casing pulls it tight and opens the miters, so he taps joints flush with the punch. A shim acts like a clamp to close a slightly open joint, and a palm sander can finish the flush. Wedges come out in an hour or two.
He snips any brad that comes through with pliers or end nippers, so no metal bits are ground into the floor protection.
Questions this video answers
Does this method work for stain-grade trim?
No. The carpenter says it is a quick paint-grade method and that stain grade takes far more work because gaps are not acceptable.
What is the most accurate way to mark the head casing length?
Hold a precut piece in place and score a line with a knife on the edge.
How long before the shims can be pulled out?
About an hour or two, though they can stay overnight.
How do you tell if a brad nail is holding?
Pull on the casing.
What should you do with a nail that comes through?
Snip it with pliers or end nippers so no metal bits are left on the floor protection.
Explore related projects
Connected by the topic: Carpentry

