How to Caulk, Fill, Sand and Paint Baseboards for a Smooth Finish
The short version
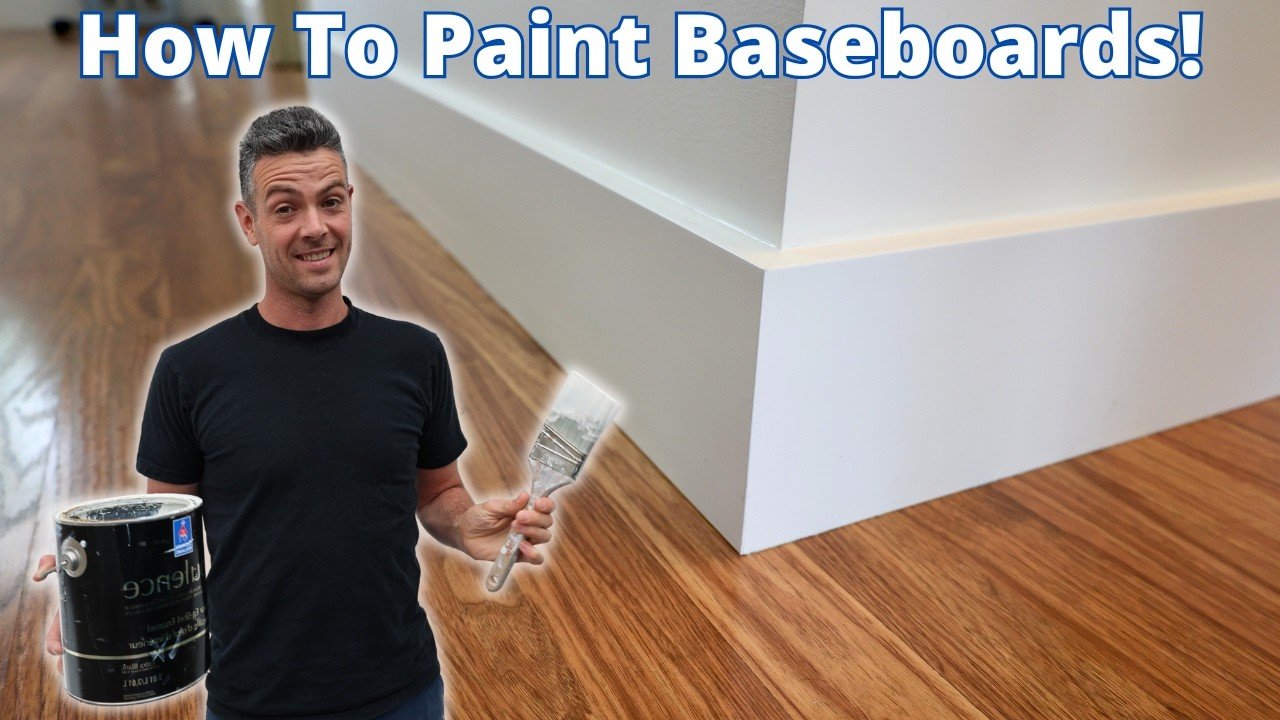
A carpenter shows how he preps and paints existing baseboards: caulking the top edge, gaps, mitres and exposed MDF edges, filling nail holes with wood filler, taping the floor, sanding with 180 grit, and applying two coats of urethane trim paint. He compares brushing with a roll-and-back-brush method and sands lightly between coats after a 24-hour wait.
Full written account
Vancouver Carpenter's 38-minute walkthrough, sponsored by DAP, covers prepping and painting existing baseboards in his own home for a near-perfect finish. His opening rule: a finish can only be as good as the job site is tidy, because dust is the enemy of a good finish on trim.
Caulk first, because it dries slowest
Caulking is the first job since it takes the longest to dry. He uses DAP Alex Plus for interior trim and cuts the spout so the hole is no bigger than a couple of millimetres. A regular dripless caulking gun is adequate for basic trim work, though it is not strong and struggles with thicker caulk.
The aim is a steady, consistent bead with even pressure, pushed downward so the caulk doesn't cove up onto the wall. He keeps a wet rag and a wet finger handy, works quickly, and stops a couple of millimetres short of the corner, since it is easier to clean out a small amount than too much. Usually one or two passes is enough. Leftover caulk on a finger can fill spots that came up short. Inexperienced work shows in the corners, he says, as little lift-offs and tags. Mitre joints get caulk too, because they tend to crack if left, and butt joints can be filled lightly.
His tip for exposed MDF edges: raw MDF soaks up paint like a sponge and can need three to four coats with sanding between. Wiping caulk onto the edge seals it quickly, so two coats of finish paint are enough with no primer.
Wood filler and flush joints
For nail holes he uses DAP Wood Pro wood filler with a 2-inch and a 1-inch knife, wiping on in one direction and off in the other. The less applied, the less sanding. He prefers a real wood filler over a softer spackle such as Dry Dex, which he considers better for walls: sanding can pull soft filler out of the hole, and on MDF the edges of the holes can fluff up as they absorb paint. Overfilling slightly lets it be sanded flush, and a second fill may be needed.
He also suggests keeping nails on the lower row well away from the caulk line at the install stage. Where a board isn't flush, the best result comes from sanding the high side with a block until the lip is gone. The quicker option on flat stock is filling, which may take more than one pass and dries fast, so he works quickly and feathers the edges.
Taping the floor
While caulk and filler dry, he tapes the floor, tucking the tape under the baseboard where possible (here over laminate, with a 2-inch knife to push it in). For inside corners he tears the tape to a near-square and tucks it under any overlap onto the baseboard. He lays tape in two- or three-foot pieces. The downside is that tape wedged under the board can be hard to remove. Without tape, he says, you must cut in at floor level.
He recommends waiting for caulk to dry before sanding: it skins over in about an hour, but can take up to 4 hours or overnight to resist denting.
Sanding
He folds half a sheet of sandpaper into four usable sides. Sanding serves three purposes:
- Adhesion. He isn't priming, and uses a Sherwin Williams urethane trim paint. The old paint powders as it sands, so he suspects oil-based paint, which latex may not grip because it is glossy and hard.
- Knocking down high spots and existing defects, with a light pass on the edge, since a sharp edge doesn't take paint well.
- Cleaning. In a kitchen he advises washing off grease properly.
New baseboard with factory primer needs only the fasteners or putty sanded. Afterwards he vacuums the top, the floor edge, the board and the corners.
Painting
The paint is Sherwin Williams Emerald semi-gloss urethane trim paint, custom tinted to Benjamin Moore Cloud White CC40. He says it is a little brighter than usual, because the store matched it by hand; the computer match tends to come out slightly too green.
He brushes the bottom first, avoiding thick paint there, and works in sections of two brush widths. Because the walls will be painted later, he can paint up onto the wall, feathering the top edge so no hard line shows under the wall paint. He brushes away from corners and avoids wiping onto an edge. He also demonstrates rolling, then back-brushing: fast and good for large jobs, but he prefers fewer tools and brush work.
He sanded after 24 hours with 180 grit, which wears toward 220-like behaviour, using a Wooster Silver Tip brush. Waiting lets drips sand out, which is hard if recoating within about 4 hours. He sands lightly, avoiding the edge, then vacuums and brushes out corners. In his view, people who sand between coats get progressively smoother work.
Results
Questions this video answers
Do you need to prime the baseboards?
Not in this video. He used no primer, just a very light sanding between the first and second coat of finish paint, including over caulk-sealed MDF edges.
How long should caulk dry before sanding?
Caulk skins over in about an hour but can take up to 4 hours or overnight to harden enough not to dent.
Why sand before painting?
He gives three reasons: to promote adhesion, to knock down high spots and defects, and to clean the surface.
Why wait 24 hours before the second coat?
Waiting lets you sand out drips and debris; within about 4 hours a drip is not easy to sand.
What sandpaper does he use?
180 grit, folded so it has four usable sides.
Explore related projects
Connected by the topic: Carpentry

