$500 Small Bathroom Makeover: Drywall Patching, Paint and Vanity
The short version
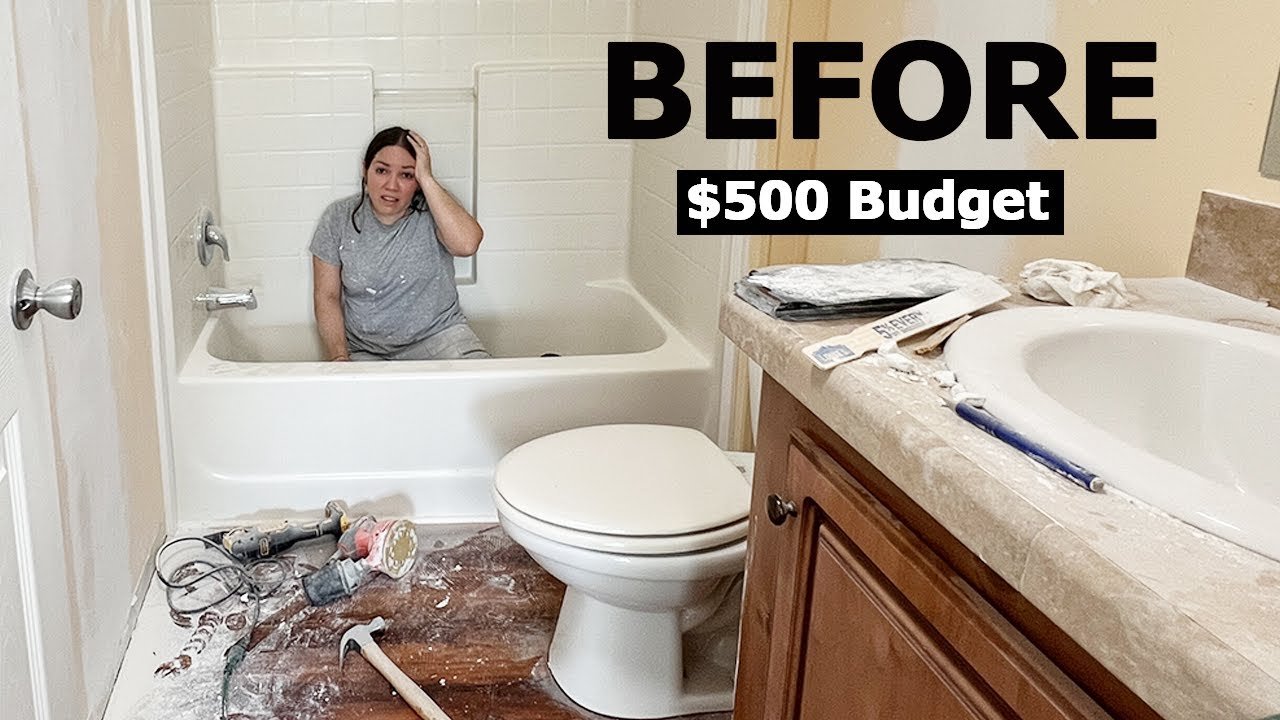
The first episode of a guest bathroom makeover on a $500 budget that was meant to take 2 to 3 days. It covers removing hardware and a wall strip, patching drywall with 5-minute setting compound and mesh, priming and painting the walls Timeless White, and sanding, priming and painting the vanity cabinet and door. By the end $141 has been spent, and the creator decides to build a new countertop from one board for $9.
Full written account
A guest bathroom makeover planned for 2 to 3 days and a $500 budget turned into a longer job, as the creator DIY Tiff explains at the start of this series. She notes that she looked up the average US bathroom remodel and found $112,000, then set her own limit at $500. By the end of this first episode, $141 of that was spent.
Prep and drywall repair
She removed the hardware from the walls, since the room was to be painted, and planned to build a new frame for the existing mirror rather than replace it. A strip on the wall behind her was taken out, and the seam was to be covered with drywall mud. Anchors left from the old light fixture also needed patching. While marking the center of the vanity for the new lights, she found a stud in the way, so the fixture would have to be mounted off center. She kept the floor but planned to replace damaged baseboards, which she says are MDF that foams up when water hits it.
Setting-type compound and mesh
She used a 5-minute setting compound, mixed to a smooth, pancake-batter consistency. Drywall mesh went over the seam to help prevent cracking, followed by more coats. She found it dried almost too quickly. When she ran out and went back to the store, she bought the 20-minute version, which she says she should have used from the start because it allows more working time.
In the middle of the sanding she noticed a small puddle at the toilet. A nut was loose enough to turn by hand, and she tightened it. Out of impatience she also tried an electric sander on the drywall, which she says was very dusty and made things worse. The next day, in daylight, she found imperfections and did more touch-ups, which she says took about half a day.
Priming and painting
After vacuuming the walls, she covered everything with plastic and a drop cloth. She primed only the repaired areas and chose Timeless White to keep the small room bright. The paint is a one-coat product, but she applied two coats anyway. She says the seam is no longer visible.
Vanity cabinet and door
The door is MDF with a wrap, so she sanded it and used bin bonding primer. She sanded the cabinet with a power sander, wiping with a wet napkin to limit dust. Inside the bathroom she used a foam brush and foam roller to prime the cabinet, then sanded the primer with 320 grit. The door was sprayed with a pneumatic sprayer, and she says a foam roller also gives a smooth finish. The cabinet was painted in Acacia Haze.
The countertop
She had planned to keep the existing 27-inch countertop, but once the cabinet was painted green, it stood out in a bad way. She decided to replace it. Because pre-made options in that size were pricey, she built one from a single board for $9. She calls it the most time-consuming part of the project.
Questions this video answers
What was the budget?
$500. At the end of this episode $141 had been spent.
Which drywall compound did she use?
First a 5-minute setting compound, then a 20-minute one for touch-ups. She says the 20-minute type would have given her more working time from the start.
What paint colors were used?
Timeless White (HGSW4055) on the walls and Acacia Haze (HGSW9132) on the cabinet.
How did she prepare the MDF vanity door?
She cleaned and sanded it, then used bin bonding primer so the paint would stick, sanded the primer with 320 grit and sprayed the paint.
How much did the new countertop cost?
She says she made it from one board for $9.
Explore related projects
Connected by the topic: Paint a room
