Tear-Away Bead for Drywall Around a Fiberglass Shower Insert
The short version
Shows how to finish drywall up to the flange of a fiberglass shower insert using tear-away bead glued on with spray adhesive. The bead is coated with taping mud, then two more coats, sanded, and the plastic flange is torn away to leave a clean edge. The presenter also covers gaps, tape across joints, and mistakes with over-sprayed glue and brittle bead.
Full written account
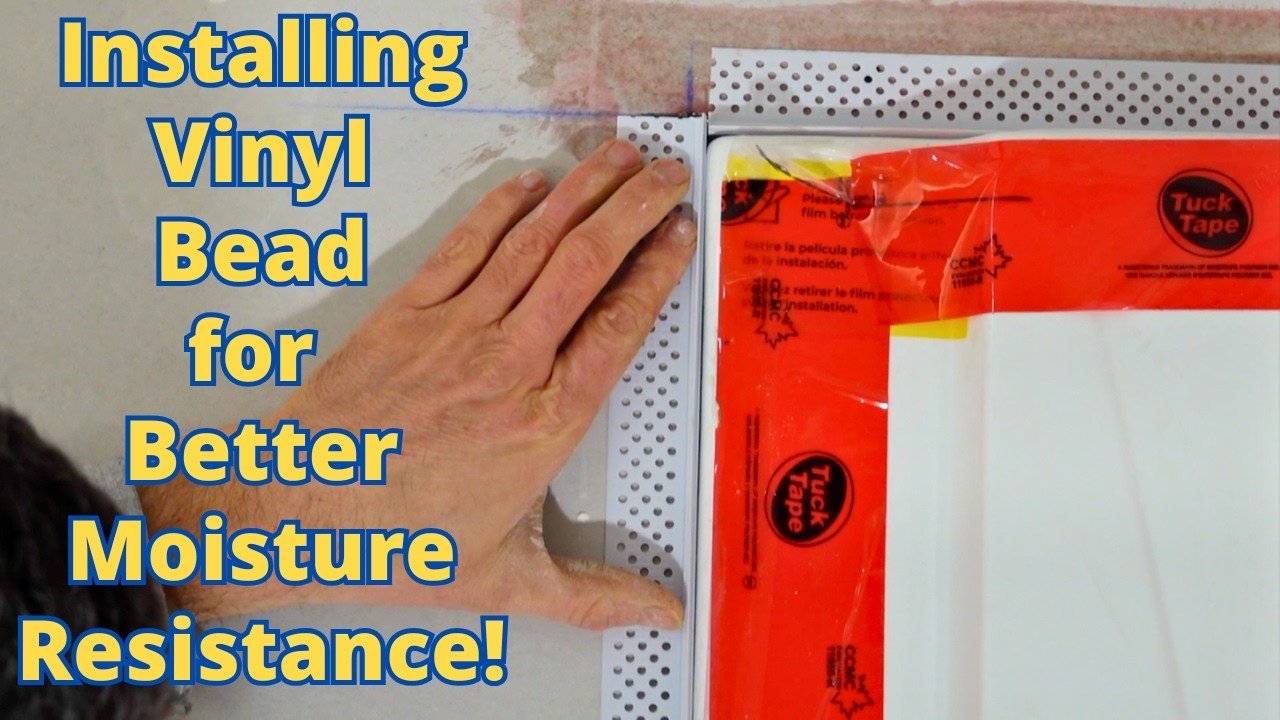
Tear-away bead is meant for an enclosed shower insert, not a tub: the presenter calls it a poor choice around a tub, because an insert has a flange for the glass door that is sealed and protected from water. All that is needed is a clean finish up to the edge of that flange. A previous video used flat tape over a pre-filled gap, which he calls an elegant solution; tear-away is another good option because it leaves a plastic edge between the two surfaces.
Why tear-away
The protective flange stops mud from getting on the tub. When the work is done, it comes off and leaves a finished wall edge. The bead can be found at a local drywall supply if the big box stores don't have it. The piece cut here is 73 3/16, lined up to the nosing of the tear-away already installed.
Gluing it on
The bead is installed with Trim Tech spray adhesive, which has a directional nozzle that sprays about 1 in. wide depending on orientation. The plastic is sprayed first because it is less absorbent. Sprayed too thick, the glue takes too long to dry; smearing it with a piece of paper tape helps. The glue should be tacky, not gooey. Pressed tight to the flange, it should bond instantly; if it doesn't, it is either too dry or still too wet.
He avoids staples because they make the bead hard to bury, but uses them on any part that isn't sticking. Lacquer thinner and rags should be kept handy, and lacquer thinner cleans glue off hands. He notes the fumes were getting to him and says a proper respirator is needed at a certain point.
Coating
The first coat is taping mud, not too thin, because it sticks to shiny plastic. The knife has to ride the guide edge of the bead so the coat is left full. Three coats are used, since it takes a lot of coats to hide vinyl and the holes in the plastic still show after two. Each coat is applied with a knife rather than a trowel, and the final finish coat is planned with a 10 in. knife where it fits; here an 8 in. knife is used in the tight spot.
Fiberfuse tape goes across the gap to stop the edges lifting and cracking later. It must stay off the nosing, or it will be impossible to bury. At the bottom a gap is flat taped, since baseboard will likely cover it.
A tip from the video: spray adhesive on torn drywall paper, then wiping it flat, seals the paper so it won't blister.
Tearing away
After sanding, a knife is run along the edge and the flange is peeled off, taking care not to scratch the mud or cut the wall. The Philips-brand bead bought at Home Depot proved brittle and snapped; he says the Trim Tech tear-away is more pliable. A sponge run along the inside removes crusties, leaving a clean line once painted.
Questions this video answers
Should tear-away bead be used around a tub?
No. The presenter says it would be a poor choice around a tub; here it suits an enclosed shower unit whose glass-door flange is sealed and protected from water.
How is the bead attached?
With spray adhesive (Trim Tech), sprayed on the plastic first, then wait until tacky before pressing it tight to the flange. Staples only where parts don't stick.
Why use taping mud for the first coat?
Plastic is shiny and doesn't take mud well, and taping mud sticks to it.
How many coats does it need?
Three coats, because it takes a lot of coats to hide vinyl and two won't make it disappear.
What cleans glue off hands?
Lacquer thinner.
Explore related projects
Connected by the topic: Drywall