Microcement Bathroom: A Carpenter on Why It’s Hard for DIYers
The short version
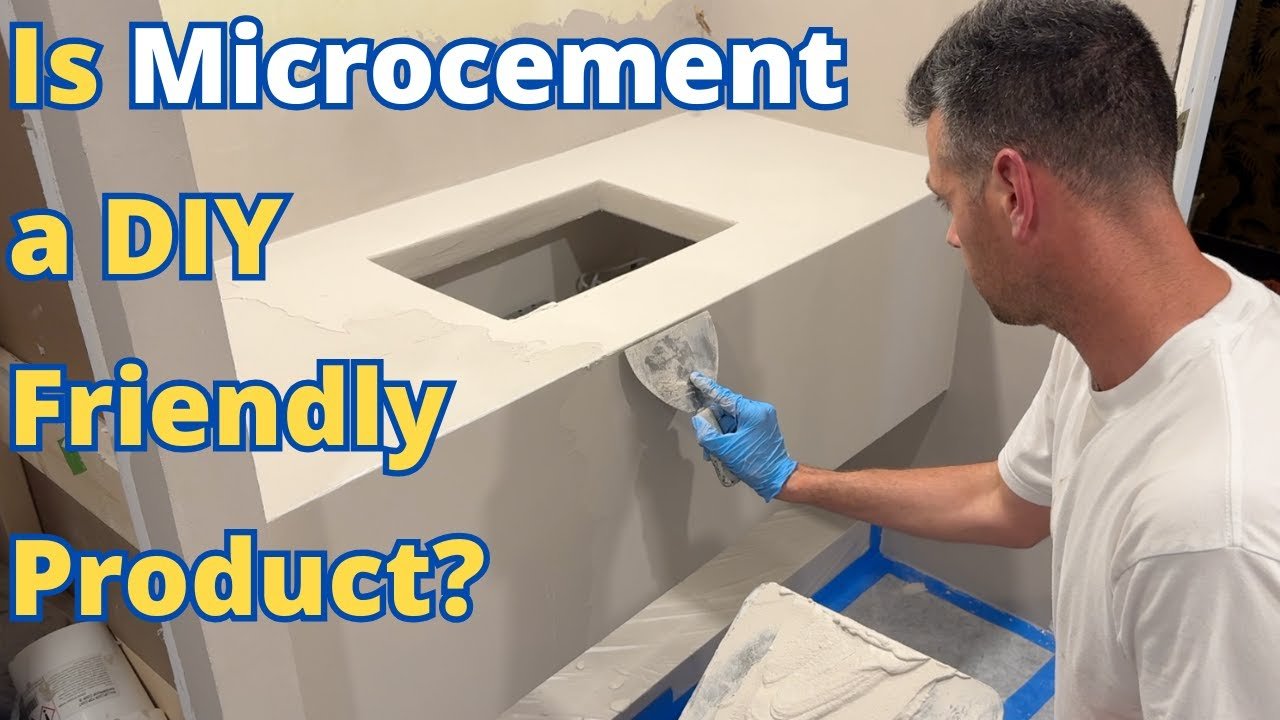
A Vancouver carpenter shows his process for applying Nova Color wall-to-floor microcement in his first microcement bathroom, covering the thin set leveling, Hydroband waterproofing, mesh-embedded base coats, finish coats, and sealer. He calls it the most challenging project of his career and says he does not think it is DIY friendly. He points to the math, short working times, constant scraping and vacuuming, and the high cost of materials.
Full written account
A Vancouver carpenter who had never done microcement before took on a full bathroom finished in Nova Color wall-to-floor, and calls it the most challenging, painstaking project of his career. His verdict: it is not DIY friendly, despite a push by microcement companies into the DIY market.
Preparing the substrate
The foam board substrate was very uneven, so thin set went over the floor and the countertop first to flatten them. He preferred this to using $300 bags of base coat for leveling. He notes it would have been easier had the tile floor and nooks been tiled first.
The product is epoxy based and sticks to everything, so anything that should stay clean has to be protected. The walls were covered in green Hydroband, a waterproofing and crack isolation membrane, applied over a Kurie waterproofing system as a second layer, sometimes with a couple of coats. It also served as the primer for the Nova Color; the company rep said it was adequate to promote adhesion and water resistance.
Measuring, mixing and cost
Microcement is harder than ordinary plastering because of the weighing and measuring. At each stage a two-part epoxy is mixed in, which he describes as gooey and messy; he mostly did not film it because the materials had such short pot lives. The base product costs $250 to $300 Canadian per bag, and one material had a 45-minute working life. Because every product is expensive, he stresses square-footage calculations, fractions, decimals and imperial-metric conversions.
The job also had no adequate parking, so he fed a meter and moved his vehicle every 2 hours.
Mesh and base coats
The first base coat embeds a thick fiberglass mesh like EFS stucco mesh. The self-adhesive version is not recommended by the manufacturer. He used mesh on the shower walls and the floor, the high-traffic areas, and on the countertop. He thinks the manufacturer's call for mesh on all surfaces is overkill for ceilings and walls that are not in a shower. Getting the mesh flat is like drywall tape on a giant scale. He tried the recommended notched trowel on the first wall, found it time-consuming and unnecessary, and afterwards laid the product on with a trowel, embedded the mesh and kept troweling. His drywall habits worked against him: skimming the mesh tight would have been enough, since a second base coat and two finish coats cover it.
The cured material is extremely hard. An uncleaned bucket with cured product up the sides could not be cracked out. The product cannot be sanded; he scraped nubs off with the edge of his knife, and the knife was no longer flat three-quarters of the way through, needing about 5 minutes on a file. Whatever shape is left stays, so outside corners must be coated continuously, going back and forth between the two sides. He worked to keep corners rounded and later used a diamond file for consistent profiles.
Work that isn't application
Most of the time goes to scraping, vacuuming and protecting finished surfaces, plus a heavy load of consumables: tape, plastic, vacuum bags, rollers, trays, brushes and measuring containers. He wore earplugs almost throughout because the trowel sound across the hawk and wall is constant and enough to cause hearing damage. The floor was easiest since gravity helps with the runny material. Large continuous surfaces, such as the sink wraparound and the front face of the countertop, were hardest, because a wet edge has to be kept like in painting. Filmed at normal speed, he says the job would be a four or five hour video even condensed.
Finishing
The finish coat was applied with a stainless steel trowel and also contains epoxy. After the final coat come a coat of mineral sealer and two finish coats, each a two-part system with the same math and time pressure. He says there are simpler designs than the one he did.
Questions this video answers
Is microcement DIY friendly?
The creator says he does not think it is a DIY friendly project and got through it by the skin of his teeth.
How much does the base product cost?
He gives $250 to $300 Canadian per bag for the Nova Color wall-to-floor base coat.
How long do you have to work with the material?
One of the materials had a 45-minute working life.
Can microcement be sanded?
He says it cures extremely hard and should be treated as unsandable; you can scrape it a little, and he used a diamond file to shape corners.
Is mesh needed on every surface?
The manufacturer calls for it on all surfaces, but he used it only on the shower walls, floor and countertop, and thinks it's overkill elsewhere.
Explore related projects
Connected by the topic: Painting