How to Patch Small, Medium and Large Drywall Holes With Hot Mud
The short version
Home RenoVision DIY fixes three sizes of drywall hole with one kit: a tape sandwich for a small hole, a California patch for a medium hole and screw-in repair clips for a large one. Every first coat is 45-minute setting compound (hot mud), so two coats fit in one day; the finish coat goes on the next day, once the patches are fully dry.
Full written account
A doorknob dent, a fist-sized hole and a hole big enough to need a new piece of drywall all get fixed in this 31-minute lesson, and they share one secret: the first coat on every patch is setting-type compound, the stuff drywallers call hot mud. Home RenoVision DIY shows a different patch for each size and builds what he calls a homeowner drywall repair kit you can keep on a shelf for the next accident.
At a glance
- Skill level: Handy. The small patch is a good first repair. The large patch takes more knife control.
- Time: The hot-mud coats were hard enough for a second coat in about 45 minutes to an hour, and all three patches had their second coat about 2 hours in. The finish coat waits until the next day.
- Cost: The video doesn’t give prices. Everything here is sold at building stores.
- Tools: 4 in. drywall knife and a hawk or mud pan, utility knife, drywall saw, snips, pliers, cordless drill or driver, pencil, a straight finishing trowel (he uses a 4 x 12 in.) for the big patch.
- Materials: 45-minute setting compound, paper drywall tape, a scrap of drywall the same thickness as the wall (he uses 1/2 in.), drywall repair clips with screws, premixed all-purpose compound for the finish coat.
Before you cut into a wall
Look and feel before you saw. He reaches into the hole and checks for wires and water lines before cutting, and when he cuts a blind inspection hole he goes only about 3/4 in. deep. If anything is in the cavity, cut around it or stop.
Two more checks the video doesn’t cover. In a home built before 1978 in the US (1991 in Canada), the paint may contain lead, and drywall, spackle and other surface coatings in homes built before 1990 may contain asbestos. Have suspect material tested before you sand or cut it (see the sources in our drywall repair guide). Wear a dust mask when you sand any compound.
Small hole: the tape sandwich
This is for a hole about the size of a doorknob dent.
- Mix the hot mud thick. Start with two handfuls of powder, make a well, add water and fold it in until it’s thick but runny. He sprinkles a little salt on top to speed the set. That’s his trick, not the bag’s instructions, so follow the bag if you’re unsure.
- Square up the hole. Cut the ragged edge into a small square or rectangle so a piece of tape will fit inside.
- Pack the hole. Push mud in from all four sides until it’s full and squeezing through to the back. That locks in the broken chunks and loose paper behind the wall.
- Tuck in the tape. Tear off about a foot of tape, set it on edge and push it about 1/2 in. into the hole, the thickness of the drywall. Fill the gap it leaves with more mud.
- Cover and flatten. Lay tape over the top with a little overlap, then flatten everything. Less is more: a thin patch is a patch you won’t have to feather out later.
That one coat is both the tape coat and the fill coat.
Medium hole: the California patch
The visible damage is usually about half of what’s broken. Cut back until there’s solid drywall on all four sides.
- Cut a patch with a paper flange. Take a scrap of drywall without a tapered edge and cut it a little bigger than the hole. Flip it, score the back about where the hole’s edge falls, snap it and peel the gypsum off the face paper. The paper left around the edge becomes your tape.
- Mark it “arrow up.” Test the fit and pencil an arrow on it, so you don’t put it in upside down once it’s covered in mud.
- Butter the edges. Squeeze mud onto the edge of the existing drywall, so it’s trapped in the gap between the old and new, then put a thin layer around the hole for the paper flange to sit in.
- Set it, don’t push it. Wiggle the patch in. There’s nothing behind it to stop it falling through. Set your knife across the corner, then pull out from the corners.
- One pass, then leave it. Snowplow the excess off at a 45° angle and stop. The flange paper is thin. Work it too much and it soaks up water, wrinkles and you’re back to square one.
He calls this a low-impact-area repair: a living-room wall, not a spot that takes knocks.
Large hole: drywall repair clips
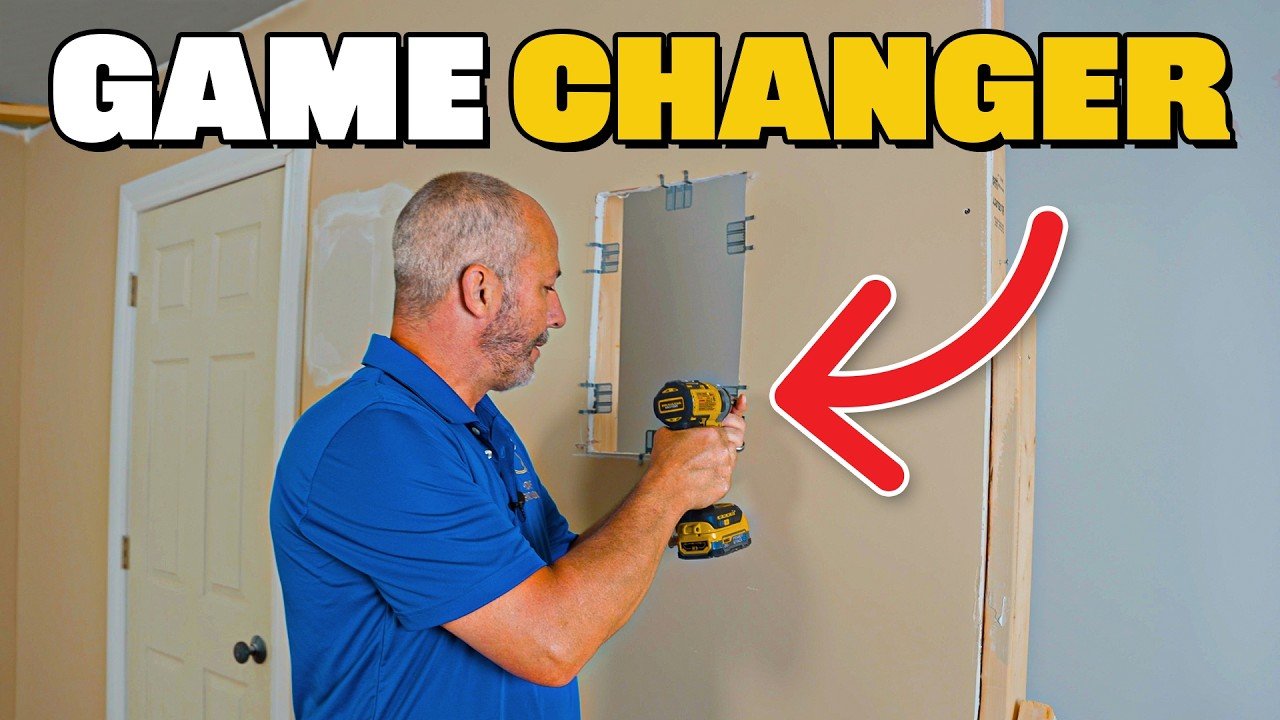
When the hole is too big for a California patch, you need something behind the new piece. Plywood, shims or old baseboard all work. He prefers drywall repair clips, which clip onto the edge of the hole and take a screw.
- Cut the patch first, then the hole. Square up a piece of drywall a touch bigger than the damage, trace it onto the wall and cut the wall to the tracing. It’s much easier to cut the hole to fit the patch than the other way round.
- Fit the clips. Clip them around the edge. If a stud is in the way, trim the clip with snips.
- Screw the patch in. Drive each screw just below the paper surface without tearing it. If the screw hits the clip’s mesh, back out and change your angle until it finds a hole. If the patch sits proud, shave its edge rather than recutting the wall.
- Snap off the tabs. The clip tabs are designed to break away. Grab them with pliers once the screws are set.
- Mud, tape, mud. On tall vertical joints, work from the top down to force mud into the gap. Set tape with its crease on the joint, cover it, and keep the tape short of the outer edge so it feathers.
Because the tape sits on top of the wall, this patch builds a ridge like a picture frame and needs a third coat.
Second and third coats
- Knock the ridges off first. Hot mud is hard but still a little damp after a couple of hours, so it carves easily with the knife.
- Use a straight trowel on the big patch. He fills the whole patch and stretches it out in two directions, pressing harder on the side away from the tape so the patch doesn’t get thicker.
- Wait for dry, not just hard. The finish coat of all-purpose compound waits overnight. Hard isn’t good enough: if the patch isn’t dry, the finish coat bubbles.
- Pop the bubbles. Bubbles over existing paint are normal. Rub their heads off with the knife edge before the finish coat.
- Leave enough mud over the paper edge. If the paper edge is barely covered, sanding exposes it.
Common mistakes
- Cutting the patch to fit the hole, instead of the hole to fit the patch.
- Too much mud, too many passes, and a wrinkled California patch.
- Putting all-purpose compound over hot mud that is hard but still wet.
- Skipping the check for wires and pipes before sawing.
When to call a pro
You don’t need one for these holes. Call a drywall finisher if the damage is wet or soft, which means a leak to fix first, or if the wall may contain lead paint or asbestos.
Related
- Drywall repair: which patch to use for which size of hole, our guide to choosing a patch.
- More videos for Patch a hole in drywall and in the Drywall system, including a level 5 finish test.
Questions this video answers
What is hot mud?
A setting-type compound such as 45-minute mud that hardens faster than it dries and shrinks less than all-purpose compound. It is a little harder to sand.
Why use hot mud for the first coat?
It allows two coats in one day and makes the patch strong.
What is a California patch good for?
The video uses it for a medium hole and says it is only good in low-impact areas.
What do the repair clips do?
They clip onto the drywall edge and take a screw to form a backer. The tabs break off with pliers once the screws are set.
Why wait before the finish coat?
Hard is not enough before all-purpose compound; the patch should be fully dry or it will bubble, so it sat overnight.
Explore related projects
Connected by the topic: Drywall