Framing Basement Walls: Stud Length, Plates and Anchoring
The short version
Part 2 of a basement finishing series shows how the creator framed his basement walls with a pressure-treated bottom plate, a top plate and studs 16 in. on center. He anchored the bottom plate to the slab with Tapcon screws and says that, if doing it again, he would frame whole walls on the floor rather than stick frame them after lifting. He also covers a sump closet, window framing and California corners.
Full written account
Framing a basement wall starts with measuring, and one rule from this basement project is simple: take the shortest wall height and subtract 3 in. to get the stud length. For a 90 in. gap between the floor slab and the joists above, studs are cut to 87 in. to allow for the plates.
Plates, studs and spacing
A basement wall has a top plate, a bottom plate and studs placed 16 in. on center. The bottom plate touches the concrete slab, so it must be pressure treated; the top plate can be standard kiln-dried lumber. Rigid foam insulation was installed in the previous episode, since that is typically done before framing.
Measuring and building
The wall height is the distance between the slab and the joists above. Measuring in a few locations and using the shortest value lets the wall be lifted into place, though shimming may be needed before the top plate is anchored to the joists.
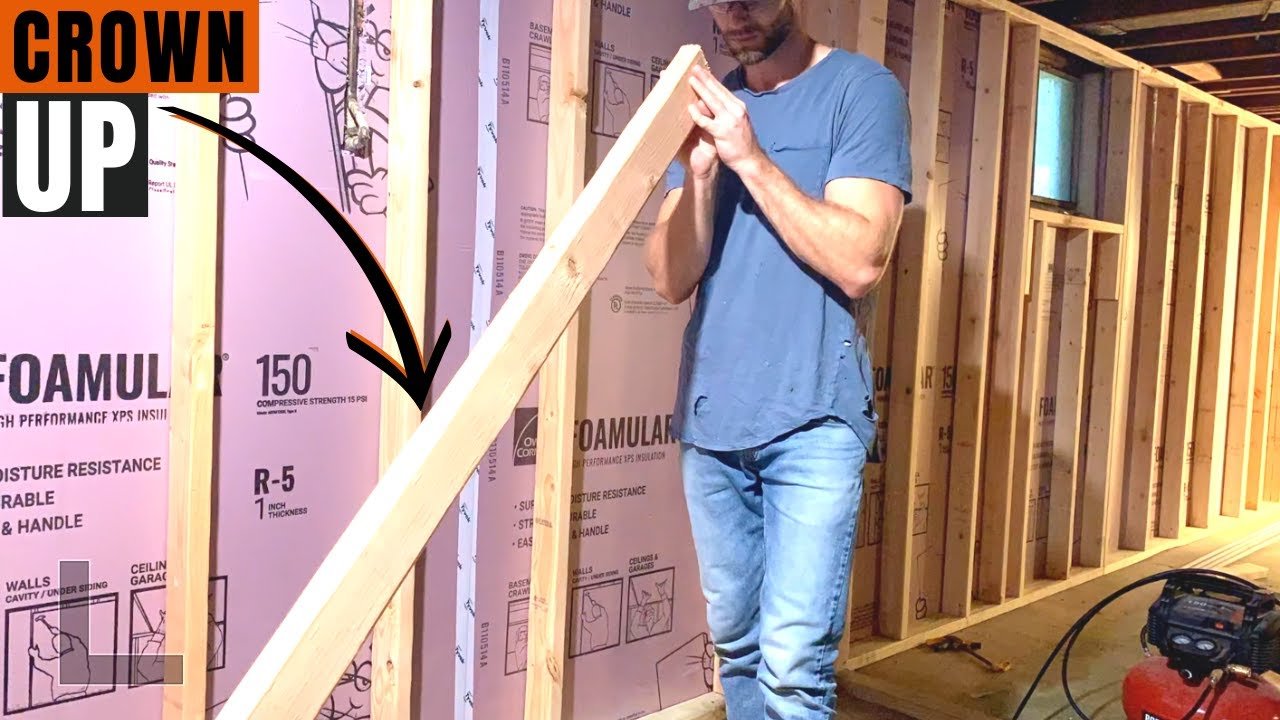
The creator recommends marking 16 in. on center along the top and bottom plates, crowning every stud so each board faces crown up, and using 3 1/2 in. nails with a framing nailer. He uses two nails per connection.
Anchoring
The wall location is marked on the slab with a chalk line. Once the wall is in place, a carbide-tipped bit drills through the bottom plate into the concrete and Tapcon screws secure it. A level checks that the wall is plumb before it is anchored to the joists above. A powder-actuated tool, which uses gunpowder to drive a nail through the plate into the slab, is mentioned as a faster option he did not have.
Stick framing and its cost in time
He chose stick framing: lifting the plates and cutting each stud individually afterward, toe nailing them with two nails per connection. He calls it inefficient and says that if he did it again he would frame the entire wall on the floor, mark the plate spacing beforehand, and probably use 16 ft plates. Because the walls carry no load, the window framing only needs to support drywall and omits jack studs.
Where a bump-out occurred, he fastened a furring strip with Tapcon screws and set the wall flush with it so the drywall would line up. A small closet around the sump pump was framed as three smaller walls, with the door framing to be added later.
Corners and doors
Inside corners use California corners: a typical corner stud plus a second stud turned sideways on the inside face of the first. This allows better insulation and gives backing for drywall. The bottom plate must be cut out wherever a door will go.
Questions this video answers
Which plate must be pressure treated?
The bottom plate, because it contacts the concrete slab. The top plate can be standard kiln-dried lumber.
How long should the studs be cut?
Measure the wall height in a few places, use the shortest, and subtract 3 in. For a 90 in. height, cut studs to 87 in.
How is the bottom plate fastened to the slab?
He drills with a carbide-tipped masonry bit through the plate into the concrete and uses Tapcon screws. A powder-actuated tool is mentioned as a faster alternative.
What are California corners?
One stud is turned sideways and mounted to the inside face of the corner stud, allowing better insulation and giving backing for drywall.
What does the creator say he would do differently?
He would frame the entire wall on the floor, marking 16 in. on center beforehand, and probably use 16 ft plates.
Explore related projects
Connected by the topic: Frame a wall