Fixing a Leaking Kitchen Sink Drain with New Putty and Washers
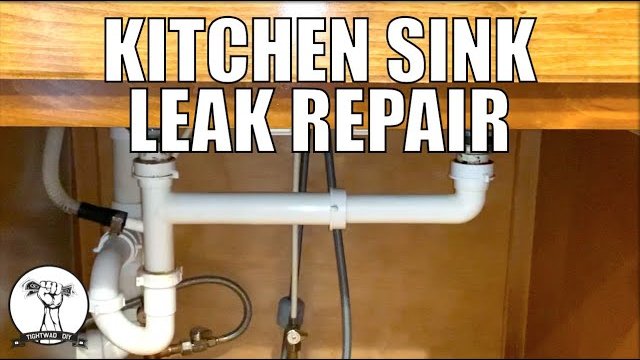
The short version
A kitchen sink leak is traced to the drain strainer, where plumber's putty was cracked and a washer was not seated properly. The P-trap and drain parts are removed by hand, the strainer is cleaned, and new putty and washers are installed with channel locks. The water is then turned back on and the pipes checked for leaks.
Full written account
A slow leak around the left-side drain of a kitchen sink turned up while preparing to install a new faucet. Wetness near the sink seal and long-term water damage on the bottom of the cabinet pointed to the drain strainer, and the repair needed only a screwdriver and channel lock pliers.
Finding the leak
The water was visible around the sink seal at the drain, with wetness below. No drip was seen while the cabinet was open, but the area felt damp.
Taking it apart
The first step is closing the cold and hot shut-off valves, turning them right to close. A separate valve feeding the dishwasher was left on. The P-trap and drain pieces are hand-tightened and come off by spinning them with your fingers. The P-trap holds water as a barrier against vapour from the drainage system, so a container goes underneath first. A flathead screwdriver loosens a hose clamp, and channel locks loosen the metal nut at the top of the strainer.
What failed
With the strainer out, the plumber's putty around the rim was cracked, which was probably causing the leak. The washer was also not seated properly. Two items were bought: fresh plumber's putty, because the old tub had dried up, and sink strainer washers. The set has a black rubber washer and a friction washer that goes below it against the rim.
Rebuilding the seal
The top and underside lip of the drain are cleaned, and a scrub pad cleans the lower piece. The putty is rolled into a snake, one long bead, and pinched at the join so there is no seam. It is pressed down evenly. If no putty squeezes out, not enough was used. The video says about half of what was used would have been enough. The friction washer and then the rubber washer go on, spaced evenly, and the nut is tightened with channel locks until snug.
Reassembly and checking
The drain pieces and P-trap go back on and are tightened only to snug, so the next person can remove them easily. Excess putty on top is removed with fingers and then a kitchen or table knife. After the water is turned on, all pipes should be dry. A week later, a recheck is recommended, and an empty catch basin can be left underneath to reveal any drip.
Questions this video answers
What tools are needed?
A screwdriver (flathead, for the hose clamp) and channel lock pliers.
What parts were bought for the repair?
Plumber's putty and a new set of sink strainer washers: a black rubber washer and a friction washer.
What was likely causing the leak?
Cracked plumber's putty around the rim of the strainer, and a washer that was not seated properly.
How do you shut off the water?
Turn the cold and hot shut-off valves clockwise (righty tighty) to close them.
When should you re-check for leaks?
It recommends coming back in about a week to check that the pipes are still dry.
Explore related projects
Connected by the topic: Plumbing