Crown Moulding: Inside, Outside and Overlapping Miter Cuts
The short version
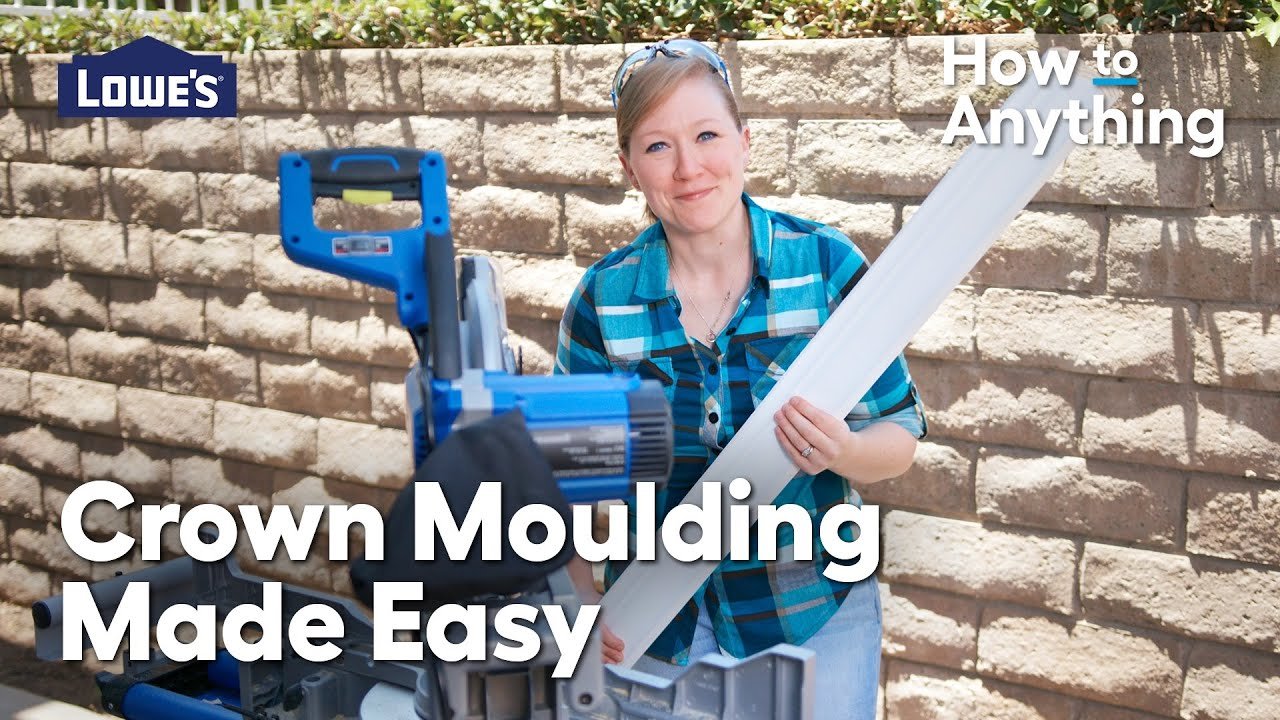
Amanda from Lowe's shows how to cut and install crown molding. She covers inside and outside corner cuts on a compound miter saw, using an angle finder on a 92° corner, and cutting the molding upside down against the fence. She also explains overlapping cuts for long walls and secures the molding with a nail gun.
Full written account
Crown molding calls for two kinds of corner cuts, and the tricks for getting them right are simple: measure from the bottom, cut upside down, and check the real angle of the corner. Amanda from Lowe's demonstrates the method in a room with both an outside and an inside corner.
Measure and find the true angle
She measures from the bottom of the crown molding, since that edge touches the corner. Wall corners are not always a perfect 90°, and she notes movement in the foundation can throw them off. An angle finder gave 92° for the outside corner, and splitting that in half gave a 46° saw setting.
Cut upside down
A compound miter saw is the best tool for the job. The bottom of the molding has a ridge and the top is smoother. It is cut upside down against the saw fence: the fence is like the wall and the saw base like the ceiling, so the bottom goes on the wall and the top on the ceiling.
To make every piece sit at the same spot and angle, she puts tape a couple of inches from the fence on each stationary side of the saw, sets the piece in place and draws a line where it sits.
Outside and inside cuts
The first wall measured 31 1/2 in. on the outside corner. For outside corners the bottom of the molding is shorter than the top, and for inside corners the bottom is longer than the top. The rule holds even when cutting upside down. An outside cut shows no exposed wood, while an inside cut shows exposed wood. For the matching piece she turns the saw the opposite direction, also at 46°. The inside cut is made by flipping a cut board around.
Overlapping cuts
When a wall is longer than the board, an overlapping cut joins two or more boards so the joint looks seamless. The finished molding is secured to the walls with a nail gun.
Questions this video answers
What tool is best for cutting crown molding?
A compound miter saw, which the video calls the best tool for cutting crown molding.
Where do you measure on the molding?
Always measure from the bottom of the crown molding, because that part touches the corner.
How should crown molding be positioned in the saw?
Cut it upside down against the saw fence. The fence acts like the wall and the saw base like the ceiling, so the bottom goes on the wall and the top on the ceiling.
What if the corner is not 90 degrees?
Use an angle finder to get the exact angle, then split it in half. A 92° corner was cut at 46°.
How do you tell which way to cut for inside and outside corners?
The bottom of the molding is shorter than the top on outside corners and longer than the top on inside corners. This still applies when cutting upside down.
What is an overlapping cut?
An overlapping cut joins two or more boards when a wall is longer than one board.
Explore related projects
Connected by the topic: Carpentry

