Cement Board and Aqua Defense Waterproofing for a Shower Wall
The short version
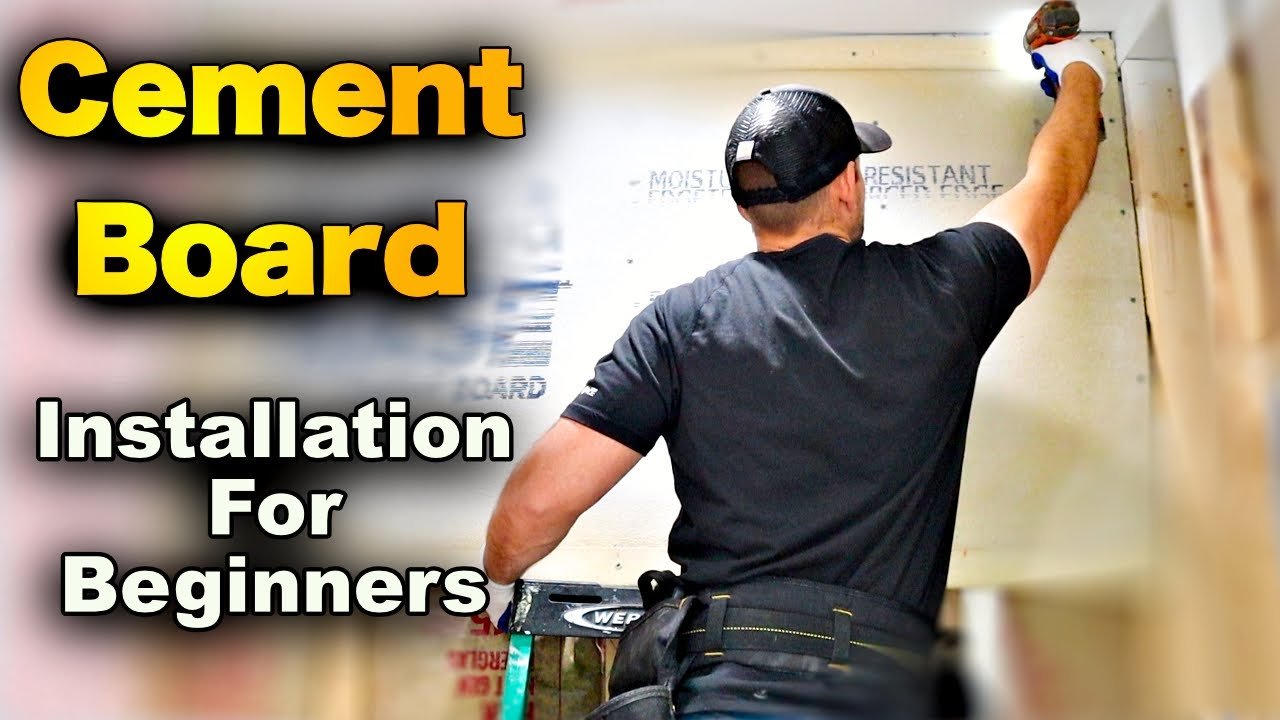
Shows how to hang half-inch cement board on tub and shower walls, cut it with an oscillating tool, tape the joints with fiber mesh and thinset, and roll on Aqua Defense waterproofing. The presenter starts on the back wall with 5 ft sheets, uses about 30 screws per wall sheet, and says two coats used about half a bucket in this shower.
Full written account
Cement board for a tiled shower comes in half-inch and quarter-inch sheets, typically 3 ft by 5 ft, and the installer in this walkthrough puts half-inch on the walls and quarter-inch on the floor, where the subfloor already acts as a backer. Brands named are Hardy Backer, Permabase (the product used here) and Durock. Tile should not go over sheet rock in a tile shower, which he says will break down over time.
Protect the pan and start at the back
Before any board goes up, the shower pan is covered with cardboard and a piece of scrap sheathing cut to the pan's size, so dropped items do not crack it. The tub and shower here is the standard 5 ft long, which matches the 5 ft sheets. Starting on the back wall means the first sheets need no cutting; installing the side walls first would shrink the back and force trimming each piece.
Hanging the board
Supplies are wall board adhesive (a 28 oz tube of Heavy Duty Liquid Nails), 1 5/8 in. cement board screws, an impact driver or drill, and a caulk gun. Working alone, he measures to the first stud, marks the 16 in. on-center layout on the sheet, and starts a screw at each stud center before applying adhesive, so the board can be tacked up quickly. Adhesive runs down each stud only as far as the sheet being placed, so it does not set up early. After tacking, a screw goes in about every five or six inches across the studs: roughly 30 screws per half-inch wall sheet and about 60 per floor sheet. Screws should sit just below the surface.
Cutting
The bottom piece is ripped to about 33 inches using a chalk line. Options are a diamond blade on a circular saw, a scoring knife (which throws a lot of cement), or an oscillating tool, which he found best for limiting dust and crumbs. Ear protection is advised, and scrap plywood goes under the cut so the subfloor is not cut. A small strip is notched from the back so the board clears the lip of the shower base and does not kick out at the bottom. The shower head hole is located by measuring 17 inches up and 15 and a half over, then drilled with a 1 1/4 in. bit.
Tape and thinset
Fiber mesh tape is tucked into the corners and laid over the flat joints, which have a slight indentation for mortar. Thinset made for porcelain is mixed with a drill and mixing blade to a peanut butter consistency over one to two minutes, left five to ten minutes, then remixed. It is packed over the tape with a drywall knife, over every screw, and around the shower valve so the waterproofing seals there. It then dries overnight.
Waterproofing
Aqua Defense is stirred thoroughly, since it is thick and almost like jello, and rolled on like latex paint with a brush for corners; goggles are worn. The shower base is masked first. The first coat soaks into the board, and the second takes less product. He waits about 30 to 40 minutes between coats, and two coats used about half a bucket. Masking tape comes off while the coating is fresh so it does not pull the waterproofing off as it dries.
Questions this video answers
What thickness of cement board goes on shower walls?
Half-inch sheets on walls; quarter-inch is fine on the floor because the subfloor backs it.
Which wall should be installed first?
The back wall, so the 5 ft sheets need no cutting.
How many screws per sheet?
About 30 per half-inch wall sheet and about 60 per floor sheet.
How is the cement board cut?
Options are a diamond blade on a circular saw, a scoring knife, or an oscillating tool, which he found best for limiting dust and crumbs.
How long should the thinset sit after mixing?
Mix for one to two minutes, let it sit five to ten minutes, then remix.
How much waterproofing is needed?
Two coats used about half a bucket on this shower.
Explore related projects
Connected by the topic: Tile a shower