Building a Media Wall Around a Fireplace With Oak Floating Shelves
The short version
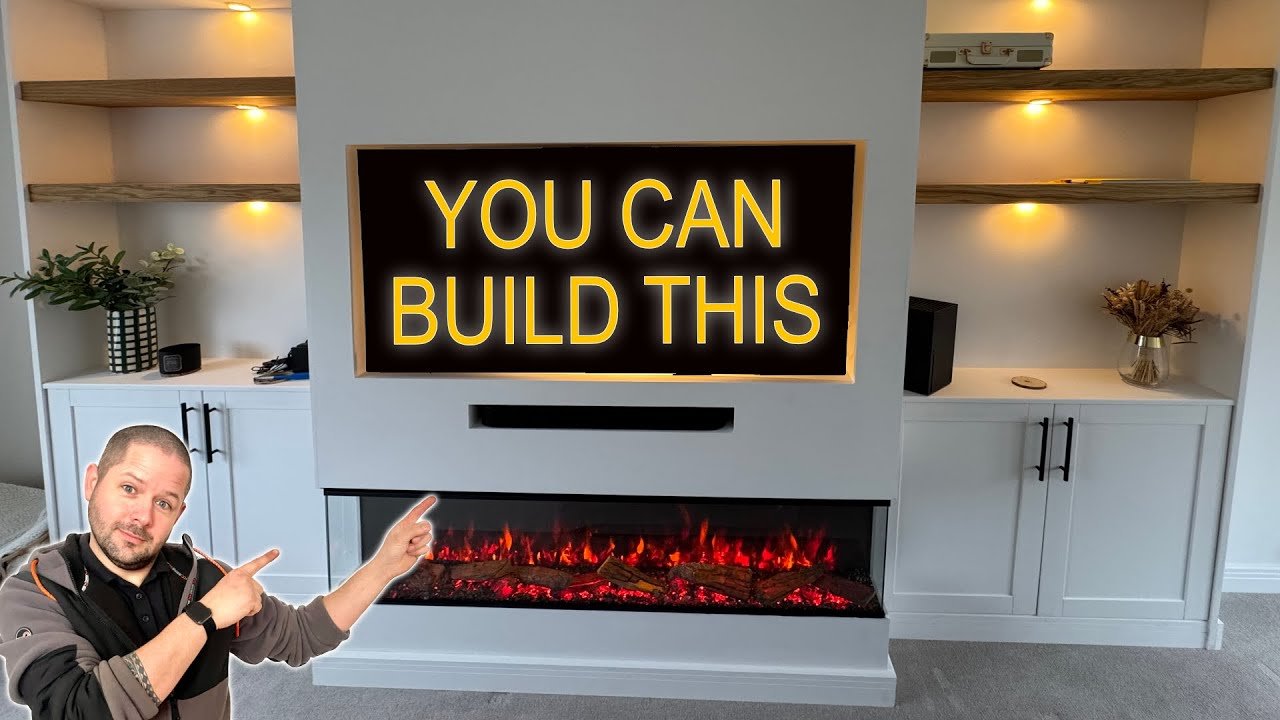
A carpenter builds a media wall in a finished living room. The timber frame is glued and screwed to a dot-and-dab wall and has pocket-hole studs, supports for a TV and a built-in fireplace, and MDF cladding. He then adds alcove units, oak-veneered floating shelves, lighting cables, skirting board matching the room, and Shaker doors. The build was finished over about a week.
Full written account
A media wall built around a built-in fireplace in a finished living room was completed over the course of a week by a carpenter. He used timber framing, MDF cladding, alcove units and oak-veneered floating shelves. He measured from his uprights and kept the existing skirting board in place, in case the owners ever remove the wall and want it put back.
Framing the wall
Before fixing any timber he took the skirting off to see where the cables were running. The timber went on with plenty of glue and plasterboard fixings. The wall is dot and dab, and he judged that going into the blockwork behind wasn't needed because these fixings carry downward force rather than shearing force. He then drove large screws through them.
The remaining studs were fixed with pocket holes. He says a nail gun tends to fly the studs out of place. The front timbers initially ran all the way down and were cut out later for the fireplace; he left them solid to keep everything square and true. He checked square and flatness on both sides, and had found the joists beforehand.
Sizing for the TV and fireplace
The top of the TV opening leaves room for a clock, and cubby holes or light-up shelves are possible. A laser across the front checked that the opening was square, since an out-of-square opening would look bad with the TV in. Supports at the back carry the fireplace, and extra timber gives the TV and fireplace something solid to sit on. The braces came out easily with a saw because the frame was true.
Fireplace and cladding
The fire goes in before the cladding, because the cladding goes over the lip on his fireplace, which is designed to be built in. He checked the front timber with a piece of 9 mm material so everything finished flush, avoiding big divots to fill. He used many pins and a tape measure so that none went into the fireplace. The MDF surround for the TV went on all four sides. He marked and cut the opening by hand rather than routing it, because router dust would spread through a finished house. No-nails adhesive and PVA went where the MDF pieces meet. A timber piece supports the TV, and the backing was two pieces because he had no single piece big enough.
Alcoves, shelves and finishing
The alcove units are simple boxes. The floating shelves start as ladder frames, with the back fixed into the blockwork with screws and plugs and the front piece added with two screws and glue each, pre-drilled to avoid splitting. They were clad in 6 mm oak-veneered MDF, glued with Sticks Like and clamped, with 45-degree joints so they look like solid oak. Lighting cables were run while he had access. He filled and sanded everything carefully because paint shows roughness. His dad helped with painting. Skirting that matches the existing board went round the front, and Shaker doors and handles were fitted last.
Questions this video answers
How is the frame fixed to the wall?
The timber is glued and screwed with plasterboard fixings on a dot-and-dab wall. He says the loads are downward rather than shearing, so he didn't go into the blockwork there.
Why does the fireplace go in before the cladding?
The cladding goes over the fire's lip, so the fire is built in at that stage.
Why did he use pocket holes?
A nail gun tends to fly the studs out of place, so pocket-hole screws hold them.
Why didn't he use a router for the TV opening?
The room was finished and router dust gets everywhere, so he marked and cut the opening by hand.
How long did the build take?
It was completed over the course of a week.
How are the floating shelves fixed?
A ladder frame is screwed and plugged into the blockwork, then a front piece is added with two screws and glue on each.
Explore related projects
Connected by the topic: Carpentry

