Building a 20×20 Two-Level Deck: Layout, Footings and Framing
The short version
Tom Silva helps a couple replace a rotted deck with a 20 by 20 foot two-level deck. This first part covers layout with batter boards, squaring with the 3-4-5 method, digging and setting concrete footings, post bases, flashing and ledger installation, and framing the upper level with beams and joist hangers.
Full written account
A rotted, unstable back deck came down, and a couple set out to replace it with something bigger: a 20 by 20 foot two-level deck. Tom Silva of This Old House walks them through the first stage of the build, from layout to framing the upper level.
The plan and the permit
The upper level is for cooking and eating and steps down to a lower level for relaxing, via a diagonal step. The couple obtained a building permit and had the property surveyed so the structure would not encroach on neighbors. Their drawing showed 12 footings, with joists for the upper and lower levels marked. Silva noted the beams are two 2x12s that span 10 feet, so not all the columns were needed, and he showed a rendering with fewer posts, less digging, less concrete and less form work.
Layout
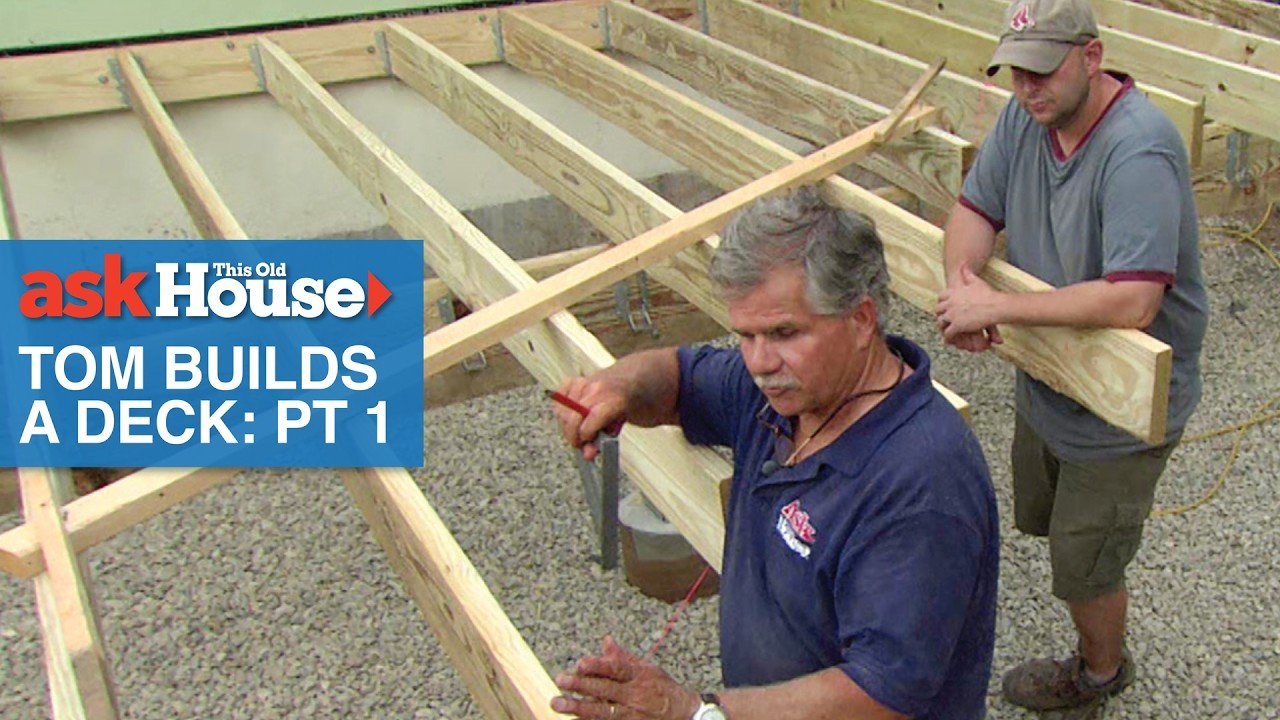
Batter boards, stakes with a horizontal board, were set outside the deck perimeter. A string slid along them lines up with the foundation. Silva ran a plumb line from a level against the siding and measured 20 feet out for the back and side lines. The corner was checked with the 3-4-5 method, doubled: 6 feet, 8 feet, and a 10 foot diagonal. Three lines parallel to the house mark the beams. Post locations were found by taping the center of each beam line and measuring back 18 inches from the outside for the other post, so the beam is cantilevered over the post.
Footings
A rented small skid steer with an 18-inch auger drilling 48 inches deep cost $400 with delivery and pickup. Frost goes four feet deep there, and the code requires four feet minimum; frost under a column could lift the deck. A 12-inch recycled-paper tube was set in each hole and backfilled evenly. A building inspector had to measure every hole before concrete could be poured. The holes passed, and the couple used a little over five bags of concrete per column, about 42 in total.
Connections and ledger
An expansion bolt in each column holds a metal bracket, with a flat plate that leaves about an inch so the wood is not sitting in water. Post bases have a slot so they can be adjusted, and the first sat an inch and a half off the string line. The first course of siding was removed and the metal flashing replaced with self-sealing membrane flashing tucked under the siding. A pressure-treated 2×8 ledger was positioned with a gauge block to leave an air space under the siding, tacked with nails, then fastened with 6-inch lag bolts pre-drilled with a 3/8 bit and staggered up high and down low to avoid splitting.
Beams and joists
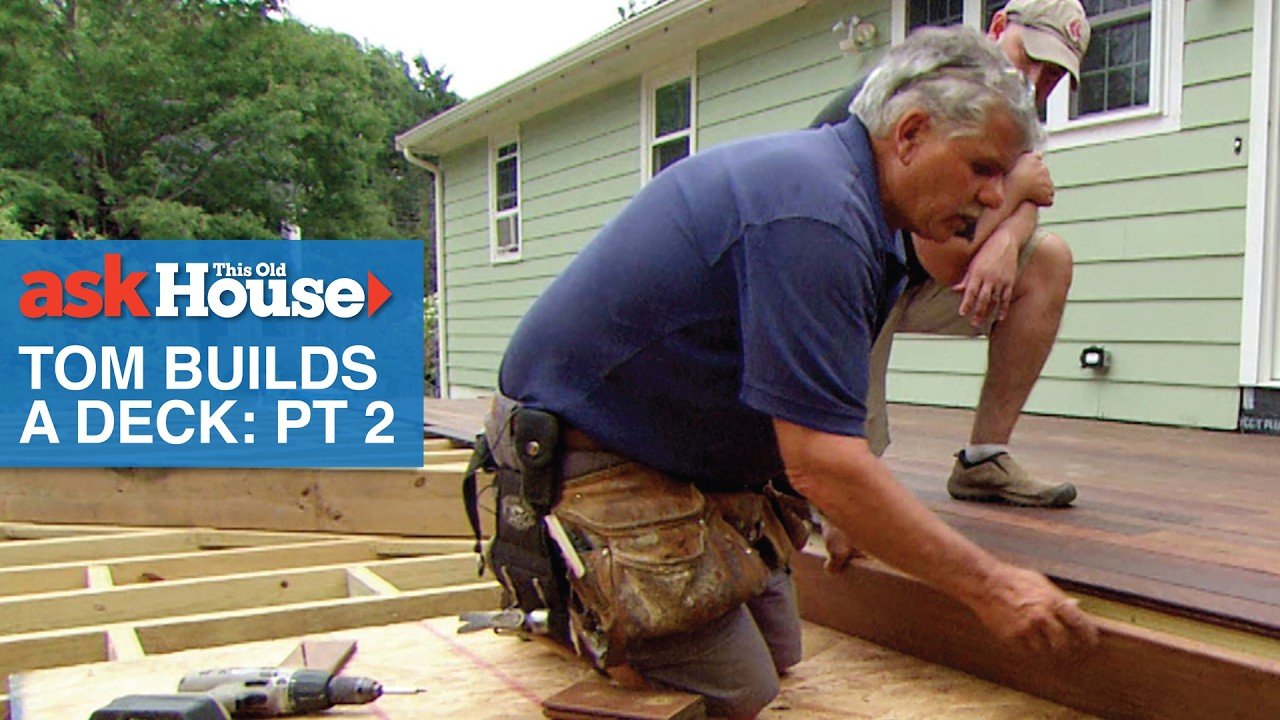
Joist spacing is 16 on center, with hangers set using a gauge block. The two 20-foot 2×12 beams sit in a rabbet cut in 6×6 posts, whose tops are cut at an angle so water does not sit on them. Because the columns are not level, a laser level and receiver were used to mark the posts, and the beams were joined to the posts with galvanized carriage bolts tightened with an impact wrench. A string line shows where to cut joists for the diagonal step, and the couple is left to hang the lower-level joists.
Questions this video answers
How big is the deck and what is the layout?
The plan is a 20 by 20 foot two-level deck: an upper level for cooking and eating and a lower level for relaxing, joined by a diagonal step.
How does Tom Silva square the deck corner?
They checked that the corner was square with the 3-4-5 method, multiplying by two to measure 6 feet and 8 feet with a 10 foot diagonal.
How deep are the footing holes and why?
The footing holes are drilled 48 inches deep because frost goes four feet deep in that part of the country and the building code sets a four-foot minimum. Frost under a column could lift the deck.
What permits and inspections were needed?
The building permit and a property survey were obtained, and a building inspector must measure every hole before concrete is poured.
How is the ledger fastened to the house?
The hole is pre-drilled with a 3/8 drill bit and 6-inch lag bolts are staggered, up high and down low, so the ledger is less likely to split under joist weight.
Explore related projects
Connected by the topic: Build a deck