Mud Framing: Hiding a Half-Inch Hump in Taped Drywall
The short version
A drywall finisher shows how to fix bad framing by building up joint compound, called mud framing, over humps and uneven spots after taping. He uses a setting-type mud for the first pass, a darby or straight edge to find highs and lows, and a skimming blade with a roller for the final spread. The finished wall hides a half-inch hump once about a foot of flat surface is built out on each side.
Full written account
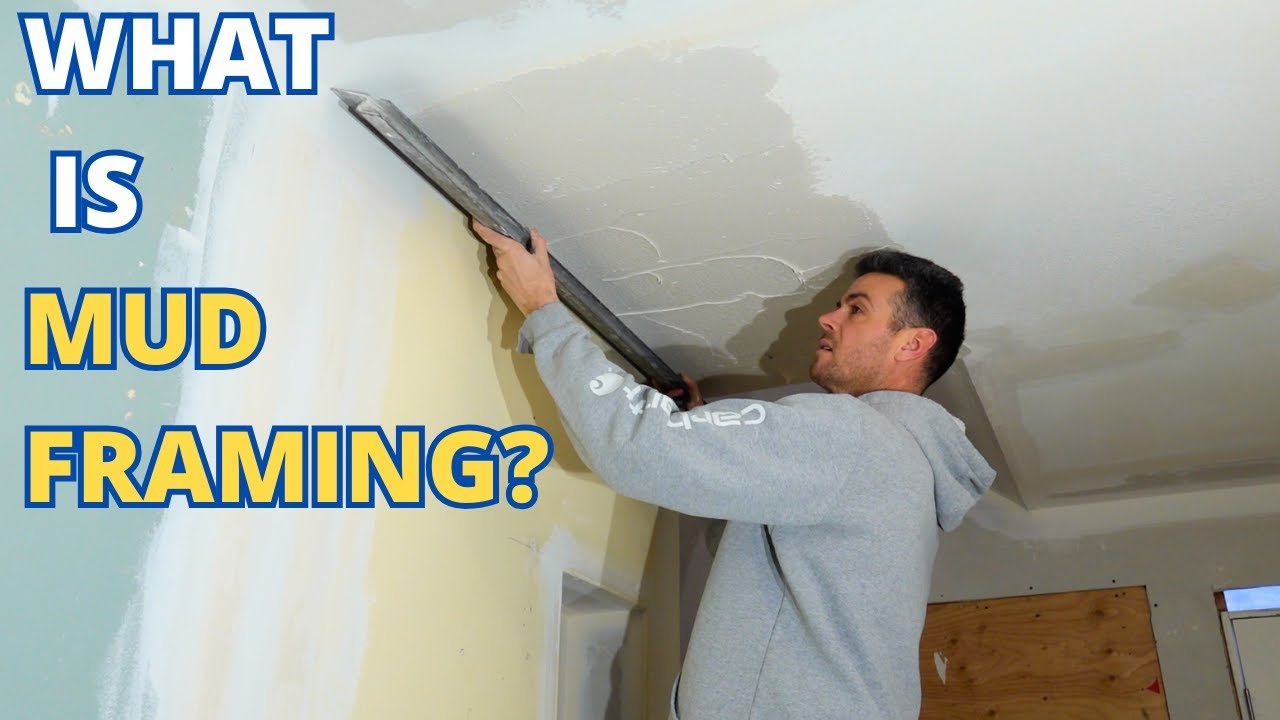
A hump of about half an inch in a taped wall, and a ceiling line that dips toward nothing, are the problems a Western Canadian drywall finisher tackles in this video. The fix is what he calls mud framing: correcting a framing issue with joint compound after the job has gone well past the taping stage.
The first pass
The ceiling-line repair starts with a setting-type mud. He recommends it because it doesn't shrink, which suits a first pass. The first pass is loaded on in excess and is not meant to look perfect; it is meant to level the bulk. Going only one trowel width, he says, would look like an upside-down ski jump.
A darby, a stiff straight tool (he says a 2×4 could stand in), shows the highs and lows. Around a beam hanger the whole ceiling rocks on one low point, so he flattens only the ceiling line. Anything about 6 inches to a foot from that line isn't very visible and needs no correction.
The big hump
The worst wall has drywall that should have been removed to the next stud. He had pulled the corner bead out over a quarter inch on install to hide the joint, but the wall bows out as it goes up, reaching about a half inch at the peak. He says it can't be made to disappear completely, so the aim is to fill both sides and hope the wave can't be seen.
He says regular mud could do this with about a week to dry. After the set mud has dried to a slightly damp state, he scrapes the lift-offs down, since it is easiest then. He feathers pressure onto the tape and does not bury it, because covering it with a quarter inch of mud would be the opposite of the goal. He is building out beside the tape. Bubbles are left for the final coat.
Products and the final skim
The mud is a product called concrete fill, a quick set with perlite, a light aggregate, and a little fiberglass. He says it is only available in Western Canada, and that Structo-Lite is a plaster, not a quick-setting joint compound, with adhesion problems.
For the last effort he rolls on mud of about finish-coat consistency, then spreads it with a skimming blade. The blade conforms to uneven surfaces, unlike the darby's giant straight edge. The middle had about a quarter inch on each side. Remaining bubbles get a quick skim with a 6-inch knife.
Result
Painted, the wall shows nothing, though the hump is still there. He says you need at least a foot, or 8 inches at minimum, of flat space to hide a half-inch hump.
Questions this video answers
What is mud framing?
It is fixing a framing issue, like a lump or unevenness, with joint compound after the wall has already been taped.
Why use a setting-type mud?
The video says setting muds don't shrink, which makes them good for a first pass over a big fill.
How flat an area is needed to hide a half-inch hump?
The video says about a foot, maybe 8 inches, of flat space.
Where can you buy concrete fill?
The video says it can only be found in Western Canada.
Should you bury the tape?
No, the goal is a thin layer over the tape and building out on both sides.
Explore related projects
Connected by the topic: Drywall