Shed Framing: 5 Mistakes DIYers Make, From Foundation to Corners
The short version
Scott of Everyday Home Repairs outlines five common beginner mistakes when framing a DIY wood shed, using his 12×16 lean-to shed as the example. They cover an unlevel foundation, assuming 16 ft boards are exactly 16 ft, miscalculating stud length, not planning for heavy walls, and nailing corners before checking plumb. The video also promotes a free buyer's guide and a shed-building course waitlist.
Full written account
A 12×16 lean-to shed built on a 4 in. concrete pad that took 105 bags of Quikrete is the setting for five framing mistakes that Scott of Everyday Home Repairs says homeowners commonly make. The pad was poured in two phases with a metal keyway in the middle, and the first mistake starts right there: an unlevel foundation.
Mistake 1: A foundation that isn't level
Any error in the foundation, he says, magnifies once the walls go up and makes the whole build harder. Whether the base is a concrete pad, concrete blocks under a wood floor structure, or packed gravel, he checks level side to side. He sets a 16 ft 2×4 on edge, confirms there are no gaps underneath, and reads a 4 ft level. A concrete pad is harder to correct, by shimming or grinding the surface, while blocks or gravel are easy to adjust.
He also suggests a cheap laser level used at night in low light, so the line is easy to see on a tape measure. Measurements can be written down, or marked on the concrete blocks, and adjusted the next day. Blocks or gravel need a 2×6 pressure-treated floor frame with pressure-treated plywood subfloor.
Mistake 2: Assuming a 16 ft board is 16 ft
With the pressure-treated bottom plate and regular top plate, both 16 ft 2x4s, aligned at one end, the 192 in. mark showed the pressure-treated board about an inch and a half long and the standard lumber about an inch and a quarter long. He trims both to length, then marks studs 16 in. on center; the 16 ft wall takes 13 studs.
Mistake 3: Miscalculating stud length
Stud length has to account for the 1 1/2 in. pressure-treated bottom plate and the top plate. His designs recommend a double top plate for strength, so every layer counts toward the desired wall height.
Mistake 4: No plan for the walls
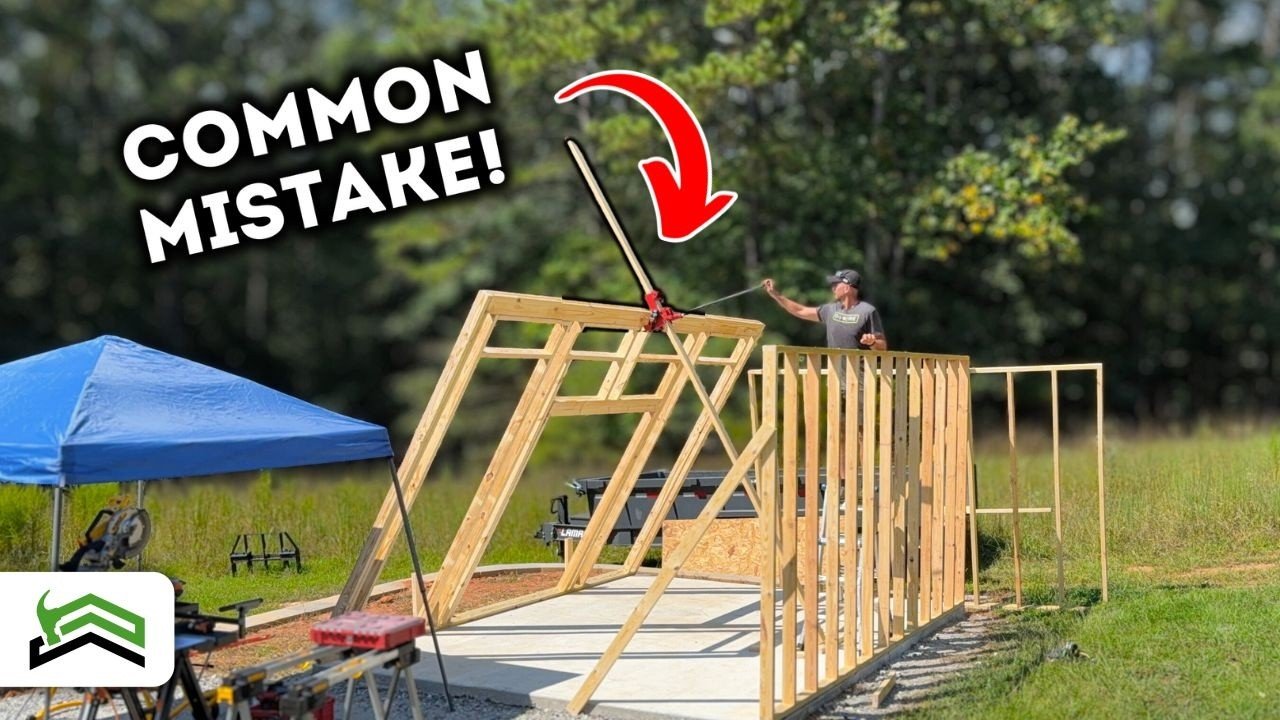
The back wall, 16 ft wide and 8 ft tall without T1-11 siding, is one he can lift alone, using clamps at the outside edge and braces already secured to the concrete. The front wall is far more complex and heavier. It is a 10 ft wall with a full-width header of two 1/2 in. plywood sheets sandwiched between 2x6s, four transom windows with 36 in. openings, and a door header roughed in for a 72×80 opening so it could later become a French or sliding glass door. In tight spaces he finds screws handy.
He lifts it with a wall jack and ratchet straps so it doesn't kick out, and puts 2x4s on the front side so the wall doesn't go off the pad. He puts the wall at roughly 300 lb, give or take, and advises staying out of the area where it could fall, having tools and braces ready, and securing it once plumb.
Mistake 5: Nailing the first corner
Rather than sinking nails into a corner that only seems plumb, he uses a few screws, so he can adjust, undo and redo while working around with clamps. Nails would have to be cut out with a saw.
Questions this video answers
Are 16 ft boards exactly 16 feet long?
In the video, the pressure-treated board was about an inch and a half long and the standard lumber about an inch and a quarter long, so he trims them to length.
How should you check a shed foundation for level?
He lays a 16 ft 2×4 on edge, checks for gaps underneath, and reads a 4 ft level. He also uses a cheap laser level and tape measure to record measurements.
Why use screws instead of nails at corners?
Screws let you adjust and undo the corner while using clamps; nails would have to be cut out with a saw if you need to redo them.
How heavy was the front wall?
He estimates it at about 300 lb, give or take, and lifted it with a wall jack and ratchet straps.
Explore related projects
Connected by the topic: Build a shed

