Replacing Worn Oak Stair Treads and Covering Pine Risers
The short version
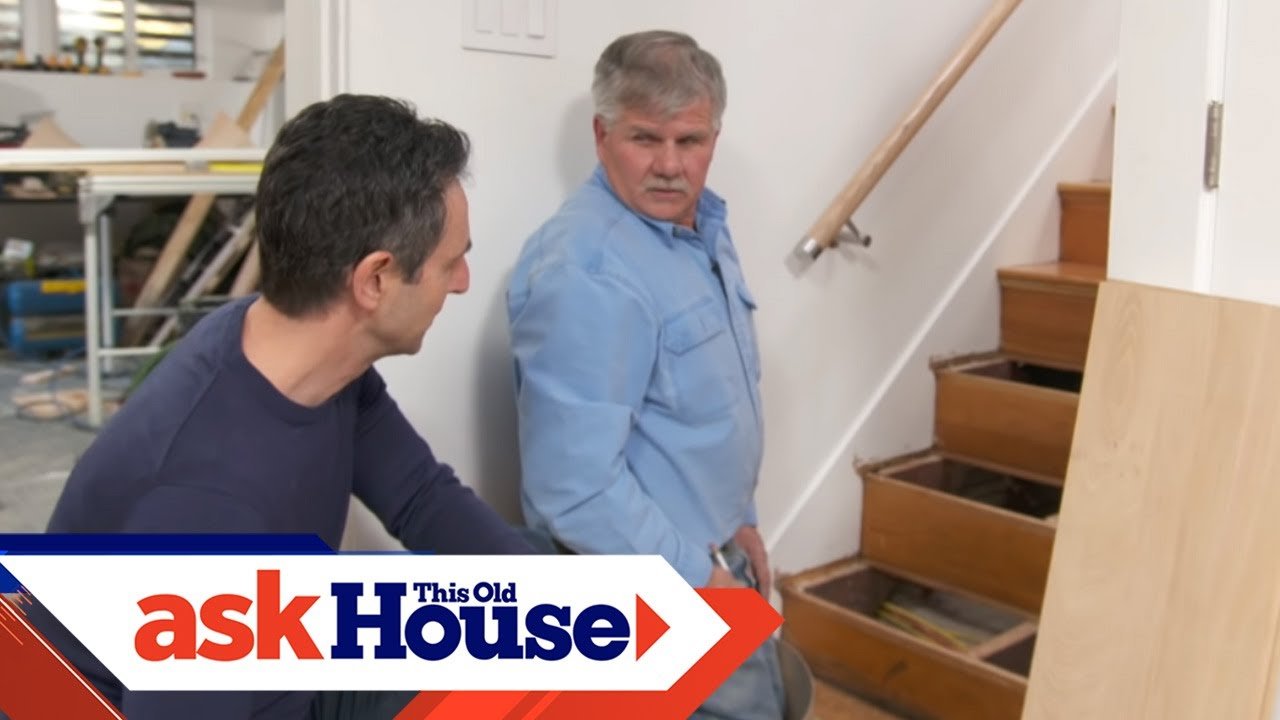
Tom Silva of Ask This Old House shows a homeowner how to replace loose, cracked, noisy split-level stair treads with new red oak. He cuts the nails under each tread, scribes a template to fit the tread between the skirt boards, routs a rabbet on the back, and glues and nails it in. The pine risers are covered with peel-and-stick oak veneer. The description lists 10-12 hours, $300 and a moderate skill level.
Full written account
Stair treads are not cut square. In this split-level stairway between a main floor and a low level, a tread cut square and driven tight to the riser leaves a big gap against the skirt board. Tom Silva, general contractor on Ask This Old House, shows a homeowner named Eric how to solve that with a paper template, and how to replace the cracked, noisy treads in the home.
The problem with the old stairs
The treads were loose, which made them noisy, and one was cracked. There were gaps to fill, and the amber color from an oil-based urethane did not match the lighter finish upstairs.
Stair anatomy
Tom names the parts: the vertical board is the riser, the tread sits on it, the skirt board dresses up each side, and scotia molding under the nosing finishes the joint. Underneath, the stringers are the structural part that holds everything up.
Removing a tread
Tom removes the scotia molding, pries the tread up slightly, and slides in a long metal cutting blade between the top of the stringer and the underside of the tread. The aim is to cut the nails, not the stringer.
The back of the tread has a rabbet that makes a tongue, which fits into a dado in the riser. Because wood expands and contracts across its width, this keeps a gap from opening where dirt could fall behind.
Before going further, he taps the risers back against the skirt board with a hammer and holds each in place with a shim, with glue on the shim.
Cutting the new tread
The new stock is 1×12 red oak from a home center, three quarters of an inch thick and 11 and a half inches wide. It is too wide, so Tom cuts it down off the back to keep the nosing on the front.
To fit it, he cuts an old tread shorter and uses it as a guide with paper. He marks a reference on the riser, slides the paper tight to the riser and skirt board at each end, and marks with a combination square. He uses a short guide piece because of a slight dip that a long straight piece would bridge. The marks transfer to the new tread, kept flush at the back, and he cuts along the lines with a smaller saw because the cut is not straight. Then he routs the rabbet on the back.
Risers, fastening and finish
The existing risers are pine. Tom sands them flat and smooth, then covers them with peel-and-stick oak veneer cut to fit, which he says is easier than tearing them out.
The treads go in with adhesive, which acts as a lubricant as he pushes the tongue into the dado, plus 2 1/2 in. 8d finish nails. Afterward the skirt boards, damaged during the work, need priming and light sanding before the finish. Tom suggests finishing just before bed so the treads dry overnight.
Questions this video answers
How long does the job take?
The description gives 10-12 hours.
How much does it cost?
The description gives $300.
Why is the tread cut with a rabbet?
Wood expands and contracts across its width. The rabbet makes a tongue that fits into the dado in the riser, so a gap does not open up where dirt can fall behind.
How are the risers made to look like oak?
The existing risers are pine. Tom covers them with a peel-and-stick oak veneer cut to fit.
How do you fit a tread between two skirt boards that are not square?
Make a paper template by scribing both ends against the skirt boards and riser, then transfer the marks to the tread and cut along the lines.
Explore related projects
Connected by the topic: Carpentry

