Insulating Basement Concrete Walls with Foam Board and a 1×3 Grid
The short version
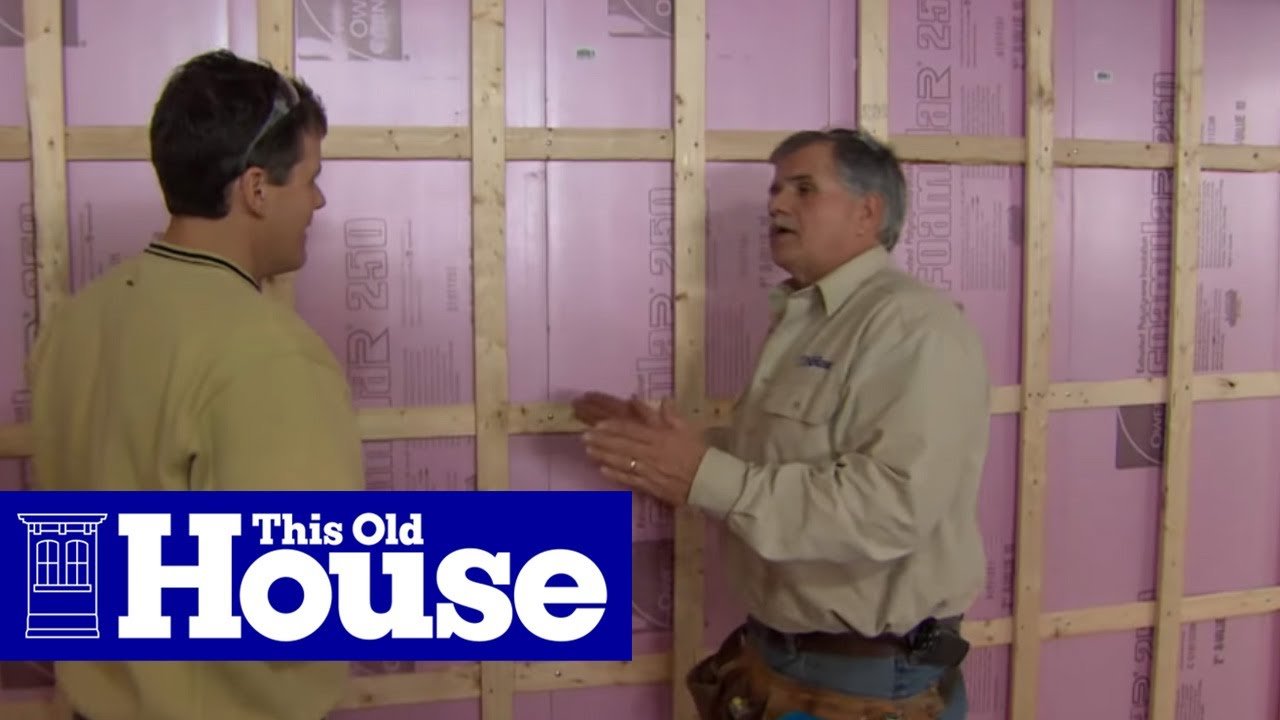
Tom Silva shows how to prepare bare concrete basement walls for wallboard. He plugs holes left by steel form ties with hydraulic cement, glues 2 in. polystyrene foam board to the foundation with a solvent-free adhesive, and fastens a grid of 1×3 spruce over it with spring spikes. Vertical 1x3s at 16 in. on center create chases for wiring and depth for electrical boxes.
Full written account
Tom Silva of This Old House plugs leaking steel form-tie holes in a basement wall with hydraulic cement before any insulation goes up. The rust marks he spotted around the ties suggested water might be leaking down, and the homeowner confirmed a little water in that corner of the basement.
Checking moisture first
The main concern in any basement job, Silva says, is moisture. A plastic panel had been installed a few weeks earlier to test for it. Condensation between the plastic and the foundation would mean the foundation is not sealed; condensation on the plastic surface would be another warning. Here the plastic was dry.
Plugging the form-tie holes
The steel ties hold the forms when a foundation is poured. When the forms come off, the ties are broken off and should be sealed from the outside. Several were letting water in. A center punch drove each tie in about 1/4 to 1/2 inch.
Silva mixed hydraulic cement to the consistency of peanut butter, mixing only as much as needed because it sets up fast. It expands inside the hole to fill the gap. He had the hole misted with water first so the concrete would not draw water from the cement, then forced the cement in and flattened it.
Foam board
The insulation is 2 ft wide by 8 ft high by 2 in. thick polystyrene with a tongue-and-groove joint. It is stuck to the foundation with foam board adhesive; an adhesive containing a solvent must be avoided because it would eat the foam. Around the carrying beam, Silva marked the beam's edges on a scrap piece, drew a level line across the bottom of the beam, extended reference lines up the sheet and cut the slot with a handsaw. The wall went up in about an hour.
A wood grid for the wallboard
The grid uses 1×3 spruce. Lines were set about 3 in. below the top of the foundation and about 3 in. above the floor, with the spaces divided in half to give five horizontal strips along chalk lines.
The strips are fastened with 4 in. spring spikes, which have a bend rather than a point and act like a spring to hold in the concrete. Each hole is drilled 5 in. deep with a hammer drill and a 3/16 masonry bit.
Room for electrical
Vertical 1x3s go over the horizontals with drywall screws, 16 in. on center, and the wallboard fastens to them. This builds the wall out and makes two chases, so wire can run down vertically or horizontally behind the uprights. A standard outlet box can be mounted by digging out a little insulation and setting it against the 1×3.
Questions this video answers
Why plug the holes in the concrete first?
Steel ties that held the foundation forms were broken off, and water can come in through those holes if they were not sealed from the outside.
Why wet the hole before applying hydraulic cement?
So the concrete does not pull the water out of the cement, which lets it dry evenly.
Why avoid adhesive with a solvent?
The solvent would deteriorate or eat the foam.
How deep should the spring spike holes be?
5 in. deep for a 4 in. spring spike, so it does not bottom out; a hammer drill with a 3/16 masonry bit is used.
How is the wall prepared for wiring?
Vertical 1x3s over the horizontal strips build the wall out, leaving chases for wires and room for a standard outlet box.
Explore related projects
Connected by the topic: Carpentry

