Painting a Room: Prep, Priming, Cutting In and Rolling Steps
The short version
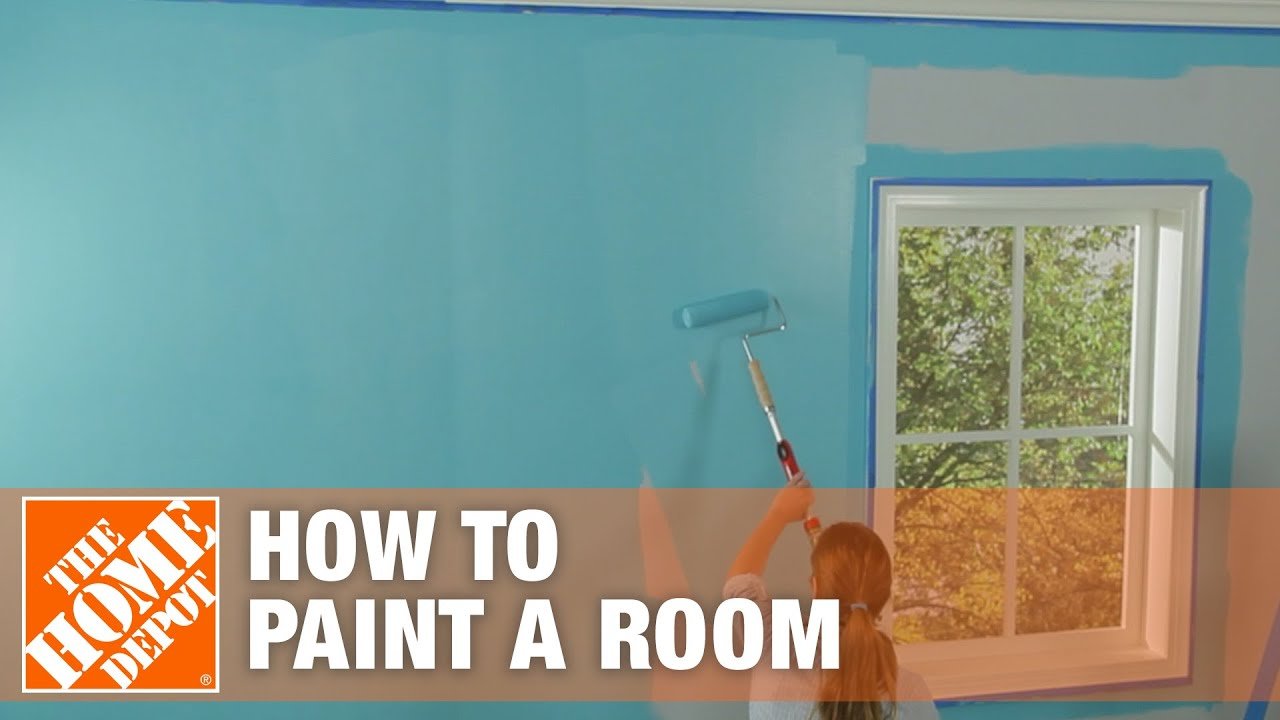
A Home Depot walkthrough of painting a room, from patching and sanding walls through taping, drop cloths, cutting in, priming and rolling two coats. It covers removing the tape and mixing paint for color uniformity. A second coat may be needed after two to four hours of drying.
Full written account
Painting a room well depends on surface prep and an orderly sequence, and skipping the prep is described as probably the biggest mistake people make. The Home Depot lays out the steps from wall repair to tape removal.
Preparing the walls
Inspect walls for cracks, holes and dents. Fill them with lightweight spackling compound and a putty knife, remove the excess, and let it dry completely. Smooth the repairs flush with very fine 220 grit sandpaper or a sanding sponge, then wipe the walls with a damp towel or sponge. Dust and cobwebs can be removed with a floor duster so the paint applies evenly.
Tape, drop cloths and furniture
Painters tape protects trim, molding and baseboards, and comes in different adhesion levels, including ones for delicate surfaces like a freshly painted wall, finished hardwood or wallpaper. Apply it in short overlapping strips and press it down firmly with fingers or a putty knife, because paint seeps under it wherever it is not in full contact.
Three kinds of drop cloth are covered:
- Canvas: durable and absorbent, reusable.
- Plastic: less expensive and durable but not absorbent, so spills stay wet and can be tracked.
- Paper: the most economical but tears easily on floors; good for covering cabinets and furniture.
In an average or small room, remove all the furniture.
Cutting in and priming
Cutting in means brushing two to three inch bands around edges where walls meet ceilings, baseboards, other walls, frames and hinges, so a roller can cover the rest. Cutting in the whole room at once is faster, but the borders may dry before being overlapped, which can leave a slight difference in sheen. Cutting in and painting one wall at a time lets wet paint blend with wet paint.
Primer is designed to adhere to different surfaces and receive the top coat. A paint and primer in one is an option. Primer helps seal new drywall, helps on stained walls or dramatic color changes, and keeps spackle and drywall compound from drawing moisture out of the paint and leaving a dull patch. Primer can be tinted at the store, and since it is less expensive than paint, this can reduce the number of paint coats needed.
Roll in three foot by three foot sections from top to bottom, using V or W shaped strokes with a fully loaded roller, and overlap wet areas, a technique called working to a wet edge. After the primer dries, lightly sand bumps and ridges with very fine grit sandpaper and wipe the wall clean.
Painting
Remix the paint first. When cutting in with paint, brush onto the wall first, not the tape, and avoid overloading the brush so paint does not seep under the tape. Roll the top coat in the same three foot sections, smooth each area with continuous strokes, and lift the roller gently where overlapping. Painting straight up and down in rows makes blending harder and can leave a striped look.
Finishing
Tape can be removed just before the paint dries completely or after it is dry. If small pieces tear, slice through the dried paint with a utility knife while pulling the tape at a 45 degree angle. Seal the paint cans and clean brushes and rollers. Color variations are rare, but once half a gallon is used, refill that can from a different can and remix; for large jobs, mix several gallons in a 5-gallon bucket. A second coat may be needed after the first dries completely, usually two to four hours.
Explore related projects
Connected by the topic: Paint a room