Painting a Room in the Right Order: Liquid Mask, Trim, Walls
The short version
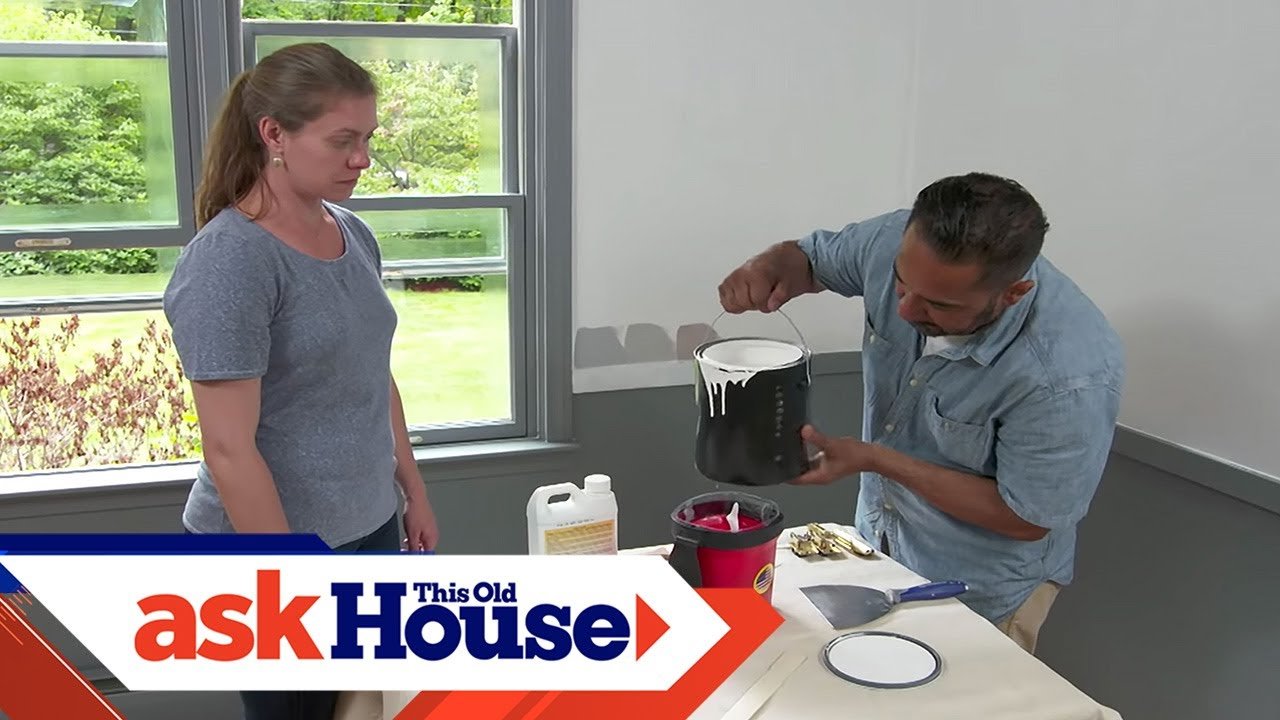
A painter shows a homeowner the sequence for painting a room whose ceiling is already done: liquid mask on the window glass, trim first, then walls. The video explains paint finishes, pouring paint into a small bucket, adding paint additive, brush choices and a 9-inch microfiber roller. It ends with removing the dried mask using a razor knife.
Full written account
Painting a room goes in a set order: ceiling first, then trim, then walls. In this job, a painter from This Old House's Ask This Old House works with a homeowner who wants darker color on the upper wall, white on the lower wall and new trim around the windows. The ceiling was already finished, and the homeowners were nervous about the dark window trim, about getting paint on the glass and about jamming the windows.
Why trim comes before walls
The painter says it is easy to cut in the walls after the trim has been painted, so the trim is done first.
Masking the glass
The painter applies liquid mask to the window glass to avoid overspill. It goes on white and dries clear, and two coats are applied with long strokes starting at the corner and little pressure on the brush. The painter calls it much better than painters tape, since paint that reaches the glass has to be scraped off.
Choosing a finish
The painter walks through the finishes:
- High gloss: hard to apply but easy to clean, popular for doors and trim.
- Semi-gloss: also hard to apply, good for trim and easy to clean, and it handles hand grease and oil.
- Satin: less sheen, not as hard to apply, less durable than the first two, popular for cabinetry and some trim.
- Eggshell: a flatter look, good for walls.
- Matte: no sheen, hard to clean and not good for high-traffic areas.
The homeowner had expected eggshell or matte for the trim, but the choice was white semi-gloss for the trim and eggshell for the walls.
Painting the trim
The painter pours some paint into a small bucket rather than working from the can, since a breeze can bring dust into the can. Paint additive is mixed in so the paint does not go on too thick in the window frames. With a 1.5-inch brush, the painter dips only the tip, holding it with two fingers, and starts at the top corner and works down. A knife held against the jamb keeps paint off it. For the sides of the trim, the brush is kept parallel with the wall and drawn in one long stroke, then the face is painted.
While the first coat dries, the chair rail and door cases are cut in with a 2.5-inch brush, with no tape.
Walls and finishing
The wall color is called Stargazer, in an eggshell finish. The painter follows behind with a roller, using a 9-inch microfiber roller for a nice finish with eggshell. The baseboard is painted with semi-gloss in the second coat because it counts as trim. Finally the mask is removed: a razor knife is run around the sash and one end is lifted to peel it off, leaving clean glass.
Questions this video answers
Why paint the trim before the walls?
Trim first, because it is easier to cut in the trim first and then the walls. The ceiling was already done in this project.
What is liquid mask used for?
Liquid mask goes on the glass white and dries clear. After painting it is lifted off by scoring around the sash with a razor knife. The painter says it works better than painters tape, which can let paint onto the glass.
Which paint finishes were used?
Semi-gloss on the trim and baseboard, and eggshell on the walls.
Should you paint straight from the can?
Pour some paint into a small bucket instead, because working from the can can bring dust into it.
What does the project cost?
The description gives a cost of $300 and a skill level of Beginner.
Explore related projects
Connected by the topic: Paint a room