Whole-House LVP Install With No Transitions: Layout to Last Row
The short version
A whole-house luxury vinyl plank installation with no transitions, running over old hardwood, an LVP underlayment over plywood subfloor, and bathroom tile. It covers layout from a chalk line in the hallway, cutting, spacing, leveling with a hand planer and Henry Feather Finish, and installing rooms backwards to join existing floor.
Full written account
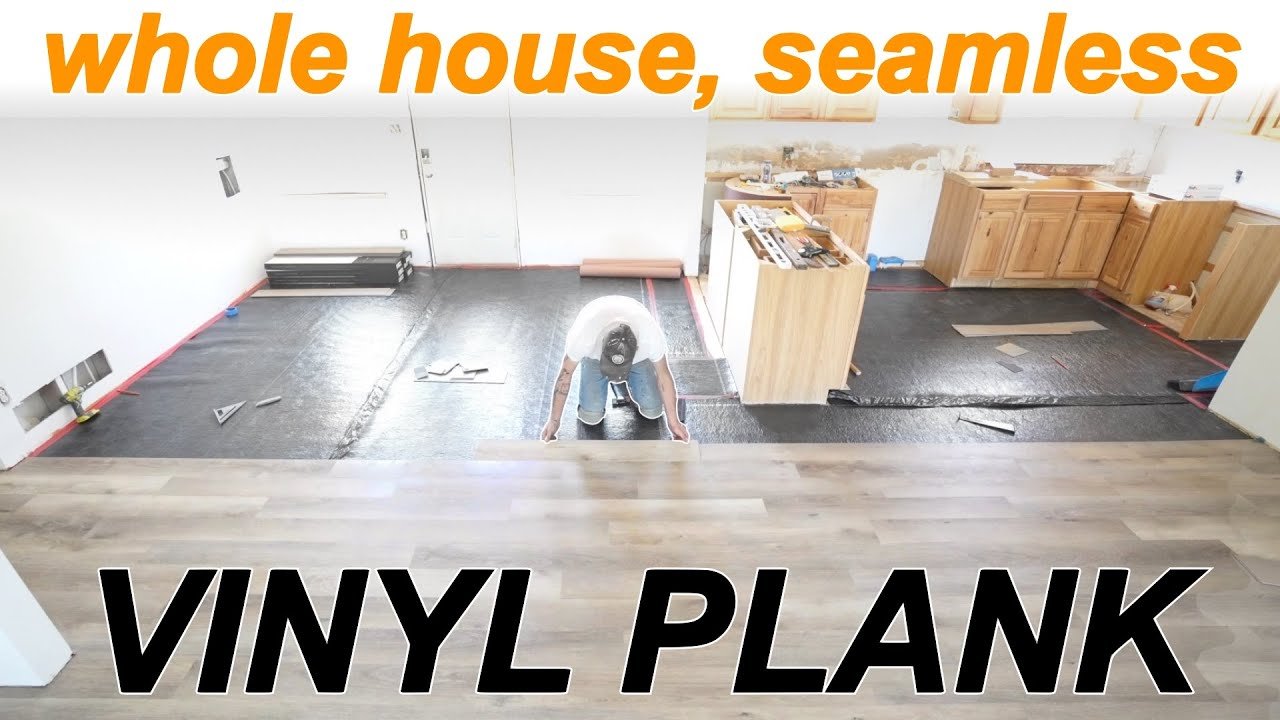
Mike's First Flip shows how to lay luxury vinyl plank (LVP) through an entire house with no transitions, breaks or seams. The floor goes over old hardwoods, a plywood subfloor with LVP-specific underlayment, and tile in the bathroom.
Layout
The starting point is the middle of the hallway. He measured to find it, put a nail at the far end, and snapped a chalk line from the other side of the house. He measured from that line to the starting wall in plank-face widths, excluding the tongue and groove, to learn how many planks plus how much extra he would need. Because that left only a sliver at the wall, he centered the seam between two boards on the line instead of a board. Seams need at least 8 to 10 in. between them, and he kept a 1/4 in. spacer gap off walls and cabinets.
Cutting
LVP can be cut with a table saw, circular saw, jigsaw or miter saw. He also scores it with a razor blade or utility knife, using a speed square, then snaps it with the board upside down and his hand next to the break. He advises against breaking planks over a knee and against expensive vinyl cutters.
Tapping and pulling
A tapping block and rubber mallet, hard side, seat the planks, hit at about a three or four out of ten. Using the block only on the ends let the slab pivot, leaving about a 16th of an inch gap at the spacers on one side. The fix was to tap the whole edge down and use a pull bar to knock the boards back together. After that he tapped both ends and edges.
Leveling
At the seam between hardwood and the underlayment over the plywood subfloor he found a bump. He used an electric hand planer, starting with a little more than 1/32 in., and filled a low spot with Henry Feather Finish, a concrete product that bonds to subfloors. After drying he chiseled high points and sanded with a random orbit sander and 80 grit paper, taping the floor edge to keep dust out.
Working through the house
He worked with six boxes open, later eight, to mix the color and grain and avoid duplicate patterns. Around doorways, planks need about half an inch to slide under the door jamb. In the hallway he matched an 11 and 3/4 measurement from the chalk line and screwed down support blocks to hold the rows.
In the bedrooms the floors had to go in backwards to join existing rows. He angled the groove under the previous board, scribed the wall with a spacer and pencil, and cut with a jigsaw. Connecting a full row first meant using the tapping block only once per row. He suggests two people, one grabbing planks.
Bathroom
He laid the LVP directly over the tile, and demonstrated back-filling grout lines with Feather Finish using a small trowel like a squeegee. He moved the door jamb to get planks in, and traced the toilet flange with a pencil as a template, leaving an expansion gap.
Finish
He removed the spacers, and knocked shifted rows back with the pull bar. When a pull bar doesn't fit, a 2×4 piece held with painter's tape and hot glue works as a tapping block.
Questions this video answers
Do you need a special cutter for LVP?
Yes. He cuts LVP with a table saw, circular saw, jigsaw or miter saw, or scores it with a utility knife or razor blade and snaps it, and he advises against buying an expensive vinyl cutter.
What expansion gap does he leave?
He keeps a 1/4 in. gap off the walls using spacers, and also leaves an expansion gap around the vanity and toilet flange.
Can LVP go over bathroom tile?
Yes. He installed the planks directly over the tile, and shows Henry Feather Finish for back-filling grout lines or tile that isn't flat enough.
How does he stagger seams?
He says seams should be at least 8 to 10 in. apart and that duplicate patterns should not sit too close together, so he works from several open boxes.
How does he install seamlessly into a room?
Rooms joined to the existing floor are installed backwards, angling the groove under the previous row. He often connects a full row first and then locks the long edge to the existing boards.
Explore related projects
Connected by the topic: Flooring