Replacing a Ceiling Light Fixture: Breaker, Wiring and Mounting
The short version
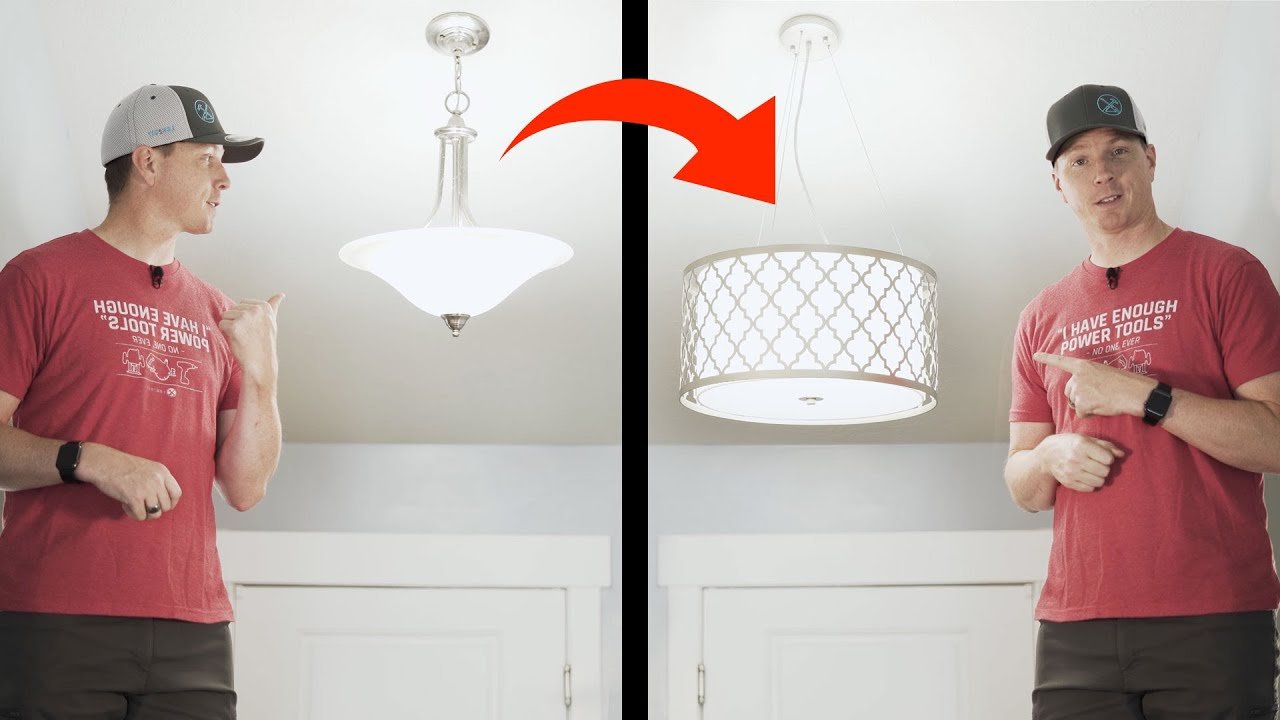
A step-by-step guide to swapping an old ceiling light fixture for a new Inlight fixture. It covers switching off the circuit breaker, testing the wires with a voltage meter, removing the old fixture, attaching the strain relief cable, matching line, neutral and ground wires with wire nuts, and mounting the fixture on three one-way push cables.
Full written account
Changing a ceiling light fixture takes few tools, and the Inlight fixture shown here is swapped in a short series of steps: kill the circuit, test, disconnect the old unit, wire the new one and set its height.
Making the circuit safe
The lights stay on while the installer goes to the circuit breaker box and switches off the appropriate breaker, so the dead light confirms the right circuit. A voltage meter or circuit tester is recommended as an extra precaution. Later, with the old wires exposed, the installer tests them in both directions; the meter would light up if any current were present, and it stays dark. The video describes such testers as handy and inexpensive.
Removing the old fixture
The old fixture has decorative caps, which come off first. The wire running to the fixture is typically weight bearing and often holds much of its weight, so the aim is to put no strain on it. The three wire caps are released and the wires untwisted from each other, after which the whole fixture comes free.
Preparing the new fixture
The plate supplied with the new fixture has two screws that take its decorative caps. They look to be the same distance apart as the posts already in the ceiling, so the installer test fits the new caps on those posts. They thread on perfectly, so the existing plate stays in place and the new one is not needed. If the fit is poor, the video says to remove the couple of screws holding the old plate and install the new one instead.
A tip: put the bulbs in while the fixture is on the ground, not once it is mounted.
The strain relief cable is fastened to the plate first, often using the screw intended for ground when there is no ground. It works as a fail-safe: if the wiring or caps come undone, the fixture can still hang from it.
Wiring and mounting
The Inlight fixture labels its terminals: L for line, N for neutral, and a green cord for ground. Neutral is white, line is black, and the bare wire is ground. The wires are joined with the wire nuts that came with the fixture. After the nuts are on, each wire gets a small pull to check it will not pop free when pushed back into the junction box. The wires are tucked in so the exposed portions do not touch each other.
The two studs poke through the two holes in the plate, and the caps from the kit go on. Inlight designed this fixture with three mounting cables that push one way: pushing up tightens them and they do not pull back down. The fixture, hanging too low at first, is lifted to the desired height. The breaker is then switched back on and the new fixture works.
Questions this video answers
What should you do before removing a light fixture?
Switch off the appropriate circuit breaker, then test the wires in both directions with a voltage meter or circuit tester.
How are the wires matched?
Neutral is white, line is black, and the bare wire is ground. The fixture labels L for line and N for neutral, with a green cord for ground.
What is the strain relief cable for?
It is fastened to the plate so the fixture can still hang by it if the wiring or caps come undone.
When is it easiest to put in the bulbs?
While the fixture is on the ground, before it is mounted to the ceiling.
How do you set the fixture height?
The three mounting cables are one-way push, so you push up to the height you want and they stay snug in place.
Explore related projects
Connected by the topic: Electrical