Fixing a Leaking Kitchen Sink Strainer With a Under-$10 Kit
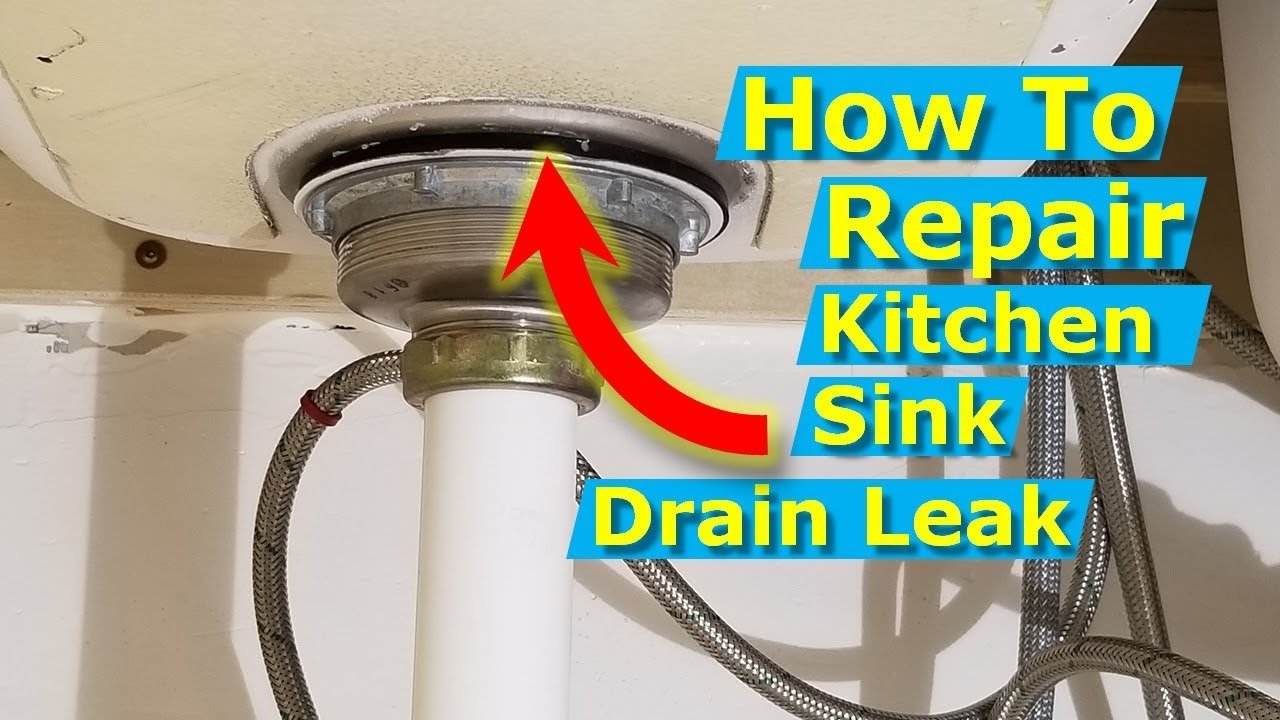
The short version
A kitchen sink drain strainer that leaks is replaced with a kit costing under ten dollars. The video removes the p-trap, cleans off old putty, sets the new strainer in plumber's putty, adds the gasket and cardboard washer, and reassembles the trap. It then tests with hot running water, a full basin and an overnight check.
Full written account
A replacement kitchen sink strainer kit that costs under ten dollars is enough to stop a leak running down from the sink drain through the gasket and down the pipe. The kit includes the strainer, the flange piece that goes up top, the bottom piece with the nut, a gasket and a cardboard washer that sits under the gasket.
Tools and the wrench choice
The job uses a universal sink wrench that fits all the way around the large nut and locks onto it. The video prefers it to a screwdriver and hammer, because hammering tends to knock the drain out of position after the plumber's putty is on. A second three-way wrench also has a cutout for the plastic wing nuts on a p-trap, but the first is said to give better ergonomics and mechanical advantage.
Removing the old drain
Every p-trap holds water, so a pan goes underneath before loosening the nuts. After waiting for the water to equalize, the bottom section is dumped out and the tube is moved out of the way. The wrench is fitted to the nut, and the old drain is pushed up from underneath. All the old plumber's putty must then be cleaned off.
Setting the new strainer
The putty is rolled to about a golf ball size, formed into a bead of about half an inch and wrapped around the flange, with no visible seam. It can also go on the rim of the sink opening. The strainer is pushed down and centered, with any brand name facing the front of the sink. Tightening squeezes out more putty, which is scraped off only after the nut is tight and the strainer seated.
Underneath, the black gasket goes on first, then the cardboard washer, then the nut, started by hand and finished with the wrench. The video removes any putty underneath, since the gasket does the sealing.
Reassembling the trap
The hi-hat gasket washer must be in the top of the pipe before it is screwed to the bottom of the drain. The joint is underwater, so alignment must be perfect or water can slip out. The trap goes into the waste pipe all the way to the stop, and the joint is lined up level and tightened by hand first. The other two joints with rubber gaskets need only about a quarter turn.
Testing
Hot water runs for a few minutes while checking for moisture around the drain. Next the basin is filled with hot water and released to rush through the p-trap. The video explains that the column of water in the trap blocks methane gases from the sewer, and that it can evaporate, for example after winterizing. Paper towel or newspaper under the joints shows any drip, and the joint at the p-trap outlet is monitored over a few hours or overnight, since it sits under water.
Questions this video answers
How much does a replacement kitchen sink strainer cost?
The video says the replacement strainer kit, with the strainer, flange piece, gasket, cardboard washer and nut, costs under ten dollars.
What tool is used to tighten the strainer nut?
A universal sink wrench that fits all the way around the big nut. The video advises against hammering it with a screwdriver, which can knock the drain out of position after the putty is placed.
How do you test for leaks afterward?
Run hot water for a few minutes and check for moisture around the drain, then fill the basin and release it to test the p-trap. Finally, put paper towel under the joints and check after a few hours or overnight.
Is plumber's putty needed under the sink?
Yes. The video says the gasket goes on first, then the cardboard washer, and that any excess putty underneath should be removed because the gasket does the sealing.
Explore related projects
Connected by the topic: Plumbing