Turning a Hallway Closet into Drawers and Shelves with Cedar Trim
The short version
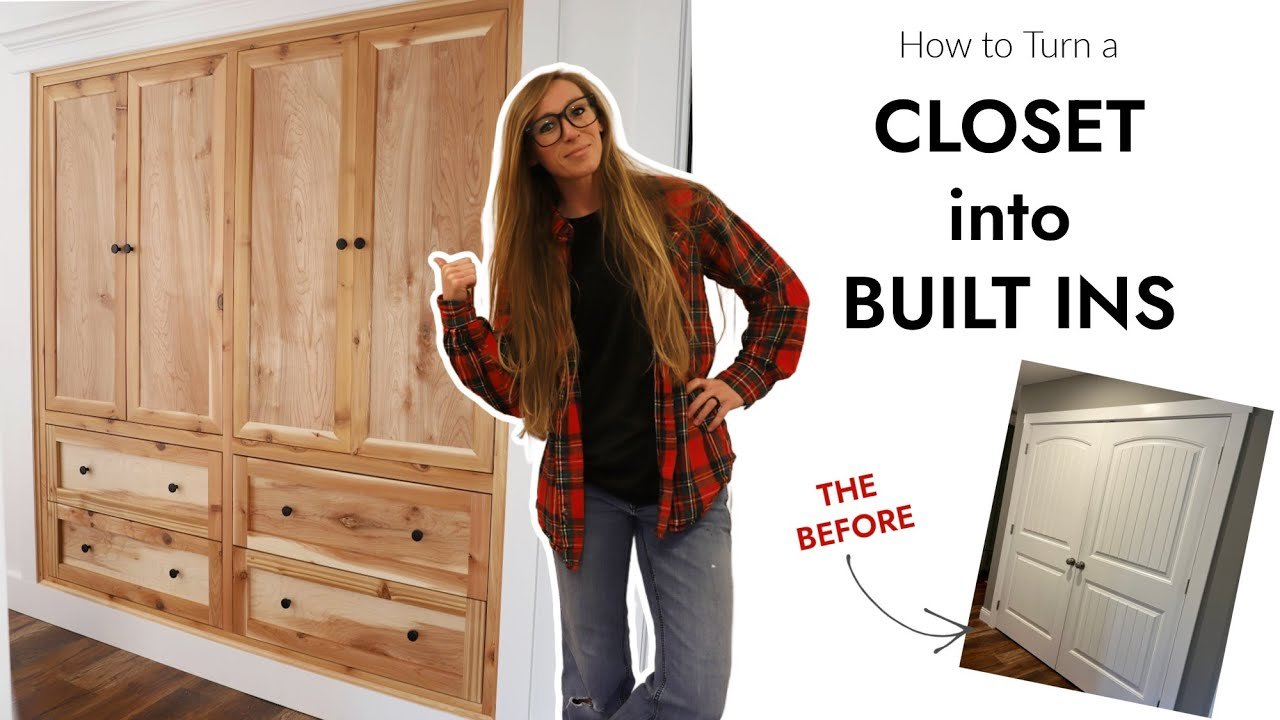
A hallway closet with hard-to-open, loud double doors is emptied, stripped of its doors, shelves and trim, and filled with custom built-ins. The build has a birch plywood drawer cabinet below and a shelf cabinet above, joined with pocket holes, with a single cedar face frame, dowelled cedar doors, drawers on slides, new trim and a clear coat. The builder says she lost a few cubic feet of storage but ended up with better organization.
Full written account
A hallway closet with double doors that were hard to open and close, and loud, became a set of custom built-ins with drawers below and shelves above. The builder describes the closet as being on her last nerve, and she removed the doors to build something to replace them. Her stated goal was to improve both function and aesthetics.
Trading space for organization
She says up front that the project cost her a few cubic feet of storage, and that anyone who needs every square inch may not want to do it. Even so, after putting everything back she ended up with empty shelves, and later says almost half a cabinet is still empty. The only things she threw away were three old pillows and a blanket.
Sizing the cabinets
The closet was emptied, and the shelves, brackets, doors and trim were removed; the trim would be redone after installation. She also painted the hallway while the space was bare. The depth from the back to the front edge of the drywall was about 22 1/2 in., so she cut birch plywood strips 21 1/4 in. wide. That leaves room for a 3/4 in. face frame and a 1/4 in. back panel, plus about 1/4 in. of wiggle room to shim, because no walls are plumb or flat. The cabinet is about 2 in. smaller than the opening so it can slide in.
A bottom cabinet holds drawers and a top cabinet holds shelves. Both were assembled with pocket holes and screws. Strips across the back allow screwing into the wall studs. The top cabinet has a 1/4 in. plywood back stapled on; the drawer cabinet has none because it would not be seen. The drawer cabinet's strips sit about 7 in. up from the bottom to make room for a 1×6 baseboard, 5 1/2 in. tall, and about 1 1/2 in. of revealed face frame.
One face frame, cedar details
To avoid seams, she built one large face frame for both cabinets from cedar tongue and groove boards, with the groove sides ripped off and kept for the door frames. The top, bottom and sides are 2 in. wide and the middle divider is 1 1/2 in. Because the pieces are narrow, she used a Kreg Micro Jig, which drills pocket holes about 30% smaller than standard and requires pan head screws. The frame overhangs the sides by about 1/2 in. and the insides by about 3/4 in., which made spacer blocks for the drawer slides easy: 3/4 in. plywood strips, one at the bottom and one about halfway up.
Drawers, installation and doors
The drawer boxes are 3/4 in. plywood, about 10 1/2 in. tall for drawer fronts about 11 1/2 in. tall. Their pocket holes sit close to the top and bottom edges so the drawer front frames cover them. The loaded cabinet was too heavy to carry, so she removed the drawers. She leveled it, added shims, and screwed into the studs, with 1/4 in. plywood shims on the back where the drawer cabinet has no backer. A hole was cut in the back of the top cabinet for access to a panel in the wall. Her husband Danny helped lift the top cabinet in. The face frame was glued, nailed and checked for square.
The four door frames use the cedar groove sides, mitered at 45°, with a birch plywood panel; she says the bad side of birch plywood gives the most colorful match to cedar. Corners are joined with dowels and glue. She used concealed hinges meant for frameless cabinets, mounted on spacer blocks, and scrap wood stop blocks keep the doors from swinging in too far.
Trim and finish
She replaced the baseboard with a painted 1×6, trimmed the opening with 1×4 boards, and added crown molding and half round. Cove molding closed small gaps at the inside corners. Finishing was a couple of coats of Minwax water-based Helmsman clear coat, black knobs, and shelf pin holes drilled last into the installed cabinets for plywood shelves.
Questions this video answers
How deep did she cut the plywood strips?
21 1/4 in. wide, for a closet about 22 1/2 in. deep, leaving room for a 3/4 in. face frame, a 1/4 in. back panel and about 1/4 in. of shim room.
What wood was used?
Birch plywood for the cabinets and cedar for the face frame, door frames and drawer front frames.
How were the cabinets joined?
With pocket holes and screws; the doors were assembled with dowels and glue.
How were the cabinets secured?
Strips across the back were screwed into the wall studs, and the top cabinet was also screwed to the drawer cabinet.
What finish was used?
A couple of coats of Minwax water-based Helmsman clear coat on the doors, drawer fronts and face frame.
Did she lose storage space?
Yes, a few cubic feet, but the better organization left almost half a cabinet empty.
Explore related projects
Connected by the topic: Build built-in bookshelves