Replacing a Receptacle Safely: Testers, Wiring and Mounting
The short version
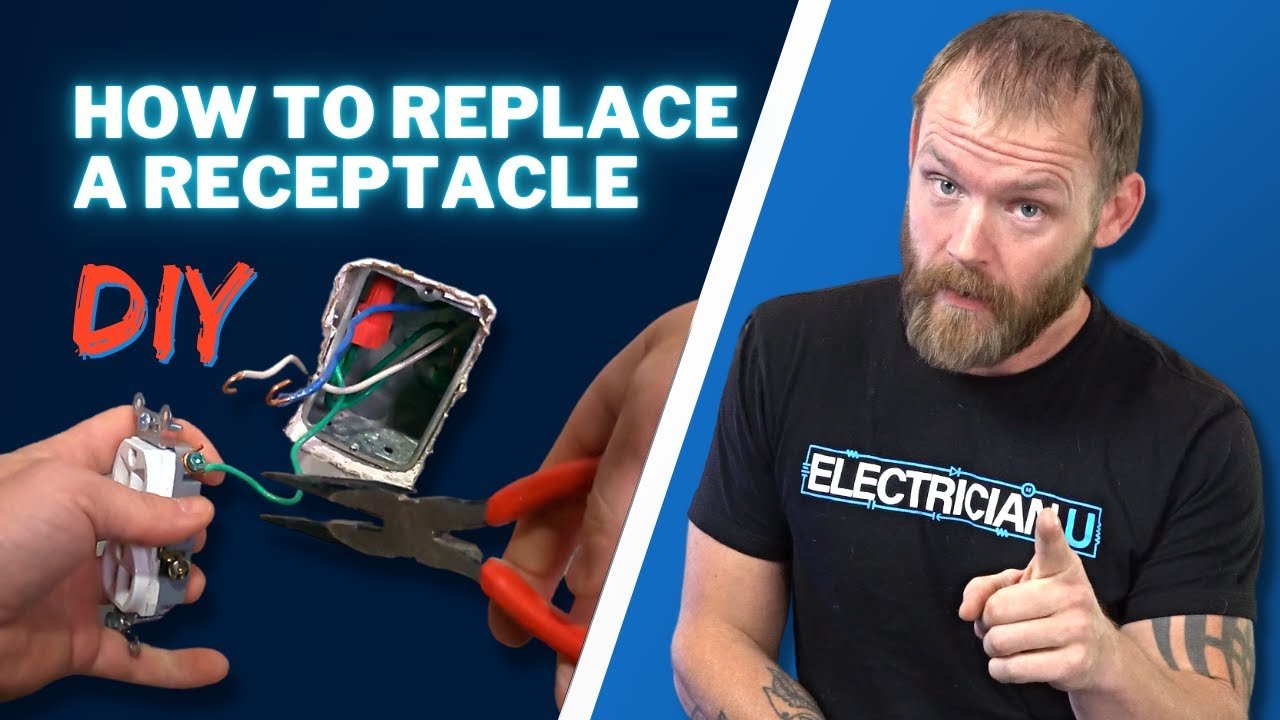
An electrician demonstrates how to replace a receptacle, starting with three testers: a plug tester, a non-contact voltage tester and a multimeter-style electrical tester. He shuts off the breaker, verifies power is off, swaps the device, and finishes with the mounting strap and cover plate.
Full written account
Testing before touching anything
Electrician U's Dustin aimed this lesson at DIY homeowners and apprentices who have never installed a receptacle, reasoning that people will do the work anyway and should see the safe way. He recommends owning test equipment before starting.
He covers three testers. A plug tester shows whether power is present and, by its light pattern, whether the receptacle is wired correctly, such as a swapped neutral or misplaced ground. A non-contact voltage tester (the NCV, or "tick tracer") only indicates the presence of power. He says it does not show whether there are 120 or 240 volts, can be fooled by capacitive coupling, and should not be used to verify power. The third is a multimeter-style tester set to voltage.
The three readings
He checks hot to neutral, which read 126 volts in his three-phase commercial setting, with roughly 118 to 125 typical elsewhere. Hot to ground should give about the same number. Neutral to ground should be zero, and a large number means a problem. The hot side is the small slot on the right.
Shutting off and removing the old device
He finds the breaker, turns it off and verifies the circuit is dead. His box is metal, as in commercial work, while a house will likely have plastic. Residential wires are likely black or red for hot and white for neutral, with bare copper for ground. He loosens the hot, neutral and ground screws together to avoid switching tools.
Wiring the new receptacle
Gold screws are the hot side and silver the neutral side. He connects ground first and does the same order every time. Wires are hooked so tightening clockwise pulls them closed, and the loop is squeezed so it stays on if the screw is loose. He doesn't crush the wire, and tightens each screw by hand at the end.
In commercial work he wraps electrical tape around the terminals so the device won't short against a metal box if someone pulls it out live. He says it isn't necessary in a residential plastic box.
Mounting
The yoke's ears must sit flush with the drywall. Overtightening pulls the device into the wall and the plate won't sit straight, while a loose screw leaves a gap. Centering the screw in the slot helps the ears sit even. He then fits the plate and checks it with a level.
Explore related projects
Connected by the topic: Electrical