Replacing a Kitchen Faucet: Moen Milton Install, Start to Finish
The short version
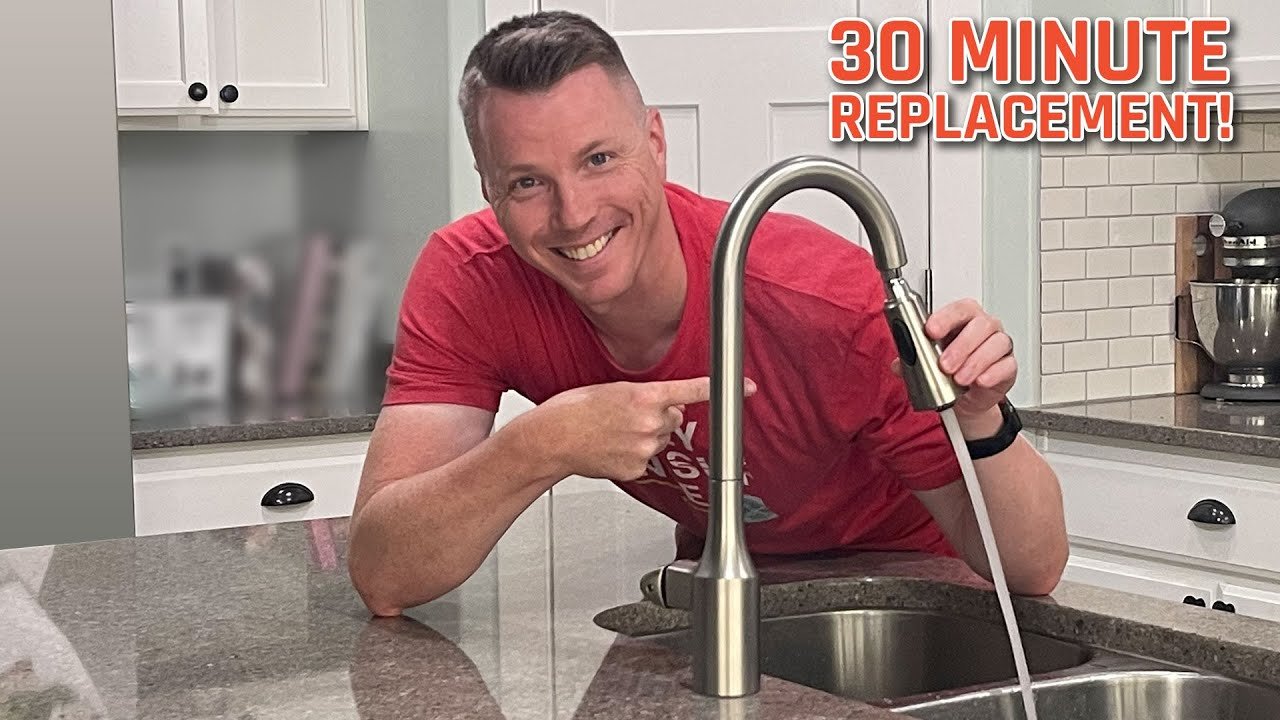
A step-by-step replacement of a kitchen faucet with a Moen Milton model in a single-hole quartz countertop. The video covers shutting off the hot and cold supplies, loosening the fastening nut, removing the old faucet, installing the new one with its gasket, hose and weight, reconnecting the supply lines and checking for leaks.
Full written account
A kitchen faucet swap can be done in about 30 minutes with basic tools, according to the LRN2DIY video that installs a Moen Milton faucet in a quartz countertop with a single hole. The faucet comes with plates at the bottom, so it also works with two or three holes.
Shutting off the water
The first step is closing both the hot and cold supply valves under the sink. A closed valve sits perpendicular to the line. The valve feeding the dishwasher is shown still open because it runs parallel to the line. After closing the valves, run the faucet; if nothing comes out for hot and cold, the water is off.
Removing the old faucet
The assembly holding the faucet to the countertop has a small nut that should only be hand tightened, and a threaded shank with a brass fastening nut that holds everything tight to the countertop. That fastening nut is the one to loosen. Newer pull-out hoses, from roughly the last decade, have a push-button release that lets the old hose be pulled out and slid off, which gives easier access to the bolt on top.
The installation tool that came with the new faucet fits around the bolt and loosens it by turning left. Pliers or a wrench work if you lack the tool. Last come the hot and cold supply connections: hold the valve in place and gently unthread them, with a towel placed around to catch water left in the lines. The whole faucet then comes out from the top, which is a little tricky to fit through.
Installing the new faucet
For two or three holes, a plate with a rubber gasket underneath covers the extra openings. With one hole, the plate is discarded and the round gasket is used. The gasket has cutouts for the pipes and hoses, which should aim toward the front of the sink. The hose assemblies drop down through, with the handle placed on the right. The faucet may tip when released because little weight holds it down.
Under the sink, a plate slides onto the shaft so that all three hoses sit inside its cutout. The installation tool tightens it hand tight, and a screwdriver through a hole in the handle finishes it; it doesn't need to be very tight.
Hose, weight and supply lines
The pull-down hose feeds through the faucet. Its white rounded end snaps into the fixture below and stops itself, so it shouldn't be pushed too far. After the protective cap comes off, the hose must be clear of pipes, and the button is pushed to lock it in.
The weight is opened and its dummy barrel removed. It goes just below the yellow marking on the hose and snaps on by hand, adding weight so the hose pulls back into position. The hot and cold lines are reattached by threading them on, the reverse of removal.
Testing
The valves are opened slowly while checking for leaks at the bottom and the top. Finally the protective piece comes off the hose, and the hose head is threaded on hand tight and snugged into place.
Questions this video answers
How long does replacing a kitchen faucet take?
The title says about 30 minutes; the video does not time the steps individually.
Does the faucet fit different countertop hole setups?
Yes. The new faucet comes with plates at the bottom, so it works with one, two or three holes. The video uses one hole in a quartz countertop.
How do you know the water supply is shut off?
Turn both the hot and cold supply valves so they sit perpendicular to the lines, then run the faucet. If nothing comes out for hot and cold, the water is off.
What do you use to loosen the fastening nut?
The video uses the installation tool that came with the new faucet. Pliers or a wrench can do the same job.
How do you check for leaks after installing?
Open the valves slowly and check for leaks under the sink and at the top once the lines are pressurized.
Explore related projects
Connected by the topic: Plumbing