Replace a Toilet Fill Valve With a Fluidmaster 400H in 15 Minutes
The short version
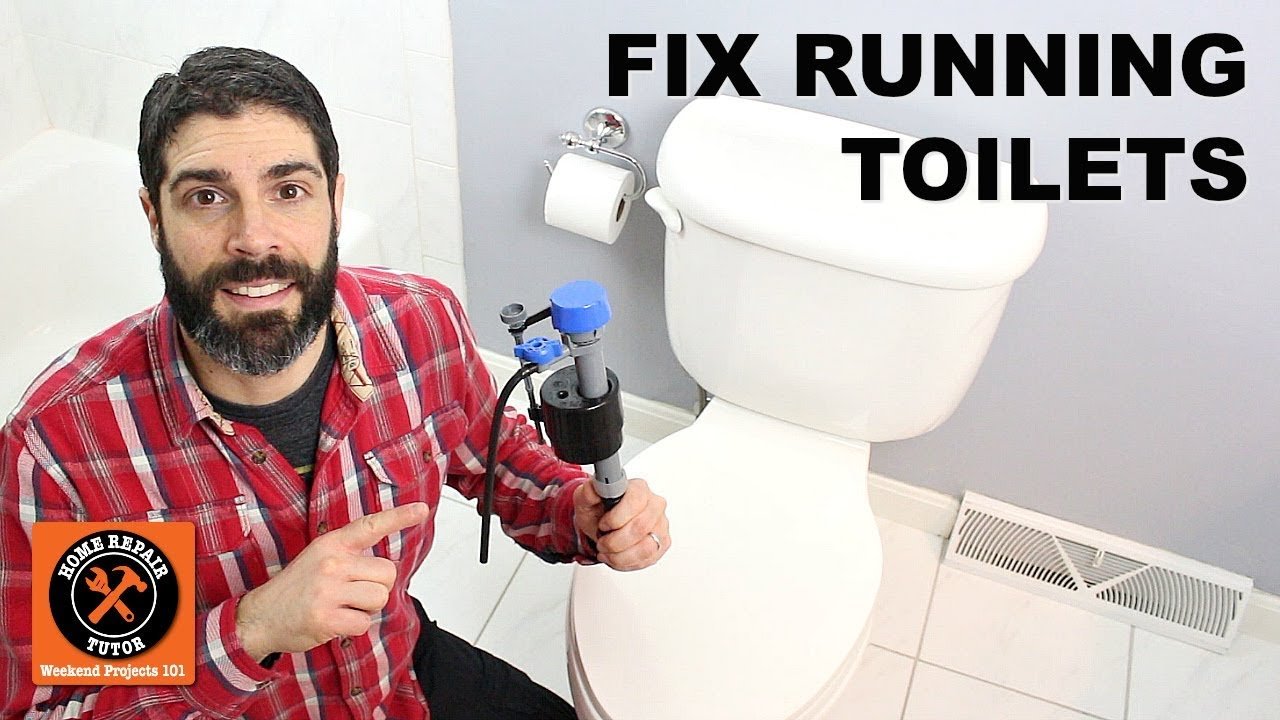
Shows how to fix a running toilet by replacing the fill valve with a Fluidmaster 400H. Steps include shutting off the water, draining the tank, removing the old valve, setting the height to 3 inches, hand-tightening the connections, and adjusting the tank and bowl water levels. The video says installation takes ten to fifteen minutes.
Full written account
Why does a toilet keep running, and how does a new fill valve fix it?
The Fluidmaster 400H-002 fill valve replaces a variety of different fill valves, as listed on the side of its box. Inside the box are only a few items: the fill valve, the instructions, and some additional parts. The 400 series fill valves have been around since the 1950s. This 400H has adjustment levers for both the tank water level and the bowl water level. The job is a fix for a running toilet, and the video says installation should take ten to fifteen minutes.
Preparing the toilet
The first step is to turn the water off with the shut-off valve. For an old shut-off valve, the presenter recommends SharkBite fittings, which slide onto a piece of copper pipe after the pipe is prepped a little. The SharkBite fitting will spin on the copper.
Next, flush the toilet and remove the tank lid. Pull down on the lever until most of the water is out of the tank, then use a sponge or cloth to remove the excess. This takes a minute or two.
Removing the old valve
Remove the water supply line from the old fill valve; a bucket is useful here. Then remove the nut from the old fill valve, take off the hose, and lift the valve out of the tank.
Setting the height
Inspect the gasket on the new valve to confirm it is in the right position, then insert the 400H into the tank and dry fit the hose. Two measurements matter:
- The height from the top of the flush valve to the top blue cap of the fill valve needs to be three inches.
- The top of the flush valve needs to be one inch below the tank lever location.
To reach three inches, unscrew the fill valve to make it higher. A small clamp goes on top of the flush valve, and the rubber hose is cut to size so that it does not interfere with the bottom of the tank top. The hose goes into the slot of the clamp.
Tightening and refilling
The nut for the new fill valve goes on and should be tight. No other tools are needed, and the supply line is added to the bottom of the fill valve, also hand-tightened. Then turn the water on and let the water rise to see how high it goes against the top of the flush valve pipe.
Adjusting the water levels
The tank water should sit about half an inch from the top of the flush valve pipe. A mark can be made on the pipe, and the lever adjusts the height. Turning it clockwise raises the level in the tank. Flush once more and let the water rise to confirm.
For the bowl, mark the inside with a pencil just above the water line. Pour one gallon of water slowly into the bowl, since pouring too quickly will flush the toilet. Flush, and see where the bowl refills. If the water line is above the pencil mark there is too much water in the bowl; if below, too little. The blue knob on the 400H adjusts the bowl water height.
The presenter says the new valve makes the toilet run a lot quieter and gives a more powerful flush.
Questions this video answers
How long does it take to install the Fluidmaster 400H?
The video says it should take ten to fifteen minutes.
What height should the fill valve be set to?
The top of the blue cap should be 3 inches above the top of the flush valve, and the top of the flush valve should be 1 inch below the tank lever location.
Do you need tools to tighten the fill valve?
No. The nut and supply line are hand-tightened.
How high should the tank water be?
About 1/2 inch below the top of the flush valve pipe.
How do you check the bowl water level?
Mark the bowl with a pencil just above the water line, slowly pour in one gallon of water, flush, and see where it refills. Adjust with the blue knob on the 400H.
Explore related projects
Connected by the topic: Plumbing