Painting a Hallway Without Tape: Sanding, Cutting In and Rolling
The short version
A professional painter shows homeowners how to repaint a hallway without taping. Steps include removing cover plates, fixing trim and ceiling edges, sanding, cutting in with a brush, rolling with an extension pole, sanding between two coats, and letting the paint cure. The paint used is C2 in Baba Ganoush.
Full written account
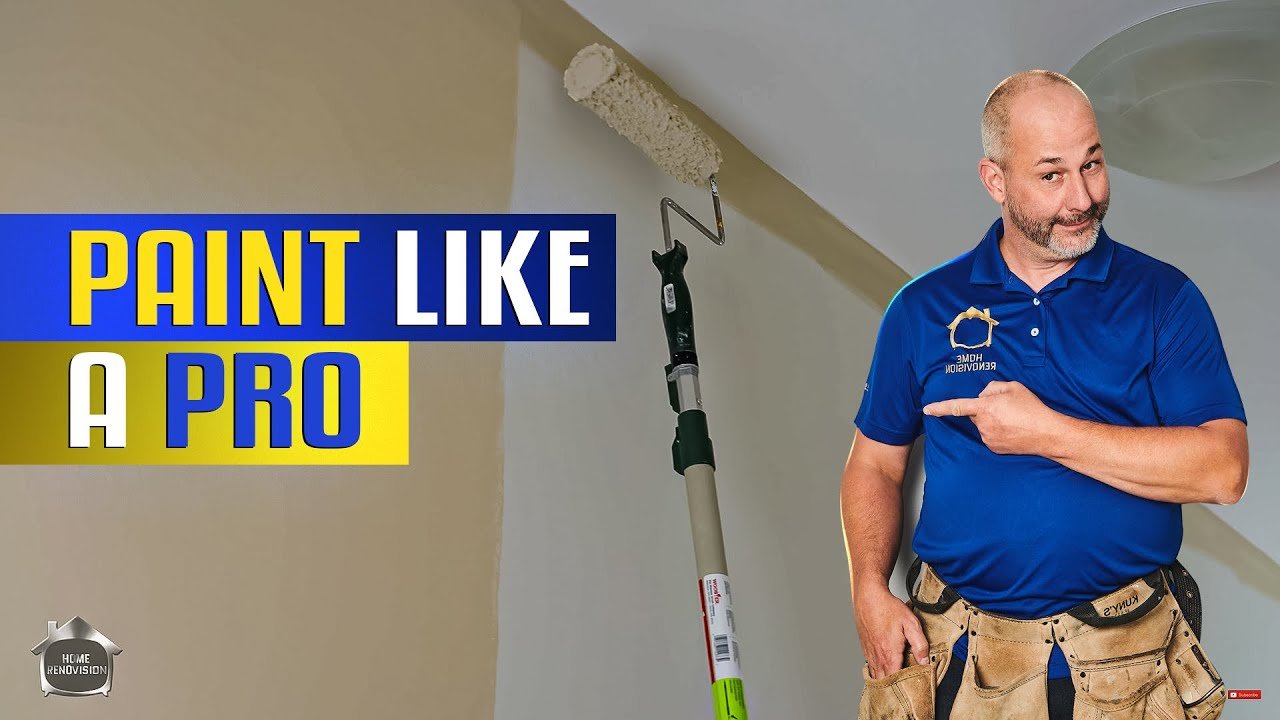
Repainting a hallway without a single strip of blue tape is the goal of this walkthrough from Home RenoVision DIY. The painter argues that homeowners are often told to spend about $40 on tape and half a day applying it, and shows instead how to cut in by hand, sand the walls and roll two coats with an extension pole. The paint is C2 Cabinet, Trim & Wall in Baba Ganoush.
The rig
The kit is a paint tray with a disposable liner, a Wooster roller cage with a Sherlock handle that locks with a pin, an extension pole, an 18 mil microfiber sleeve, a 3 in. angle brush (a good one is about $20), a 5-in-1 tool, a utility knife, a ladder and a sanding pad. The pole is said to reduce the work by about 60 to 70%. The 5-in-1 tool also cleans leftover paint out of the roller sleeve; by the end, almost a quart can be sitting in it.
Prep
The space is cleaned, a tarp goes down and the cover plates come off. The painter says not to paint around cover plates. Where builders got wall paint onto the trim, trim paint goes over the edge first, and the same applies to the ceiling. Overlap onto the wall doesn't matter because a new line is cut later.
The walls are then sanded with a sanding sponge. The builder-painted walls felt like sandpaper, and the painter says a sanded wall feels smooth.
Cutting in
The first coat on flat paint is cut about a quarter inch from the ceiling, because paint does not slide well on flat paint. For outside corners the heel of the brush draws a line about a quarter inch away, and the brush then pushes paint to the edge. Baseboards get the same treatment upside down. Outlets and switches are brushed, never rolled, and the brush is washed before rolling because the paint is acrylic.
Rolling
The roller is loaded fully and used with a light touch, rolling top to bottom with the pole. Work about two roller widths, then go back, staying about half an inch from the edge. The cut line is about 4 in. tall so the roller never hits the ceiling. Keep a wet edge: the can says two hours to dry, but the painter says the paint can dry in 20 minutes on the wall. Always roll in the same direction.
Second coat and curing
About an hour after the first coat, the walls are sanded again. The second coat is where the precision cut goes in: a brush with little paint is pushed into the crease. Each wall is cut and rolled one at a time so the brush work blends in.
The painter says primer is not needed for homes after 1975 unless there was oil paint. Wait at least 48 hours before hanging pictures or mounting fixtures, and do not wash the paint for the first 30 days while it cures.
Questions this video answers
Do you need to tape when painting a room?
No. The painter paints the hallway without blue tape, cutting in with an angled brush.
Should you sand between coats?
Yes. The video sands before painting and again after the first coat, about an hour later.
How long until you can hang pictures?
Wait at least 48 hours before hanging pictures or mounting fixtures.
When can you wash the paint?
Not for the first 30 days, as the paint cures and washing can leave smudges.
Is primer needed?
The video says primer isn't needed for homes after 1975 unless there was oil paint; a transition primer is used only in certain circumstances.
Explore related projects
Connected by the topic: Paint a room