Laminate Countertop Install: Measuring, Scribing and Sink Cutout
The short version
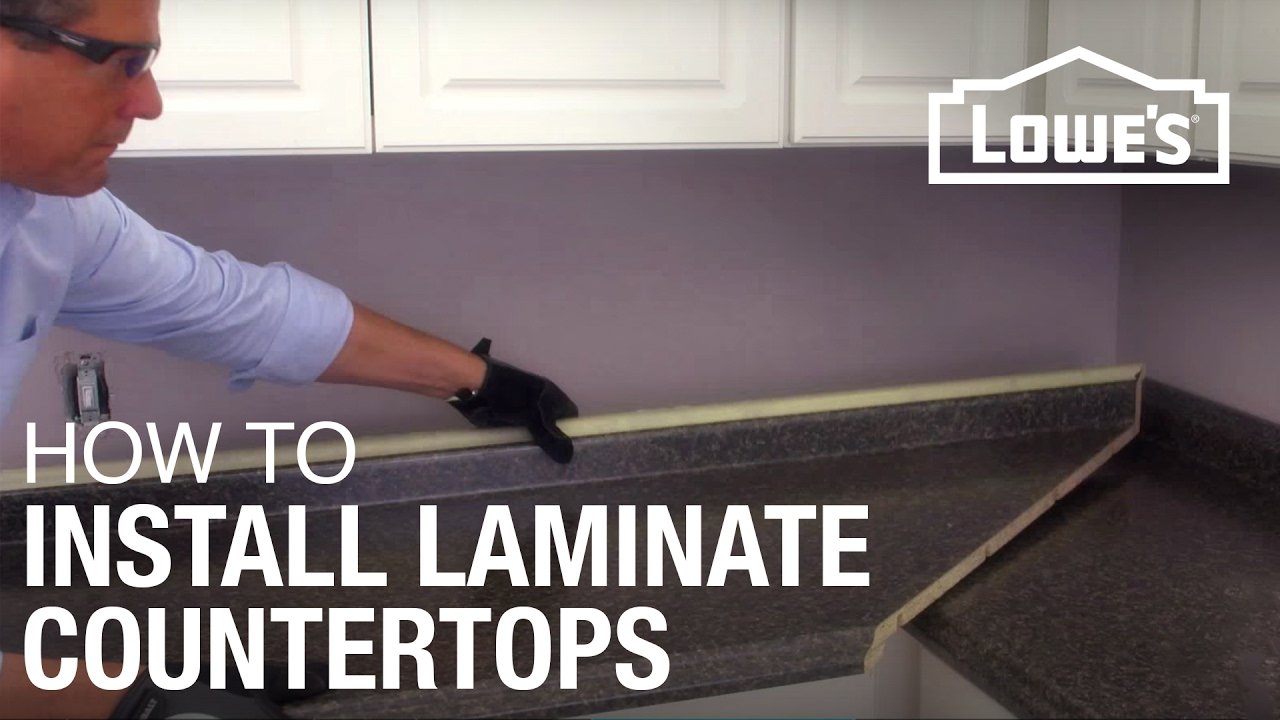
Shows how to measure for and install a laminate countertop in a kitchen. It covers removing the old top, cutting to length from the backside, fitting with a scribed line, cutting a sink opening, joining the miter with adhesive and bolts, and securing the top with short #8 screws. The description rates the job Moderate difficulty.
Full written account
Short screws matter more than they seem when fixing a laminate countertop in place: the instruction is to use #8 screws through the brackets and to keep them short, so they do not drill through the new top. That final step comes after a sequence of measuring, cutting and scribing that determines whether the top fits at all.
Check before buying
Measure cabinet depth first. For length, measure along the back wall for accuracy, and allow for overhangs, typically about 3/4 of an inch to an inch. Backsplash height has to clear outlets and window trim, and any wall areas that will show need finishing. A square and level show whether the walls are fairly straight. A little bow is fine because the countertop can be trimmed to fit, though some cases might require a custom top.
Removing the old top and cutting the new one
The electric and plumbing are shut off and disconnected. The sink brackets come off, and the sink is pulled out. The counter is detached from the walls and cabinets, and a bit of pulling should loosen it.
For the new top, the finished side is masked where the cut line falls. The counter is flipped over, the length marked and the measurements double checked. A guide keeps the cut straight. The cut is made on the backside with a fine-tooth blade, and rough spots are filed only toward the backing.
Build up strips and fit
Some countertops require build up strips to lift and support them; check the directions. If cabinet drawers will not clear the front edge, the strips are definitely needed. They are held on the underside and attached with nails, about every 2 feet and 2 inches from the ends.
To check the fit, tape goes along the top of the backsplash and the counter is set in place with the mitered corner as tight as possible, then the miter bolts are tightened. A gap along the wall is likely. A compass set to the widest gap scribes a line along the back edge. The top comes off, a belt sander removes the excess, and a file takes off burrs. Return splashes go where the counter meets walls, and end caps go on the overhangs.
Sink cutout
Some sinks come with a template. Without one, the top is set in place, the sink centered and the outline traced. The cutout sits 1/4 to 1/2 inch inside the line. Masking tape protects the edges, small starter holes are drilled in the corners, and the piece is cut out without letting it fall. Extra support near the cutout edges, especially along the back, is a smart addition.
Securing the top
The top is secured by drilling through the corner brackets or by adding angle brackets just below the build up strips. The longest piece is positioned first. The recommended adhesive goes on the miter, the miter bolts are snugged, and the seam is tapped even with scrap wood and a hammer. The bolts are then tightened fully and excess glue cleaned up. After the #8 screws go in, the sink and rangetop are set, silicone goes around the edges, and the back wall is caulked. Plumbing is reconnected and the cabinet doors and drawers reattached.
Questions this video answers
What should I check before buying a laminate countertop?
Measure cabinet depth, measure length along the back wall, account for overhangs of about 3/4 to 1 inch, check backsplash height against outlets and window trim, and check that walls are fairly straight with a square and level.
Which side do you cut the countertop from?
The cut is made on the backside using a saw with a fine-tooth blade, then rough spots are filed toward the backing.
How do you fit a countertop to an uneven wall?
Set a compass to the width of the widest gap, scribe a line along the back edge, then remove the excess with a belt sander and file off burrs.
How far inside the sink outline should the cutout be?
The cutout is 1/4 to 1/2 inch inside the traced line.
Why use short screws?
Short #8 screws secure the top to the brackets without drilling through the new countertop.
Explore related projects
Connected by the topic: Cabinets and countertops