Installing Click-Lock Vinyl Plank Floors in a Double Wide
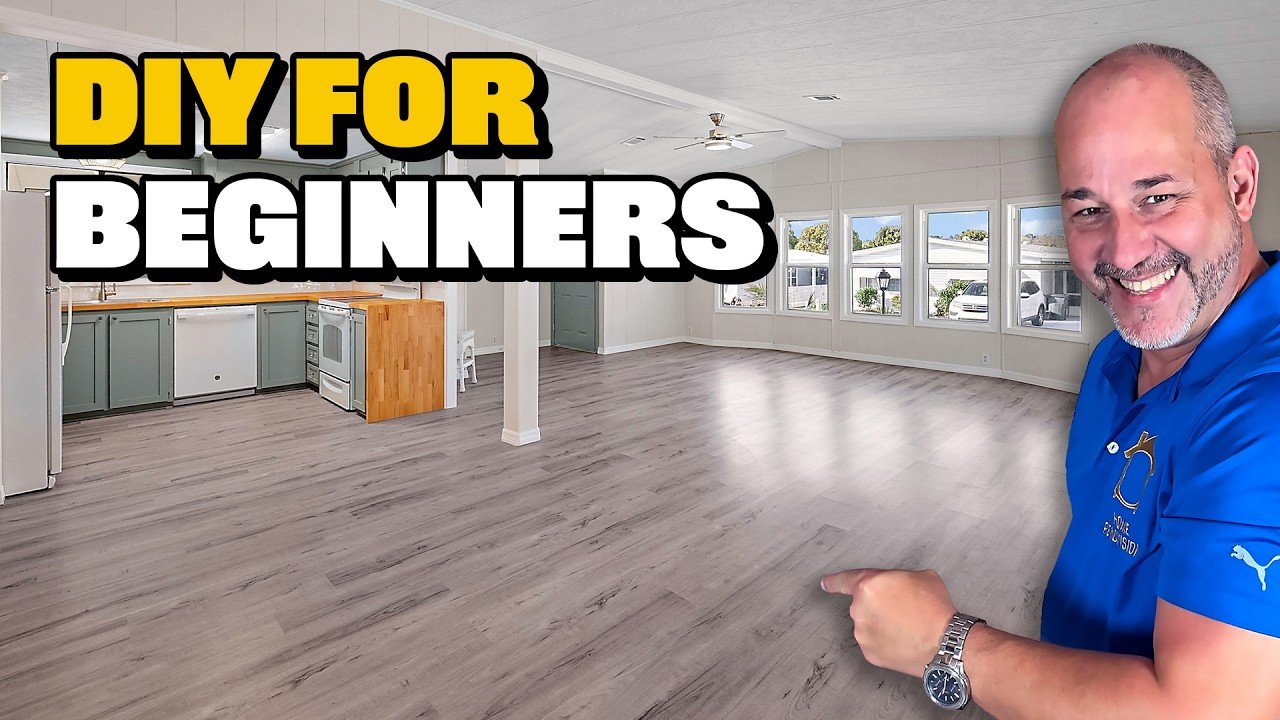
The short version
A host installs click-lock vinyl plank flooring with a stone polymer core throughout his double wide trailer, about 1,350 square feet with no transitions. He covers layout, staggering joints, cutting around doors, wires and appliances, and keeping the floor square with a laser line and temporary screws. He also covers leveling a plywood ridge, filling a low spot, and what to do at the dishwasher.
Full written account
A double-wide trailer with a lot of floor movement is the setting for a vinyl plank installation covering about 1350 square feet with no transitions. The installer, working in Florida, could not simply buy LifeProof flooring at Home Depot: its warranty says it cannot be installed in the conditions he lives in, where there is too much movement in the floor. He chose a stone polymer core tongue-and-groove plank instead, roughly 7 in. wide and 4 ft long, and laid it through the living space, kitchen, hallway, closet and bedroom.
Why this plank, and why the joint matters
The product is described as about 70% stone with a polymer and a vinyl wear layer, which the installer says allows 80 ft in each direction, or 5600 square ft, without a transition, provided there is a 1/2 in. gap around the outside. He says that early vinyl plank was limited to 400 ft without a transition, because makers copied laminate rules and were unsure how the core would behave. In Florida, with air conditioning running year-round, he uses a quarter to an eighth of an inch rather than the full gap. He tells anyone in a place like Ottawa to heed the instructions and leave the 1/2 in. gap. Each product has a spec sheet, and he advises checking that the product suits your house and climate, not just the look.
He prefers tongue and groove over the overlay locking system, in which a claw-edged board is set down on top of the neighbouring board and hammered. That system works if you always move in one direction, but introducing a board from the other side means driving it underneath the joint, which takes a lot of hammering and risks curled edges and broken corners. With tongue and groove, he says, you can build left or right, forwards or backwards, and assemble a whole row and install it at once.
He ties tight joints to waterproofing: hydrostatic pressure cannot push water through joints that are tight, but a gap, even a hairline one, lets water underneath. He also says that in a basement flood the floor has to come up anyway, because vinyl cannot be disengaged and reinstalled after a water event.
Laying out the floor
The first rule is to start every row with a tongue facing out and score only one line when cutting, since a second scratch creates a second weak spot; score and snap works in one direction only. He stagger-lays full plank, two-thirds, half and one-third pieces so the joints keep moving, and says a full-half-full-half pattern would look like an airport. No two joints should fall within the width of a board of each other, and he checks that repeating picture patterns are not side by side.
He measures wall to wall and divides by the board width to avoid a sliver on the far side; in the first room a check showed he would need to take 3 1/2 in. off the last board. Slivers are not a locking problem with this core, he says, but they can be an eyesore, so he sometimes starts a row with a full board to avoid them. Offcuts are reused: if the groove is on the left of the plank, it goes on the right side of the wall.
Because nothing in a trailer is square, he keeps a consistent gap along the outside wall and uses a 5 in. section of the 3/4 in. baseboard as a gauge while walking around. Three staggered rows locked together are, in his words, a straight line, so he builds three rows before committing to a position, then drops a laser line to check it. His spare tools of choice include a dry erase marker, which wipes off the vinyl, and a small 7 in. square or triangle for marking.
Holding it square
Once three rows are locked, he pre-drills and drives temporary screws, without burying the heads, along the perimeter, where the 3/4 in. baseboard will cover the holes. The screws stop the floor shifting while he uses a tapping block or bar, and he removes them before the baseboard goes on. After a hundred feet or so, he says, there are a few hundred pounds of flooring down. He cautions that three rows guarantee only a close-to-square floor, and over a long span it can curve, so around outside corners he builds three more rows, squares them, drops a laser line, then fills in. In the kitchen and hallway he builds up to six rows at once to carry the line through transitions.
Cutting, tapping and fitting
He prefers a circular saw for shaped cuts because it cuts more underneath than on the surface, giving a clean top. His shop also has a jigsaw, oscillating saw, chop saw and a table saw, a Ryobi he fitted with a $100 blade. He says to wear safety glasses because vinyl cutting is messy. For a floor like this he says you need basically a knife and a $30 jigsaw and a utility knife.
For tapping, he makes a block from a scrap piece cut to fit the tongue and groove, and says hitting the joint too hard damages it. A rubber mallet helps seat a joint, and a Z-shaped block in the installation kit hits the vinyl surface rather than the tongue. A joint that is locked should lie flat and make a click; if a board sits proud, there is a gap or debris, so he does not hammer it down. Dirt in a groove prevents locking, so he sweeps and vacuums first and keeps saws on the finished side. He also uses a square as a lever to squeeze joints at the edges.
Around obstacles he measures to the finished picture, since the tongue and groove disappear. At a cable-television wire he cut a slightly wide notch and says it can be filled later with light gray caulk. Where a doorway was out of square, he measured every few inches, with readings from 5 in. to 4 3/4 in. and 5/8 in. near the door, and cut a first board as a template. For a door jamb, he trims the door stop with an oscillating tool, and may remove the door. Wires coming through the floor are handled by notching the plank on a table saw and drilling a hole in the offcut; he sets lines either side of the hole to brake the drill when it breaks through the PVC layer. For the door to the bathroom and another room, the floor runs jamb to jamb so a sill plate can go in, with silicone to the sill, and he cuts a hair shy rather than a hair long.
Fixing the subfloor
In the bedroom a ridge in the plywood subfloor where an extra lamination layer stepped from 5/8 in. to 3/4 in. was ground down with the circular saw set about an eighth of an inch deep, after pulling screws. He says holes of about an inch or smaller will not show through the flooring. A section where the plywood dropped from 5/8 in. to a thinner layer was filled with Henry's floor patch, which can go on 1/8 to 1/4 in. thick at most, with two applications for more. The patch took about an hour and a half to dry to a workable state, and he laid flooring over it before full cure, noting that he works to trade speed and that overnight is fine if you wish.
Closet, appliances and finishing
In the closet he uses a 1×4, which is 3 1/2 in., for trim, flush to the front with casing over it, and shoe molding, with 3/4 in. baseboard elsewhere. Where a joint must be lifted underneath, he works about 5 degrees off the floor and lifts to 10 to slide it in; where he cannot, he reverses the board.
For the dishwasher, he says that if it is installed, bring the flooring up to the feet and remove the cover plate; the feet sit at least half an inch behind the plate, and the machine usually has a 4 in. gap at the back and feet back four to six inches, so nothing needs trimming there. In new construction without the dishwasher, he installs all the flooring, since machines slide better on flooring than on a subfloor. He adds that dragging appliances across the floor is not normal wear under most warranties.
He follows the manufacturer's warranty not to claim money but because it records the product's guidelines, and says the finish is rarely the problem; the installer is. Vinyl, he says, is best in basements, where it can go on concrete or over a subfloor system, and for pet owners, because he says the PVC finish is about 10 times stronger than the polyurethane on hardwood.
Questions this video answers
Why build three rows before committing to the layout?
Because the floor is locked together, a joint that isn't locked can open into a gap. The video says to build three staggered rows with tight locking joints, check them with a laser line, and keep checking that each joint lies flat.
Can vinyl plank be cut with a utility knife?
Yes. Score once with a utility knife and square, then snap the plank. For shapes, notches and rips the video uses a circular saw, jigsaw or table saw.
How far apart should joints be staggered?
The video says to keep joints from lining up. The rule of thumb is that no two joints should fall within one board width of each other.
Should flooring go under the dishwasher?
The video says that if the machine is installed, bring the flooring up to its feet. If there is no machine yet, such as in new construction, install the flooring all the way in.
How much floor can run without a transition?
It says the product shown, a 70% stone polymer core, can run 80 feet in each direction without a transition, but only with a gap around the outside matching the manufacturer's instructions. The host says to check the spec sheet for your product and climate.
Can vinyl plank be reused after a flood?
No. The video says that if the floor gets wet in a basement or flood, you have to tear it up, and you can't take the boards apart and reinstall them.
Explore related projects
Connected by the topic: Flooring