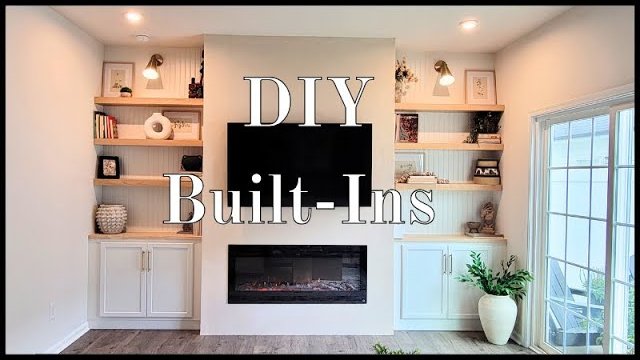
IKEA PAX and BESTA Built-In Wardrobe in an 11 by 12 ft Bedroom

The short version
A homeowner builds a wall-to-wall wardrobe in an 11 by 12 ft guest bedroom office using two IKEA PAX wardrobes and three BESTA units around a sleeper sofa. The video covers removing baseboards, building a 2×6 pine platform for 9 ft ceilings, assembling and mounting the IKEA units, scribing filler pieces, adding cover panels, and painting. The creator states the project cost $1,500 and shares mistakes made along the way.
Full written account
A built-in wardrobe in an 11 by 12 ft guest bedroom office cost $1,500, according to its builder, who says hiring a professional would have cost thousands. It wraps around a sleeper sofa on a wall that was 12 ft wide, using two IKEA PAX wardrobes on the sides and three BESTA TV units across the top to form an alcove.
Planning the alcove
The wall behind the sofa had no character or storage. The plan was to create an alcove around the sofa to maximize storage without losing much floor space. A mood board was based on a Pinterest image and similar inspiration pictures.
Prep and platform
For a flush built-in look, baseboards or flooring must come out first. The caulk was scored with a utility knife and the baseboard pried off with a trim puller.
The 93 in. tall PAX units suit 8 ft ceilings, but this room has 9 ft ceilings. To fill the gap, a box was built from 2×6 pine boards, kept to the wardrobe depth of 22 7/8 in. A couple of inches were added to the width for door clearance so knobs don't hit the walls. The base was wobbly at first, so plastic shims leveled it before it was screwed to the studs.
Assembly and mounting
IKEA screws look like Phillips but are a European style with extra crosses offset at 45 degrees. A Phillips driver can strip them. Mounting the wall-mounted BESTA cabinets took two people: one drilling and screwing, the other holding the suspension rail level. The advice is to hit as many studs as possible and use drywall anchors otherwise.
Closing the gaps
Interior walls are rarely square, and one corner measured more than 90 degrees. A 1×3 filler was scribed to the wall using scrap wood as a guide, cut with a jigsaw, and nailed to the side of the PAX wardrobe. The builder calls this method a hack that worked but is not very precise. A nail that stuck out should not be pulled, she warns, as it can turn into a mess.
Across the top, 2×2 furring strips run the full length of the cabinets to hold the cover panels. At the bottom, ripped 1x10s are nailed into the PAX legs.
The flush-or-recessed decision
Her one piece of advice is to decide early whether cover panels sit flush with the cabinet box or with the door, since it sets baseboard cuts, platform size and furring strip position. She started with plywood flush with the box, disliked the recessed look once the doors were on, and glued another layer on top. The 1x10s match the thickness of the PAX doors. Primed boards were used for filler pieces and cover panels because they paint more easily and finish more smoothly than plywood or MDF, though they cost a bit more.
Finishing touches
Seams and nail holes were filled and touched up. Sherwin Williams Pure White was the closest match to the white IKEA doors after trial and error. Shellac-based primer is recommended for trim and doors if painting the front a different color. The center got shiplap painted in a white oak look, and half-inch-wide trim from Lowe's and brass knobs were added to the doors. A year later, the room fits two desks and the sleeper sofa still extends for guests.
Questions this video answers
How much did the built-in wardrobe cost?
The creator says she spent $1,500 on the whole project and that hiring a professional would have cost thousands.
Why build a platform under the PAX wardrobes?
The room has 9 ft ceilings, and the 93 in. tall PAX units fit 8 ft ceilings, so a 2×6 pine box was built to fill the gap. It matches the wardrobe depth of 22 7/8 in.
Can you use a Phillips screwdriver on IKEA screws?
No. IKEA screws are Pozidriv-style, which looks like Phillips but has extra offset cross marks, and a Phillips driver can strip them.
How were gaps between the cabinets and uneven walls closed?
She scribed 1×3 filler pieces to the wall using scrap wood as a guide, cut them with a jigsaw, and nailed them to the side of the PAX wardrobe.
What paint matched the white IKEA doors?
Sherwin Williams Pure White was the closest match after some trial and error.
Explore related projects
Connected by the topic: Build built-in bookshelves