How to Layout Iron Baluster Spacing on Staircase – Wood Tread & Handrail Spindle Layout
The short version
Shows how to lay out 1/2 in. iron baluster locations on an open-tread staircase with white oak treads. A 10 in. run gives three spaces of 2 13/16 in. for three balusters per tread, a spacing jig transfers the centers to each tread, and a laser transfers them to the handrail underside. The handrail is checked for sag and the spacing is measured before any holes are mortised.
Full written account
Laying out iron balusters on an open-tread staircase comes down to a few measurements made before any hole is cut in a white oak tread. The layout here uses three 1/2 in. iron balusters per tread, and the goal is to place them correctly on both the treads and the handrail.
Prepare the treads and find the centerline
Tan masking tape goes down first. It shows pencil marks clearly and keeps pencil off the treads. It also protects them while balusters are installed with adhesive, since adhesive on raw wood can block stain from penetrating. A combination square marks the handrail centerline: set it on the outside of the tread with its end aligned to the center of the newel post.
Work out the spacing
The usual principle is to line up the front edge of each baluster with the front edge of the riser. The number that matters is the run, measured front of riser to front of riser. Here it is 10 in., not the 11 1/4 in. tread length. Subtract 1 1/2 in. for three 1/2 in. balusters and divide by three, giving three spaces of 2 13/16 in.
Use a jig for the tread layout
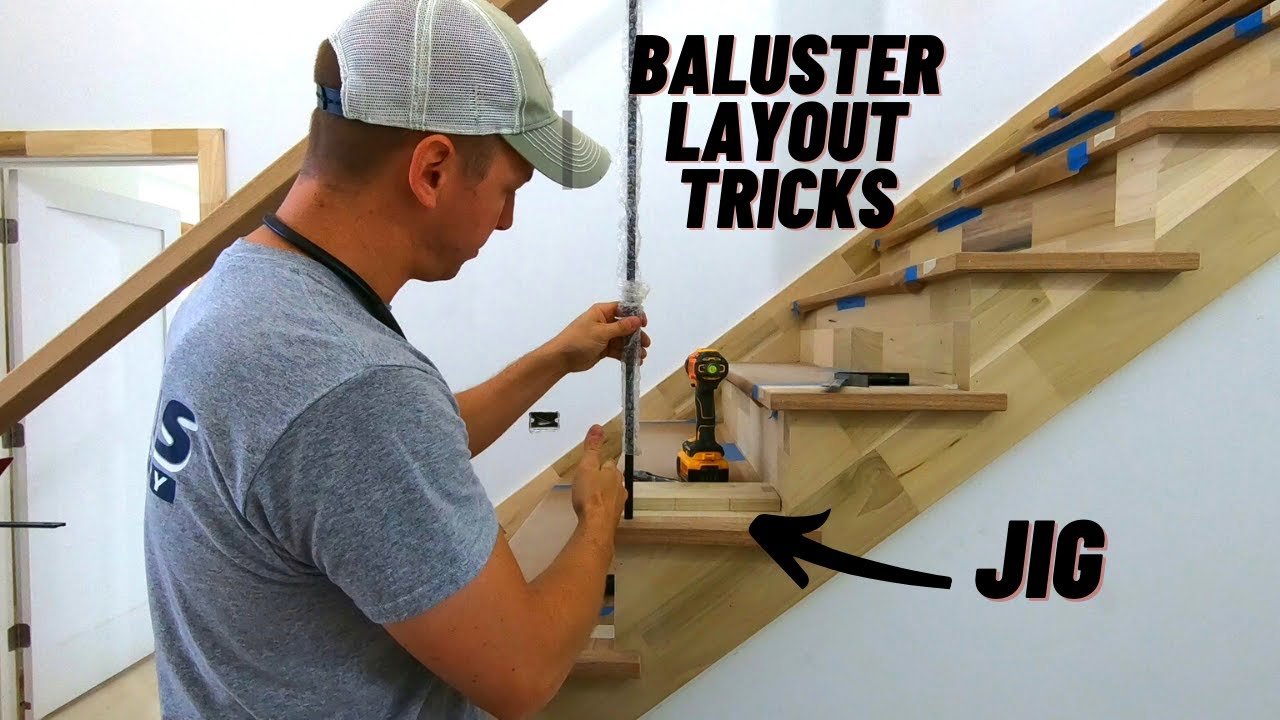
A jig cut 10 in. long represents the run. It is pushed to the back with its front lined up with the front of the riser, and the center points are marked from it. Centers are needed because the holes will be mortised with a drill bit and then squared up. A jig should be checked more than once, but it is then more reliable than measuring each tread with a tape. It works only if the runs are consistent; if they vary, for example 10, 10 1/4 and 9 7/8, a jig works less well and layout needs more care.
Newel placement follows the same logic: the space between the edge of the newel and the nearest baluster matches the baluster spacing. For the off-angle section at 26 degrees, a second jig is cut at 26 degrees, minus a 1 1/4 in. nosing.
Transfer the centers to the handrail
Before mortising, the center points are carried up to the underside of the handrail. A PLS 180 laser on its plumb setting lines up with each tread mark, and a pencil marks across the handrail. On the off-angle section, the laser should be as close to perpendicular to the handrail as possible, though it need not be perfect.
Check for sag
A long handrail can sag without support, which moves the marks. Pushing up or pulling down on the rail moved the laser mark. A long level showed a gap of about 8 in., so the rail was propped up. The sag had thrown a mark off by about 1/16 in., and the marks were erased and redone.
Double check
Finally, the spacing between marks on the handrail underside is measured with a tape. Marks should agree within about an eighth of an inch; a 3/4 in. difference would be a clear sign of a mistake. Marks on the newel post made before taking the rail down let it go back in exactly the same place.
Questions this video answers
What is the run when laying out balusters?
The run is front of riser to front of riser, 10 in. here, not the 11 1/4 in. tread length.
How is the baluster spacing calculated?
Subtract 1 1/2 in. (three 1/2 in. balusters) from the 10 in. run and divide by three, giving 2 13/16 in. spaces.
Why put masking tape on the treads?
It gives a surface to see pencil marks, keeps pencil off the treads, and protects them from adhesive, which can block stain on raw wood.
Why check the handrail for sag?
A long handrail sags without support, which throws off marks. In the video a sag shifted a mark about 1/16 in., and a long level showed about an 8 in. gap, so a temporary support was added.
How do you double check the layout?
Measure between the marks on the handrail underside. They should be within about 1/8 in. of each other; a 3/4 in. difference signals a mistake.
Explore related projects
Connected by the topic: Carpentry

