How to Cut Tile Around a Shower Valve, Then Grout and Caulk
The short version
Part 4 of Lowe's four-part walk-in shower series finishes the walls: mark and cut a tile around the shower valve with a compass and a wet saw, grout with premixed grout and a rubber float, then caulk every inside corner instead of grouting it. The best tip is to grout a small area at a time, so it never dries to a haze before you wipe it.
Full written account
This is the last of four videos in which Lowe’s tiles a walk-in shower, and it covers the finish work that makes or breaks the look: cutting around the shower valve, grouting and caulking. The earlier parts (layout, waterproofing and setting tile) aren’t on the site yet; we’ll link them here when they are.
At a glance
- Skill level: Handy. You should already be comfortable setting tile.
- Time: About 12 minutes of video for the last row of tile, a whole shower of grout and the corners. The video doesn’t give drying or cure times; use the ones on your grout and caulk.
- Cost: Not given in the video.
- Tools: Laser level or regular level, tape measure, compass, wet tile saw (or tile nippers), medium-to-hard rubber grout float, bucket and sponges, shop vac, caulk gun, rubber gloves.
- Materials: Wall tile and thinset, premixed grout, siliconized acrylic caulk colour-matched to the grout, plastic sheeting to cover the shower floor.
Cutting tile around the shower valve
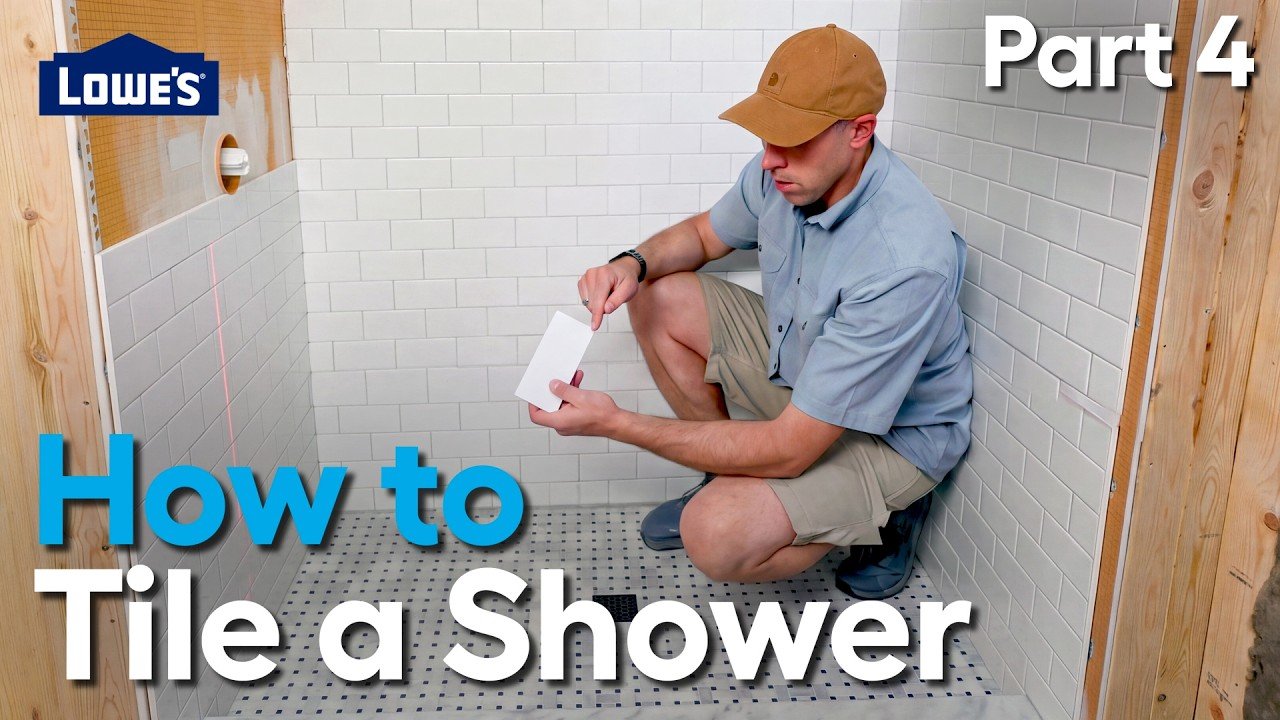
- Find the valve’s centre. Work from your reference line, here the centre grout joint, which tells you where the next tile’s edge falls. Measure from that line to the valve’s centre (6 1/4 in. in the video), then measure up from the bottom corner (2 1/4 in.), and transfer both to the tile.
- Scribe the circle. Put a compass point on the centre mark and draw the radius.
- Cut it in fingers. On the wet saw, make repeated straight cuts up to the circle, snap the thin pieces off and smooth the edge. Tile nippers do the same job.
- Check fit, not perfection. The valve trim covers the cut, so a rough edge is fine. What has to be right is the fit and the line-up with the grout joint.
Grouting the shower
Grout isn’t only about colour. It limits how much water gets through the tile to the waterproofing membrane behind it. Grouted joints, sealed corners and regular upkeep keep that system from being overworked.
- Protect the floor. Cover the shower floor so grout dropped from the walls doesn’t dry there.
- Clean first. Wipe the tile with a damp sponge, scratch out any thinset that squeezed into the joints and vacuum the powder out of the floor joints. Don’t leave standing water. This glossy tile doesn’t absorb any.
- Skip the corners. Leave inside corners free of grout. They get caulk.
- Float it in diagonally. Load a little grout on the float and drag it across the joints at an angle to force it in. Work from the top down.
- Work small. Grout an area you can wipe before it starts to haze. A whole wall at once will dry first and be hard to clean.
- Wipe twice, gently. Wipe off the excess using each side of the sponge, then wipe again, as the manufacturer recommends. Too much water washes grout out of the joints.
Wear rubber gloves. He points out that grout’s chemistry is harsh on skin.
Caulking the corners
Wall-to-wall, wall-to-ceiling and wall-to-floor corners get colour-matched caulk instead of grout, because walls move a little with the seasons and hard grout cracks there. He uses siliconized acrylic rather than silicone because the ceiling will be painted and silicone won’t hold paint. Before you buy, check that the label says it’s suitable for showers and wet areas.
- Cut a very small opening in the tube.
- Run as little caulk as you need to fill the joint.
- Tool it with a slightly damp sponge, rinsing often, and wipe any excess off the tile.
Common mistakes
- Grouting too big an area and fighting the haze.
- Packing grout into corners that need flexible caulk.
- Flooding the wall with water while cleaning.
- Leaving thinset squeeze-out in the joints.
When to call a pro
If your shower’s waterproofing membrane or pan isn’t sound, tile and grout won’t save it. A tile setter should look at any shower that leaks or has soft walls before you regrout.
Related
- When to call a licensed electrician, plumber or gas fitter, if your shower leaks behind the tile
- More bathroom jobs and projects in the Bathroom.
Questions this video answers
How do you cut tile around a shower valve?
Find the center point of the valve relative to the reference grout joint, transfer the measurements (6 1/4 in. horizontally and 2 1/4 in. vertically in this example), scribe the radius with a compass, then cut on a wet saw with repeated straight cuts up to the line and break off the small pieces, or use nippers.
Does the cut around the valve have to be perfect?
No. The shower valve trim overlaps the cut and hides it, but the fit and alignment with the grout joint need to be good.
What is the most important grouting tip?
Work in small areas, because a large section can dry and haze over and then needs more work to clean. Wipe the excess off twice, as the manufacturer recommends, without adding too much water.
What goes in the corners instead of grout?
Inside corners are caulked with a color-matched siliconized acrylic because it holds paint, while silicone does not. It is flexible, so it allows for seasonal wall movement.
What protection is used when grouting?
Rubber gloves, because grout chemistry is corrosive to skin, and PPE in general.
Explore related projects
Connected by the topic: Tile a shower