How to Adjust a PRV and Expansion Tank for Better Water Pressure
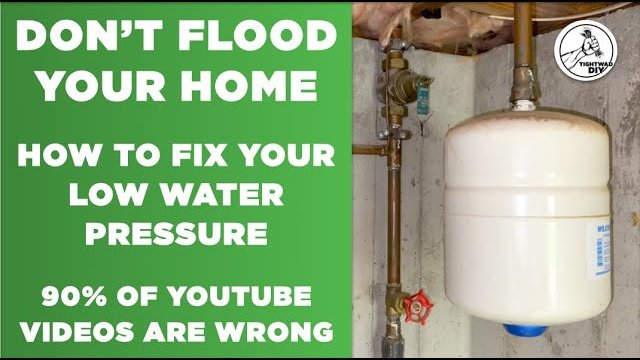
The short version
A homeowner shows how to adjust a home's water pressure at the pressure reducing valve (PRV) while watching a gauge on an outside hose bib. He then sets the expansion tank's air pressure to match, after shutting off the main and draining the water. He targets 60 to 65 psi.
Full written account
Measuring the pressure first
The job needs an adjustable wrench, a flathead screwdriver for the pressure reducing valve (PRV), and a pressure gauge. The gauge connects to an outdoor hose bib. Two are checked: one is unregulated, giving the full pressure the county supplies, and one sits behind the PRV and shows the pressure of the home's system. On the unregulated spigot the gauge read about 70 to 75 psi, and the regulated one showed a drastic difference.
How the system is laid out
The water main comes in from the meter outside to a main cut-off inside the basement. It can also be shut off at the street, but the basement valve is easier to reach. From there the line splits to the unregulated outside spigot, and farther up it reaches the pressure regulator, also called a pressure reducing valve.
Adjusting the PRV
The PRV is adjusted by loosening the nut and turning the screw clockwise to raise the pressure allowed into the home, or counterclockwise to lower it. The nut here was already loose, and a screwdriver was used to make the change. Most fixtures are not rated for more than 80 pounds, and the recommended pressure for most homes is 60 to 65 pounds. The valve was dialed to around 60 to 65 psi, and the nut was then tightened with a wrench.
Matching the expansion tank
Many YouTube videos show the wrong way to check an expansion tank, and the correct way starts with turning off the main cut-off valve and draining the water through the outside spigot. A plastic cover on the bottom unscrews to reveal a valve stem like those on bicycle, lawnmower or car tires. The tank takes up water that expands when heated in the water heater, because the closed system has no way back into the main supply. Inside is a diaphragm taking up about half the tank, and its air pressure should match the water system's pressure.
An ordinary air gauge showed very low pressure, when it should have been around 40 psi. Air was added from a compressor in small amounts, up to 65 pounds. A bicycle pump also works. The plastic cap then goes back on the valve stem to protect it.
Questions this video answers
What tools are needed to adjust home water pressure?
An adjustable wrench, a flathead screwdriver to adjust the PRV, and a water pressure gauge.
What water pressure should a home have?
The video says most fixtures are not rated for more than 80 pounds of pressure, and the recommended pressure for most homes is 60 to 65 pounds.
How is the pressure reducing valve adjusted?
Turn the adjustment screw clockwise to increase pressure and counterclockwise to decrease it, after loosening the nut. Tighten the nut again once set.
How do you check the expansion tank correctly?
Turn off the main cut-off valve and drain the water using the outside spigot, then check the valve stem with an air gauge. In the video it read very low and should have been around 40 psi.
What was done to the expansion tank?
He added air with a compressor until it reached 65 pounds; a bicycle pump also works.
Explore related projects
Connected by the topic: Plumbing