Guest Bathroom Remodel: Turning a Tub Into a Tiled Shower
The short version
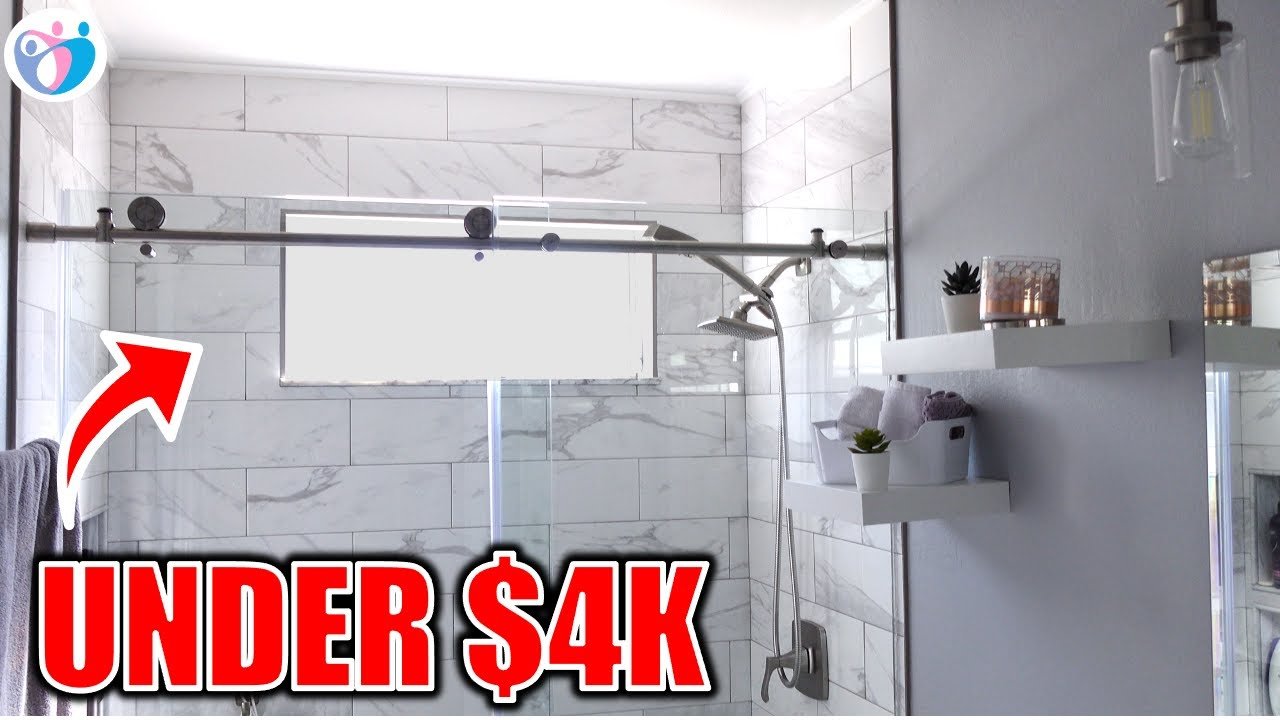
A homeowner recaps a full guest bathroom remodel, converting a tub to a shower. The work includes cement board, moving the valve higher and replacing copper with CPVC, a relocated square drain, waterproofing, floor and wall tile, a mud-set floor, a paver curb, and a new vanity, toilet, faucet, medicine cabinet and glass sliding door. Detailed steps are said to be in a separate playlist.
Full written account
A guest bathroom was gutted and rebuilt as a shower in place of the tub, with the homeowner doing the work himself and recapping the whole job in about ten minutes. The old valve looked rusty, so it was replaced, and the new valve was set higher because the space was becoming a shower instead of a tub.
Demolition and plumbing
Everything was removed from the room and a blanket was laid in the tub for easier cleanup. The old faucets, valve and shower head came out first, and cement board went in next, with provisions for two notches in the left wall. The copper plumbing was replaced with CPVC. He says he knows PEX could have been used, but that CPVC is common in Florida, and he tells viewers to check their state's codes and follow code for any plumbing or electrical work.
He bought a square drain and kept it closer to the shower rather than in the middle, which let him avoid destroying the concrete and re-piping the entire drain.
Waterproofing and tile
Shower wall seams were sealed with mesh tape, and Aqua Defense was painted over the joints and screws. Someone had recommended covering the seams with cement first; he considered that overkill. Wall tiling required a lot of cuts because of the style of tile, which made it slow, and he stresses measuring and planning everything before starting.
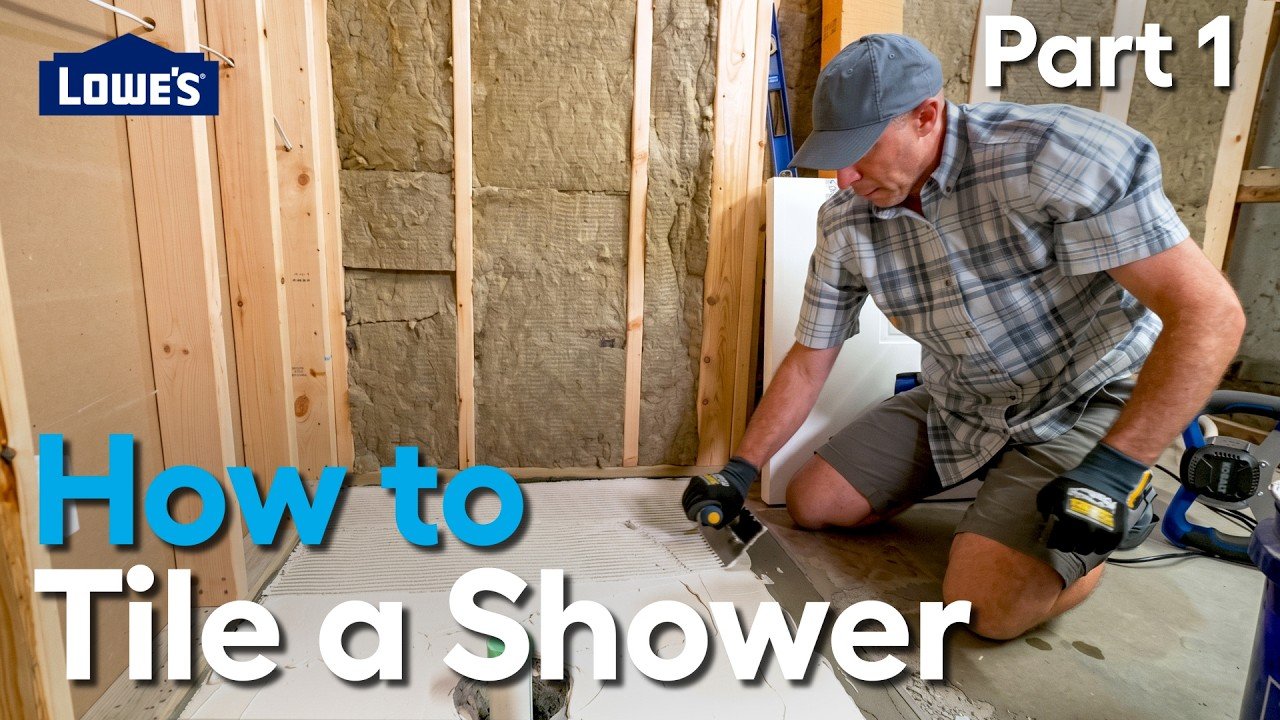
For the floor, he used a jackhammer to remove the old tile. Pavers and the same thinset used for the floor tile formed the shower curb. After the vanity, sink and toilet came out, the remaining tile under the toilet was removed and the drain area was filled with cement. He marked wall levels for the mud set, which he says should have a snowball-like consistency, and leveled the shower floor. Floor tile was laid with a half inch trowel. Small mosaic pieces make the transition to the wood floors in the hallway, and a paper template helped him outline the toilet hole cut.
The shower floor got Aqua Defense, then waterproofing membrane in the corners, then a final coat of waterproofing paint. Curb sides were tiled first, then the top pieces and edge piece. The bathroom floor was grouted with sanded grout and the shower walls with unsanded grout.
Fixtures and finishing
With the circuit breaker off, he removed the old light fixture, then patched and painted the walls before installing the new one. Two big holes left by the towel holder were patched with a small piece of wood and drywall, and a texture template helped the patch blend in, though not perfectly.
A vanity from Lowe's needed a jigsaw cut for the drain pipe and a hole saw hole for the shutoff valve, and it was screwed to the wall after he checked it was level. New shutoff valves, a new wax ring and a Delta toilet followed, with the water line tested for leaks. A three-piece Jacuzzi faucet and a drain kit with an extension were installed, and the drain was checked for leaks.
The shower uses a multi valve so a handheld and fixed shower head can be switched or run together. After testing for leaks, he replaced the medicine cabinet with a glass one and finished by installing a glass sliding door that arrived in a crate.
Questions this video answers
Why did he use CPVC instead of PEX?
He says he knows PEX could have been used, but CPVC is common for plumbing in Florida. He advises checking your own state's codes.
How did he keep the drain work manageable?
He kept the new square drain closer to the shower instead of in the middle, which let him avoid destroying the concrete and re-piping the entire drain.
How did he waterproof the shower?
On the walls he sealed the seams with mesh tape and painted Aqua Defense over joints and screws. On the floor he applied a first coat, then a waterproofing membrane in the corners, then a final coat of waterproofing paint.
How did he build the shower curb?
He used pavers and the same thinset used for the floor tile, then tiled the sides and top pieces with an edge piece.
What safety steps does he show?
He turned off the circuit breaker before removing the light fixture, shut off the water and drained the tank before removing the toilet, and tested for leaks after installing the toilet, drain and shower head.
Explore related projects
Connected by the topic: Tile a shower