Closet Built-ins From 3/4 in. MDF: Grooved Shelves in 5 Hours
The short version
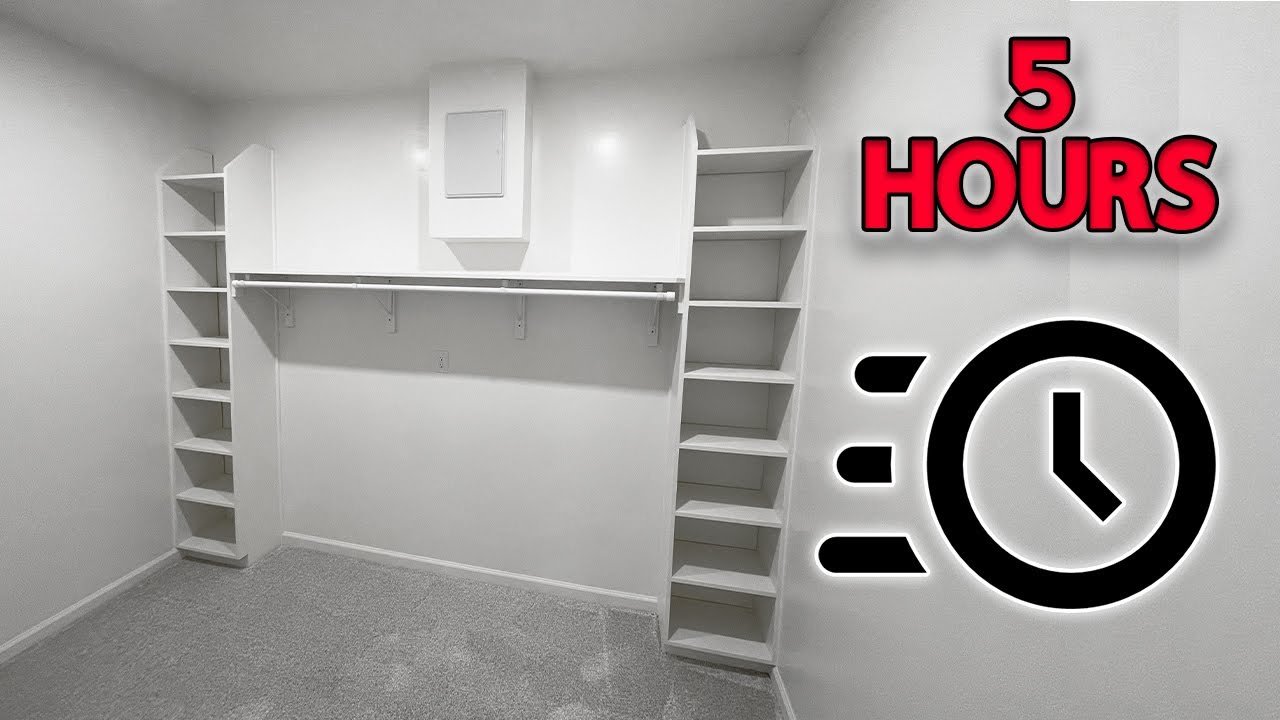
Clayton of The Weekend Builder builds closet shelving units from 3/4 in. MDF using grooves routed into the side pieces, glue and brad nails. The units are screwed into the wall studs, and the shelf between them rests on 2 in. MDF support strips attached with construction adhesive. He says the whole project, including a pantry and a laundry closet, took five hours.
Full written account
Clayton of The Weekend Builder built a set of closet shelves, a small pantry and a laundry closet in five hours, using one repeated method: 3/4 in. MDF, routed grooves, glue and brad nails. He names three tools as the core of the project: a palm router, a circular saw and a brad nailer.
Tools and cost
Beyond those three, he lists a caulk gun, a rubber mallet and possibly a pull saw. He says anyone who lacks these miscellaneous items can get all of them for about 20 dollars.
Cutting and routing
He used a straight edge and a circular saw to rip 12 in. wide sections down the length of the MDF. Building two shelving units, he cut four strips. He lined the four strips up, clamped a straight edge across them as a guide, and routed a groove with a palm router fitted with a 3/4 in. bit, taking out 1/4 in. of material. The shelves were cut 12 in. deep to match the sides and 18 in. wide.
Assembly
He added glue to the groove, tapped a shelf into place with a rubber mallet, then tipped the unit over and nailed through the back with 1 1/4 in. brad nails. The rest is repetition: glue in the grooves, add the shelf, tap it down, nail from behind.
He tried setting all the shelves in the grooves before tipping the unit over and nailing them at once, and said that didn't work out. For the second side he glued the grooves, tilted up the side piece and clamped it, because a mallet would not do the job there. He nailed that side from behind too.
Once the unit was built and in position, it looked a little off to him, so he cut off the top corner. He then built a second cabinet for the other side.
Mounting and the middle shelf
The cabinets attach to the walls with 2 in. construction screws driven straight into the studs. For the shelf between the two cabinets, he cut 2 in. strips of 3/4 in. MDF, put construction adhesive on the back and nailed them to the wall as supports. Finding a stud isn't needed for these, because the adhesive does the heavy lifting and the nails only act as clamps while it sets.
He ran out of adhesive and used wood glue instead. He says that works where MDF touches MDF but does little or nothing between the MDF and the drywall, so construction adhesive should be used for that. With the supports in place, the shelf is dropped in with glue or adhesive and nailed from the top. He finished with quarter round, paint and carpet.
Questions this video answers
How long did the project take?
He says the entire project took five hours start to finish, including the pantry and the laundry closet.
What tools are needed?
A palm router, a circular saw and a brad nailer, plus a caulk gun, a rubber mallet and possibly a pull saw. He says the miscellaneous items can be had for about 20 dollars if you don't own them.
What material and size are the shelves?
3/4 in. MDF. The shelves are 12 in. deep and 18 in. wide, set into grooves that remove 1/4 in. of material.
How are the units attached to the wall?
With 2 in. construction screws driven straight into the studs. The shelf support strips instead rely on construction adhesive, with nails acting only as clamps while it sets.
Can wood glue replace construction adhesive?
Only for MDF touching MDF. He says it will do little or nothing between the MDF and the drywall, so use construction adhesive there.
Explore related projects
Connected by the topic: Build built-in bookshelves