Build Built-In Bookshelves With 1×12 Boards and a Plywood Back
The short version
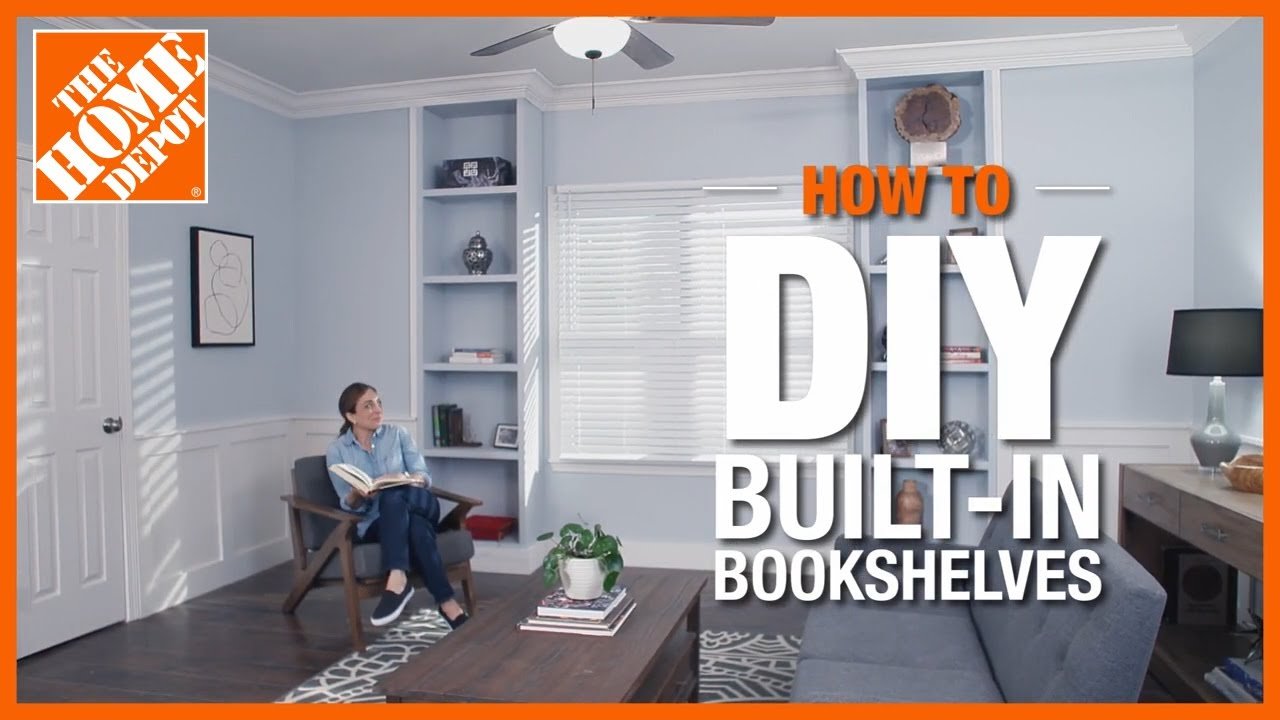
A Home Depot walkthrough for building built-in bookshelves. It covers measuring the space, cutting 1×12 and 1×2 pieces, assembling the frame with glue, nails and screws, adding a plywood back and face plates, securing the unit to studs, trimming, and painting with a 24-hour dry time.
Full written account
Measuring the space
Built-in bookshelves start with measurements taken from the floor to the base of the molding, accounting for the molding height, then subtracting one inch. Because walls are rarely plumb and corners seldom square, the width is measured at the top, middle and bottom, and the shortest measurement is used. Two inches come off that figure for the side panels and trim, giving the shelf width.
Preparing the wall and cutting
Furniture is moved out and drop cloths laid down. A utility knife cuts through the seal so the molding and baseboard can be popped off carefully; the same process applies to features like wainscoting. A stud finder marks the wall studs.
The cuts are two 1×12 side panels, six 1×12 horizontal shelves, two 1×2 pieces to the vertical measurement, and six 1×2 pieces to the horizontal measurements minus one and a half inches. The 1×2 pieces become the face plates.
Assembly
The side pieces are placed together for marking: one inch below where the crown molding rests and one inch above where the baseboard top will sit, with a square carrying lines across the front. Shelf spacing is marked on the edges and squared down the boards.
The bottom shelf is aligned against a side panel with wood glue on its edge, then secured with a nail gun, and the remaining shelves follow. Pilot holes and screws reinforce the joints. The second side panel goes on with glue, nails and screws.
Back, face plates and installation
With the unit face down, glue goes on the back edges and a plywood piece is placed on it. Shelf lines are extended around the back with a square and the plywood is nailed to the edges. The 1×2 face plates are attached to the front edges of the sides and shelves with glue and a nail gun.
The unit slides into the space and is screwed into the studs. Trim pieces are nailed on to blend with the existing molding and baseboard, and a vertical 1×2 fits between the crown molding and baseboard or wainscoting. The shelf is painted and left to dry for 24 hours.
Explore related projects
Connected by the topic: Build built-in bookshelves