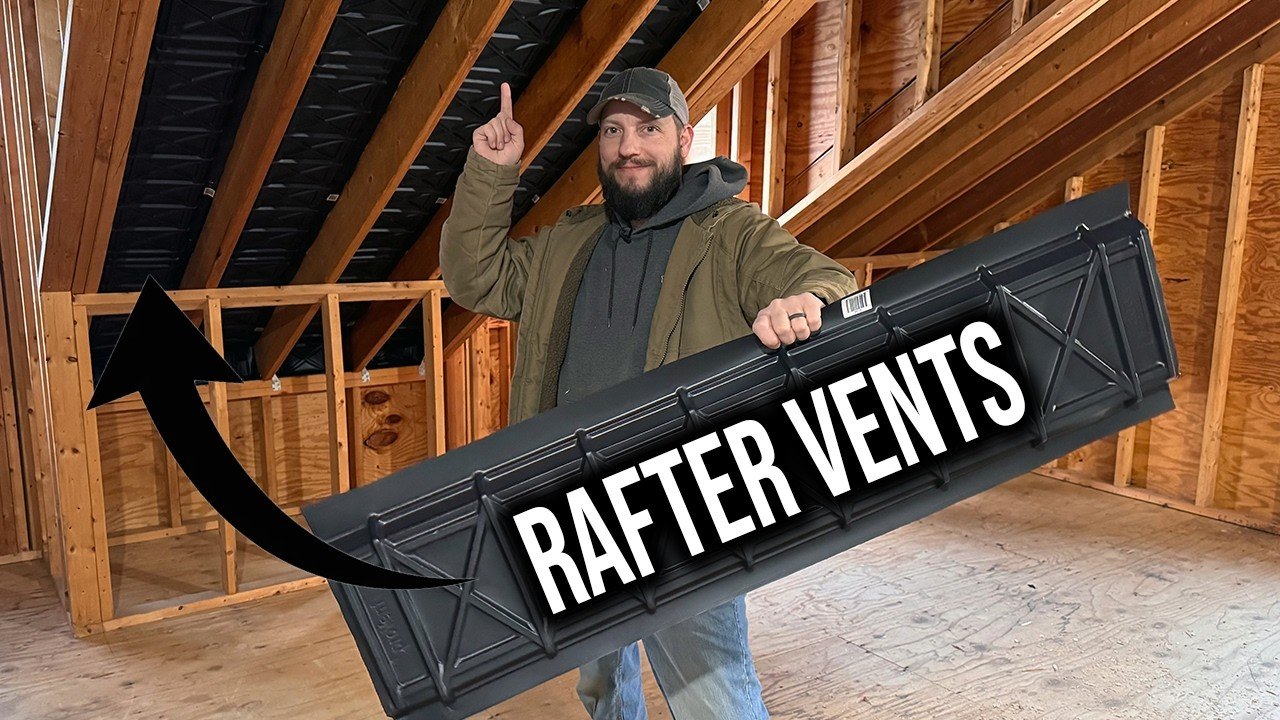
Rim Joist Insulation: Batts, Foam Board or Two-Part Spray Foam
The short version
Jeff compares three ways to insulate a basement rim joist in a 1974 home: batt insulation alone, rigid foam with spray foam and batts, and a two-part spray foam kit. He sprays the kit foam, covers layering limits and tip choices, and compares costs for his 800 sq ft basement.
Full written account
Jeff of Home RenoVision DIY insulates the rim joist in the basement of his 1974 home and compares three approaches, from the old batt-only method to a two-part spray foam kit that he says covers his entire 800 sq ft basement for $1,200.
How it was done in 1974
In 1974 a single batt filled the rim joist space: a 3.5 in. piece rated R12 then, R14 today at the same thickness. There was no building code for basements then, so walls were just strapping and wood paneling. Today's minimum is R20, because homes are framed with 2x6s, and code requires the same insulation value downstairs as upstairs.
The better option: foam board and spray foam
A common modern method cuts rigid foam slightly small, shoves it into the cavity and seals the edges with door and window spray foam. That gives an air seal to the connecting lumber and a thermal block, but not enough insulation, so a batt goes over it. Because the batt contacts the rigid foam, there is a thermal break. Jeff distinguishes this from thermal bridging, where insulation alternates with framing.
The best option: two-part spray foam
The kit has tank A and tank B, one gun with two hoses, and a mixing tip that must be replaced if spraying stops for more than 30 seconds. Only one barcode should be scanned at checkout, since the boxes are marked one of two and two of two. The label warns that foam must be applied in layers to avoid overheating or combustion: never exceed 2 in. per cured layer, aim for 1 in., and let it cool. Jeff wears safety glasses and throwaway gloves, and says the product should be about 70°F to perform well.
His wall is block, with tar paper and a sill plate, so he expects air gaps at the tar paper, the wood and the butted rim joist boards. The masonry sits about an inch and a half from the sill plate and can bring in cold. He sprays down to the front and up to the frame, getting almost 2 inches of foam, and says 2 in. gives R20 while another pass could reach R30.
Flash and batt and tip choice
In flash and batt a thin foam layer seals the gaps for about R10, then a batt adds value. Jeff prefers full foam so warm basement air reaches the floor above, avoiding temperature differences in tile or hardwood. The round white tip puts more material in a smaller area; the yellow one gives a wider stream. The white tip sprayed violently for him, so he switched to the wide spray with several passes.
Costs
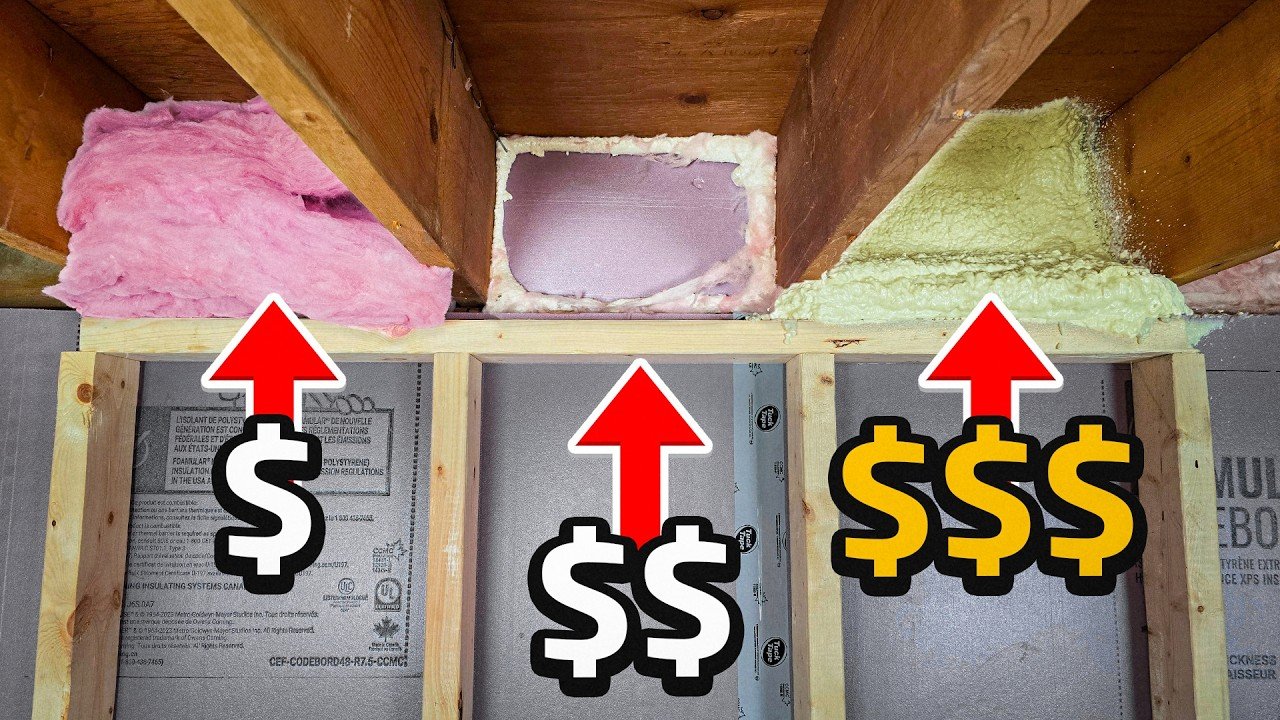
- Batts only: about $200-$300 for the basement
- Rigid foam, batts and foam cans: about $800
- Spray foam kit: $1,200
Questions this video answers
What are the two main issues when insulating a rim joist?
R value and air sealing.
How thick can each foam layer be?
Never exceed 2 in. per layer of cured foam; aim for about 1 in. and let it cool between layers.
What temperature should the foam kit be used at?
He says to get it warm, about 70°F (over 21°C); it underperforms when cold.
How much do the options cost for an 800 sq ft basement?
He estimates batts at about $200-$300, rigid foam plus batts plus foam cans at about $800, and the spray foam kit at $1,200.
What is flash and batt?
A thin foam layer seals gaps, giving about R10, then a batt is added for extra insulation.
Explore related projects
Connected by the topic: Insulation