Replacing Holey Vinyl Siding: Unsnap, Re-nail Loose, Zip Lock
The short version
Tom Silva of Ask This Old House helps a homeowner replace sections of vinyl siding that have holes. He unsnaps the damaged pieces from the nailing strip, pulls the nails, snaps in new pieces, and nails them loosely so the siding can expand and contract. A small damaged area is patched with a cut section of removed siding, locked in with a zip tool. The description lists 3 hours, $100 and a moderate skill level.
Full written account
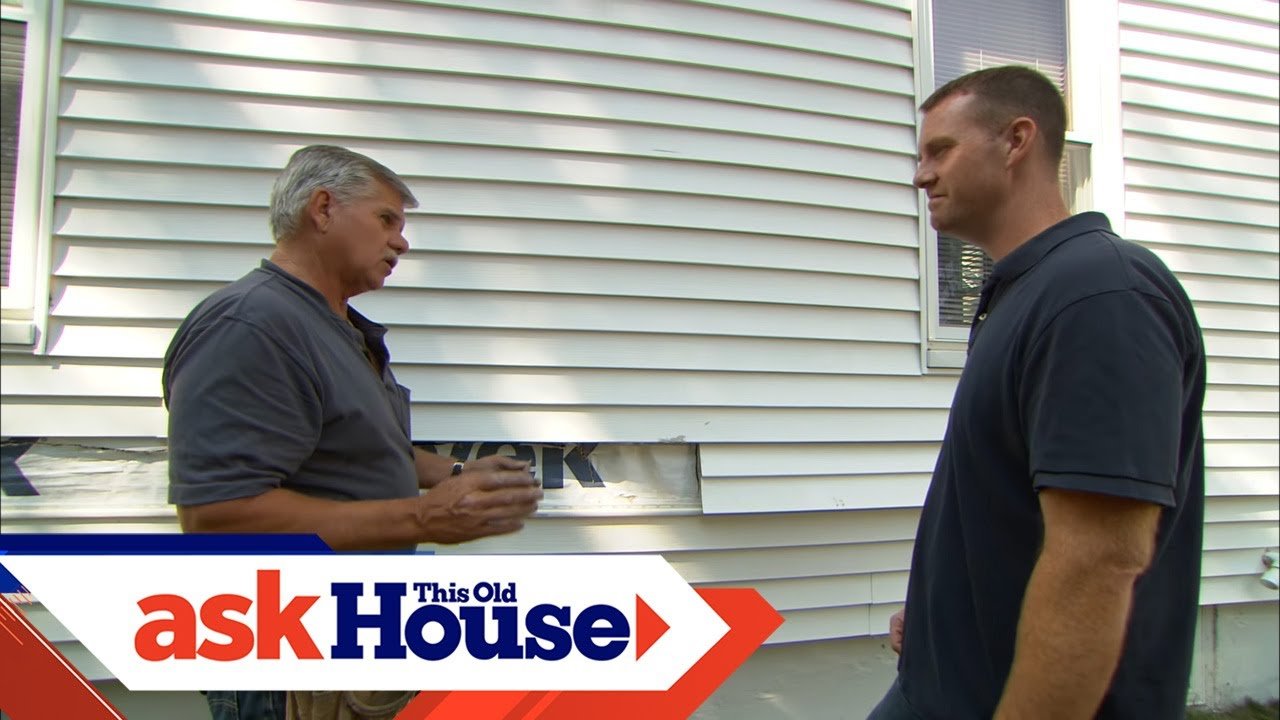
Tom Silva, general contractor on Ask This Old House, shows a homeowner named Sean how to replace vinyl siding pieces that have holes. The wall is the shady side of the house, which gets little sun, so the existing siding has not faded much. Tom bought a new piece from the same manufacturer in the same color and held it against the wall to check the match.
How the siding is built
Each vinyl piece is molded to look like two courses of siding. A nailing strip with holes or slots runs along the top and attaches the siding to the wall. Below the strip is a small channel, and the bottom of the next piece snaps into it. To remove a piece, you push down and it pops out.
Removing the damaged pieces
Tom puts his hand in at a joint and pulls down to snap the siding out of the groove, which exposes the nails. With the siding held up, he pulls the nails, then pushes the piece down and takes it out. He repeats this on the next row. He points out holes in the removed piece where insulation had been drilled.
Fitting the new pieces
The manufacturer cuts away about two inches of the nailing strip at the top and removes a section of the snap-in piece at the bottom. Vinyl siding expands and shrinks along its length with temperature, and the pieces have to overlap. If they do not overlap tightly, an opening appears when the siding shrinks.
Tom starts the new piece at an angle and pushes it up behind the piece beside it. He then slowly pushes it up so the bottom catches in the nailing strip below, and snaps it in. Once snapped in, it can slide left or right to create an overlap on the other side as well.
Nailing so the siding can move
The siding should not be nailed tight to the wall; it should hang. Tom places each nail in the center of the slot, pulls up gently to confirm the piece is seated in the strip below, and tacks it in place. That lets it expand and contract with temperature change.
Patching a small damaged area
Two damaged pieces were replaced with two whole new pieces. For one small damaged spot, Tom cuts the damaged section away and uses a good section from the pieces he removed as a patch. He cuts the old piece away from the joint below so the joints are staggered. He sets the patch to expose about three quarters to one inch, marks the length at the other end, and removes a section of the nailing strip on top and a small piece on the back so the parts lie flat together.
The patch goes behind the front piece and slides over the piece behind. Because the siding cannot be pulled down to lock into the piece below, Tom uses a zip tool. Its hook catches the bottom of the siding and pulls down, bending it away enough that it snaps into place when pushed. The description lists a hammer, utility knife and speed square, plus siding pieces, siding nails and a zip tool, and gives 3 hours and $100.
Questions this video answers
How do you remove a damaged vinyl siding piece?
Put a hand in a joint, pull down to snap the piece out of the groove, expose the nails, pull them and take the piece out.
How should vinyl siding be nailed?
Place the nail in the center of the slot and tack it so the siding hangs on the wall rather than sitting tight, allowing expansion and contraction.
Why is part of the nailing strip cut away on new pieces?
So the pieces overlap. Vinyl expands and shrinks with temperature, and without an overlap an opening would appear when it shrinks.
What is a zip tool for?
Its hook catches the bottom of the siding and pulls down so the final piece can snap into place.
What does the project cost?
The description gives $100 and about 3 hours.
Explore related projects
Connected by the topic: Carpentry

